


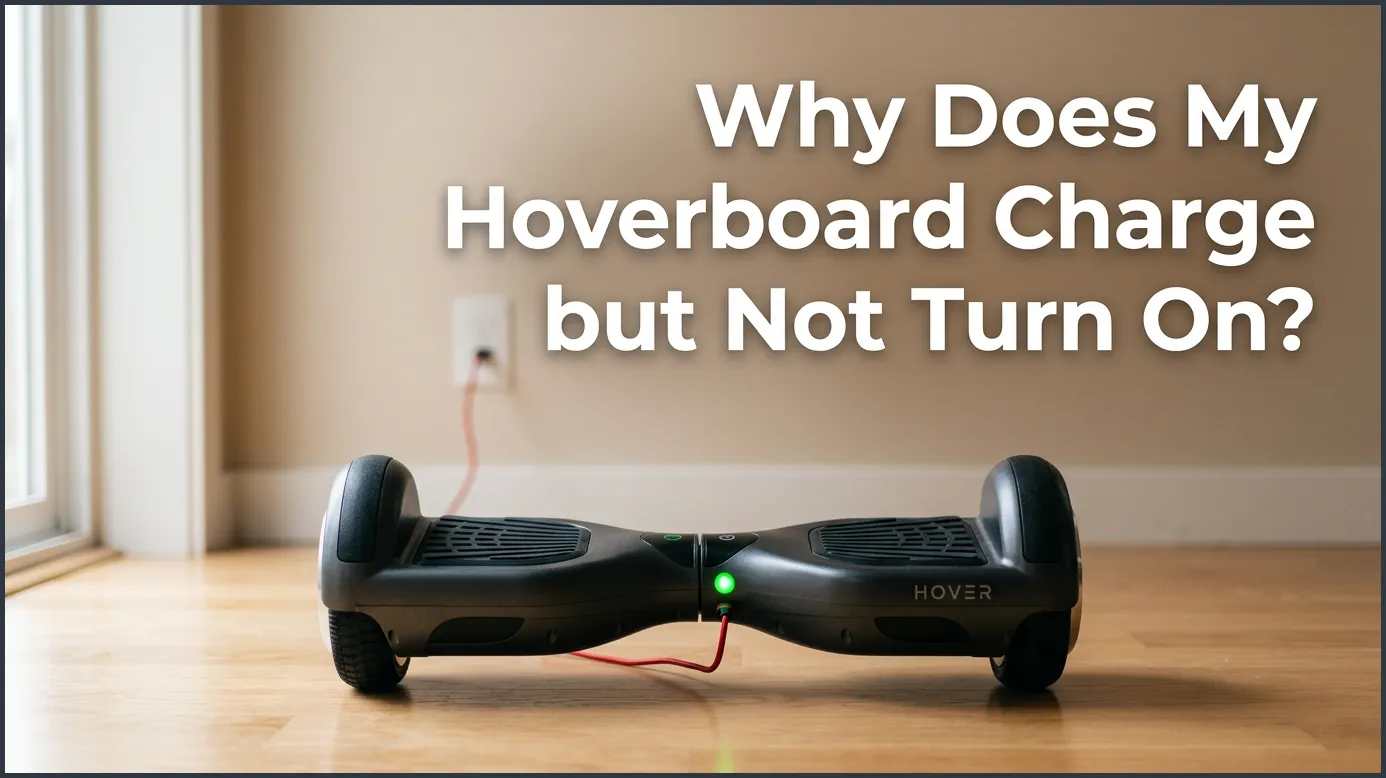
If your hoverboard charges but will not turn on, the most common cause is a dead battery that can no longer hold a charge, a loose internal power wire, or a faulty motherboard. You can easily troubleshoot this issue by checking your charger light, inspecting the internal connections, or testing the battery voltage.
Imagine this scenario. You get ready for a fun afternoon ride on your hoverboard. You grab your board from the closet and plug it into the wall. The little light on the charger turns green, showing you that the battery is full. You unplug it with a smile, place it on the ground, and push the power button. Nothing happens. The board remains completely silent and dark.
This is a very common issue for hoverboard owners. It can happen to brand new boards and old ones alike. You might feel worried that your expensive toy is broken forever. You might wonder if you did something wrong. Why does my hoverboard charge but not turn on? Do not panic just yet. It is a puzzle, but it is one you can solve.
In this beginner-friendly guide, we will explore this frustrating problem. We will look at how your hoverboard works. We will guide you through simple tests you can do at home. By the end of this article, you will know exactly how to find the issue and get your hoverboard rolling again.
Key Takeaways
- Battery Issues: A lithium-ion battery can degrade over time and fail to hold enough charge to power up the motherboard.
- Loose Wires: Bumps and crashes can shake the internal power cables loose from their ports.
- Charger Test: If the hoverboard turns on only when plugged into the wall, your battery is definitely dead.
- Motherboard Faults: A damaged main circuit board can prevent the system from turning on even if it gets power.
- Easy Fixes: Many power issues can be fixed at home with basic tools like a screwdriver and a voltmeter.
📑 Table of Contents
Understanding How Your Hoverboard Power System Works
To fix the issue, it helps to know how power flows through your hoverboard. Your board is not just a plastic deck with wheels. It is a smart electronic device. It relies on a few key parts to turn on and run safely.
The Role of the Lithium-Ion Battery
The battery is the heart of your hoverboard. Most boards use a 36-volt lithium-ion battery pack. This pack holds the electricity that feeds the motors. When you plug the charger into the wall, it sends power to this battery. If the battery is healthy, it stores this power for your ride. If the battery is old or damaged, it cannot hold a charge anymore.
The Motherboard and Gyroscopes
The motherboard is the brain of your board. It tells the motors when to spin. It receives signals from the gyroscopes, which sense how you balance. When you press the power button, you send a signal to the motherboard to wake up. The motherboard needs a steady flow of electricity from the battery to do this. If that flow is cut off, the board stays dead.
Common Reasons Why Your Hoverboard Charges but Won’t Power On
There are a few main reasons why you might ask, Why Does My Hoverboard Charge but Not Turn On? Let us look at the most common culprits. Understanding these will help you narrow down the problem quickly.
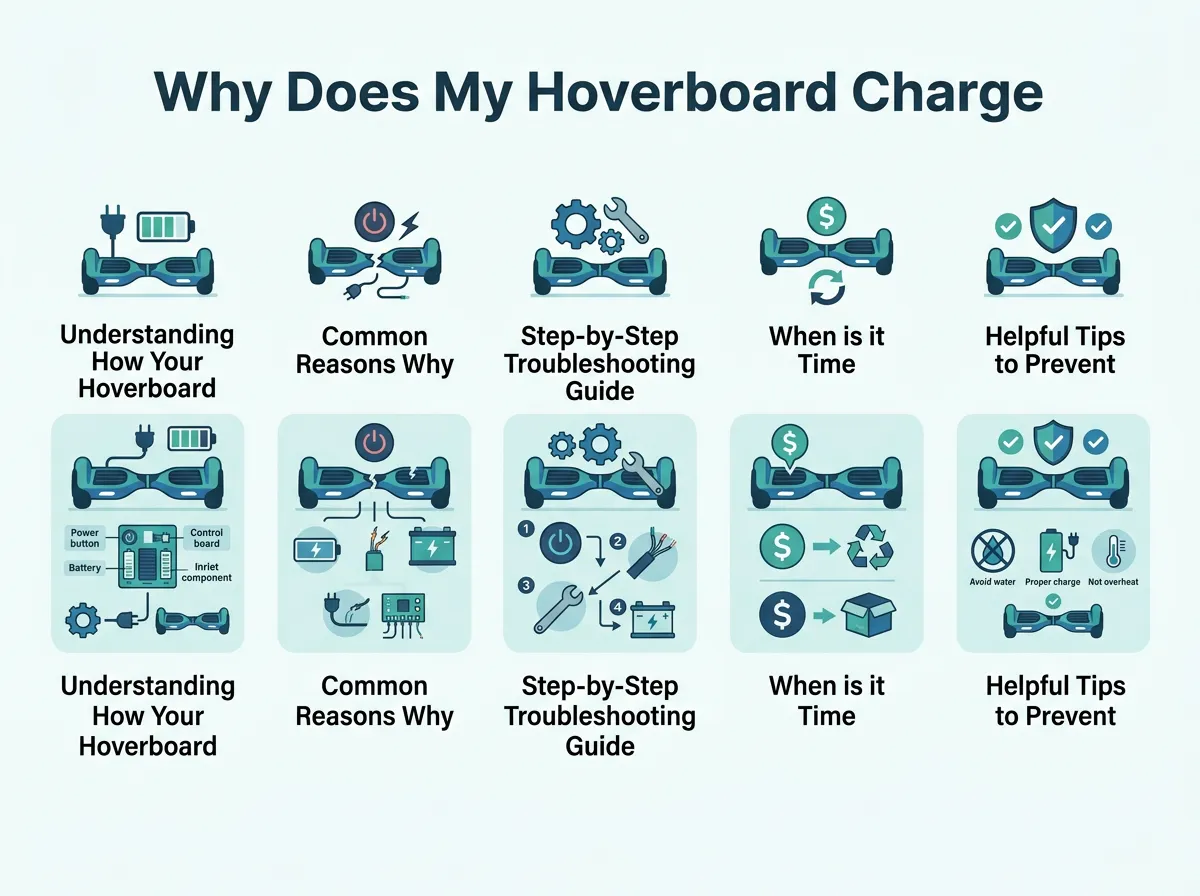
Why Does My Hoverboard Charge but Not Turn On? — key points at a glance
A Dead or Degraded Battery Pack
This is the number one cause of this issue. Lithium-ion batteries do not last forever. They can die if they sit empty for too long. For example, if you left your hoverboard in a cold garage all winter without charging it, the battery might have dropped into a sleep state. Once this happens, the battery can no longer accept or hold a charge, even if the charger light says otherwise.
Loose or Disconnected Internal Wiring
Hoverboards go over bumps, cracks, and curbs. They get dropped, jumped on, and crashed into walls. All of these vibrations can cause the internal wires to wiggle. Sometimes, the main power wire slides out of its socket on the motherboard. When this happens, the battery cannot talk to the brain of the board.
A Faulty Power Button or Charging Port
Sometimes, the issue is very simple. The power button itself might be broken. The small wires connected to the back of the power button can snap. If the button cannot send a signal, the board will not turn on. Similarly, a damaged charging port can trick the charger into thinking the battery is full when it is actually empty.
Motherboard Failures
Water damage, dirt, or a sudden power surge can ruin the motherboard. If the motherboard has a short circuit, it will protect itself by staying off. A burnt motherboard will need to be replaced entirely.
Step-by-Step Troubleshooting Guide
Now that you know the causes, let us do some detective work. You do not need to be an engineer to try these steps. Just go slowly and stay safe.
Step 1: Check the Charger Indicator Light
Plug your charger into the wall outlet first. The light on the charger brick should glow green. This means the charger is getting power. Now, plug the charger into your hoverboard. Watch the light closely.
- If the light stays green: This usually means the battery is already full, or the board is not accepting the charge. If the board will not turn on, the battery is likely dead and needs to be replaced.
- If the light turns red: This means the battery is actively drawing power. Leave it plugged in for two hours. If it turns green later, try to turn the board on.
- If the light blinks or does not turn on at all: Your charger itself might be broken. Try using a friend’s charger to see if that works.
Step 2: Perform the Charger Power Test
This is a great trick to test your battery. Plug the hoverboard into the wall charger. While it is still plugged in, try to press the power button on the hoverboard. Does the board light up or beep now?
If the hoverboard turns on and works only when it is plugged into the wall, your battery is dead. The board is running directly on the power from the wall outlet. Since the battery cannot hold this power, the board dies the second you unplug it. You will need to buy a new battery pack.
Step 3: Inspect the Internal Connections
If the board did not turn on during the plug-in test, you may have a loose wire. You will need to open the hoverboard to check. Here is how to do it safely:
- Turn off the hoverboard and unplug it from the wall.
- Place the board upside down on a soft towel to prevent scratches.
- Use a screwdriver to remove the screws from the bottom plastic covers. Keep the screws in a small cup so you do not lose them.
- Carefully lift the plastic covers. Be gentle, as some wires might still be attached to the cover.
- Look at the colorful wires. Check the yellow, red, and black power cables. Ensure they are plugged tightly into the motherboard and the battery. If any plug is loose, push it firmly back into place.
Step 4: Test the Battery Voltage
If you have a digital multimeter, you can test the battery directly. Set your multimeter to measure DC voltage. Touch the red probe to the positive terminal of the battery plug and the black probe to the negative terminal.
A healthy 36V hoverboard battery should read between 36 and 42 volts. If your multimeter reads below 30 volts, the battery is too weak to run the system. It cannot be saved and must be replaced.
When is it Time to Replace Parts?
If you have tried the steps above and your board is still dead, it is time to replace some parts. Do not worry, because replacing hoverboard parts is quite easy and affordable.
Choosing the Right Replacement Battery
When buying a new battery, safety should be your top priority. Always look for a battery that is UL 2271 certified. This certification means the battery has been tested for safety and will not easily overheat or catch fire. Avoid buying cheap, unbranded batteries online.
Replacing the Motherboard
If your battery tests fine but the board still will not turn on, the motherboard is likely dead. You can buy a replacement motherboard kit online. These kits usually come with the main board and the two smaller gyroscope boards. Make sure to take a picture of your old wiring before you unplug anything. This picture will be your map when you install the new board.
Helpful Tips to Prevent Future Power Issues
Once you get your hoverboard working again, you will want to keep it in great shape. Here are some simple habits to prevent your hoverboard from dying in the future.
Proper Charging Habits
Never leave your hoverboard on the charger overnight. Overcharging can stress the lithium-ion cells and shorten their lifespan. Unplug the charger as soon as the light turns green. Also, do not charge the board immediately after a long ride. Let the battery cool down for 15 minutes first.
Safe Storage Practices
If you plan to store your hoverboard for the winter, do not store it empty. Charge it to about 50% first. Store it in a cool, dry place inside your home. Avoid cold garages or hot attics. Extreme temperatures are the biggest enemy of battery life. Try to take the board out and charge it once every month during the off-season.
Conclusion
Asking yourself, Why Does My Hoverboard Charge but Not Turn On? can be a stressful experience, but it does not have to mean the end of your riding days. Most of the time, the issue comes down to a tired battery or a loose wire inside the case. By following a few simple troubleshooting steps, you can save money and fix the problem right in your own living room. Keep your board dry, charge it safely, and you will enjoy many more smooth rides ahead!
Frequently Asked Questions
How do I know if my hoverboard battery is dead?
The easiest test is to plug your hoverboard into the wall and turn it on. If it powers on while plugged in but dies immediately when you unplug it, your battery is dead. You can also test the battery with a multimeter to see if its voltage has dropped below 30 volts.
Is it safe to replace a hoverboard battery myself?
Yes, replacing a hoverboard battery is safe and easy if you follow basic safety rules. Make sure the board is completely unplugged from the wall before you start. Always purchase a certified UL 2271 battery to ensure your new battery is safe from overheating.
Why is my hoverboard charger light green but the board won’t turn on?
A solid green light on your charger means the charger is not actively sending power to the battery. This happens either because the battery is fully charged, or because the battery is dead and can no longer accept any electricity. If the board will not turn on, the battery is likely dead.
Can I revive a dead hoverboard battery?
Generally, you cannot safely revive a lithium-ion hoverboard battery that has fallen below its minimum voltage threshold. Trying to force-charge a deeply discharged lithium battery can cause a dangerous short circuit. It is much safer to buy a certified replacement battery.
How long do hoverboard batteries usually last?
A typical hoverboard battery will last between 1 to 2 years with regular use, which is about 300 to 500 charge cycles. You can extend this lifespan by keeping the board indoors and charging it at least once a month when it is not in use.
Why does my hoverboard beep when I plug it in but won’t turn on?
This issue is often caused by a faulty motherboard or a loose power switch wire. The beep indicates that the charging port is successfully getting power, but the main system cannot boot up. Open the cover to check for loose connections on the circuit boards.
