


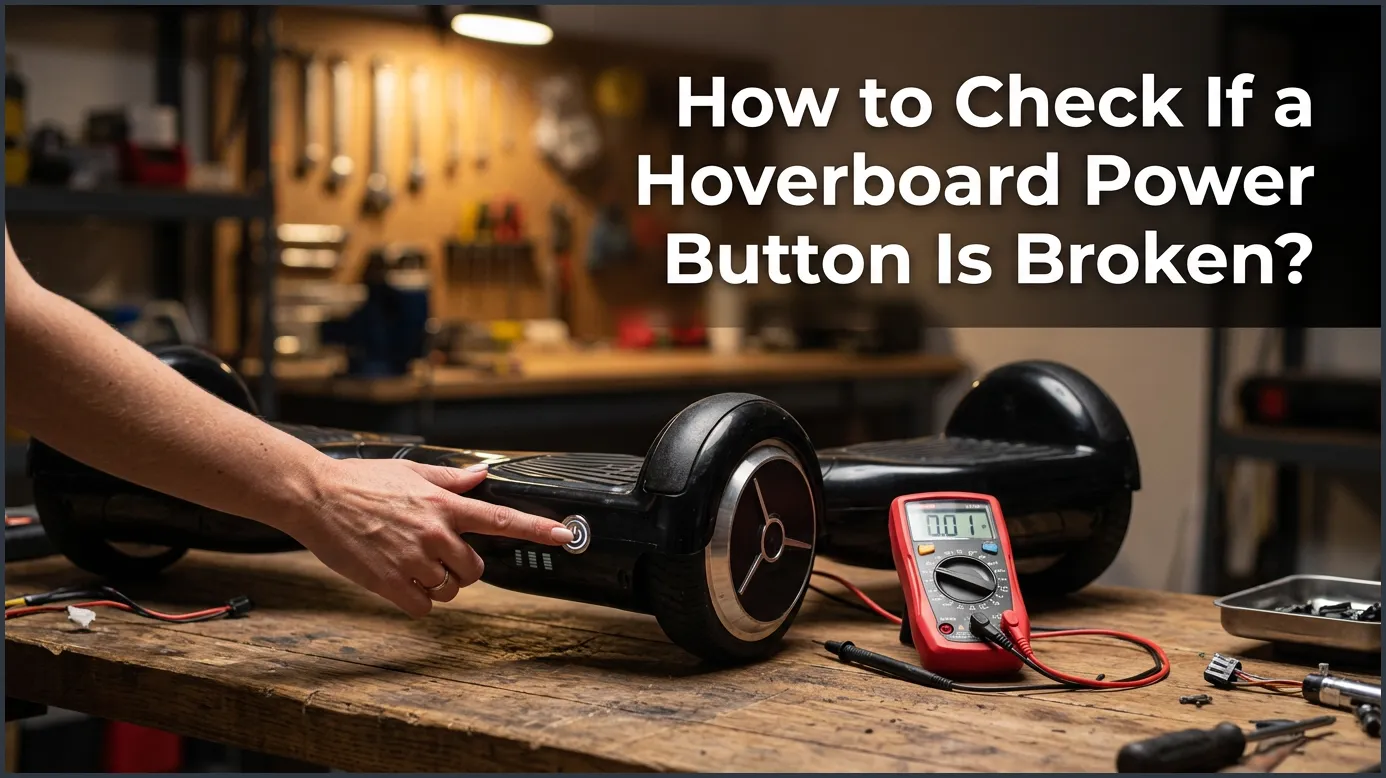
If your hoverboard refuses to turn on, a faulty power switch could be the culprit. You can easily test this by checking for physical damage, listening for a click, or using a multimeter to test for electrical continuity. Understanding how to diagnose this component will save you time and help you get back to riding quickly.
Imagine this scenario. You put on your helmet. You step outside on a sunny afternoon. You are ready for a fun ride around the neighborhood. You place your hoverboard on the flat ground. You reach down to press the power button. But nothing happens. The lights do not flash. The board does not make a sound. It is completely dead.
This is a very frustrating problem for many riders. Your first thought might be that the battery is dead. Or maybe you think the entire motherboard is fried. However, the issue is often much simpler. It could just be a broken power switch. Before you spend money on expensive repairs, you should learn how to test it yourself.
In this guide, we will teach you how to inspect your board. We will cover visual checks, charger tests, and using basic tools. You do not need to be an engineer to do this. We will keep things simple, fun, and easy to follow. Let us dive in and get your hoverboard running again!
Key Takeaways
- Physical Check: A loose or stuck button is the most common sign of physical wear and tear.
- The Charger Test: If the board turns on only when plugged in, the power button or battery is likely broken.
- Click Test: A healthy power switch makes a distinct clicking sound when pressed.
- Multimeter testing: Using a multimeter is the most accurate way to check for electrical flow.
- Simple Replacement: Replacing a broken hoverboard power button is cheap and takes less than thirty minutes.
📑 Table of Contents
Understanding Your Hoverboard Power Button
To fix a problem, you must first understand how the part works. The power button on your hoverboard is a simple switch. It connects the battery to the main computer brain of the board. When you press it, it completes an electrical path. This path lets power flow and starts the system.
How the Button Works
The button is usually a metal dome switch. Inside the switch, there are small metal contacts. When you push the button down, these contacts touch. This sends a signal to the motherboard. When you let go, a small spring pushes the button back up. This breaks the contact. If the spring breaks or the contacts get dirty, the switch will fail. You can learn more about common hoverboard problems and how to fix them to see how this fits into overall board health.
Common Symptoms of a Bad Button
How do you know if the button is the main issue? Here are some clear signs to look out for:
- The button feels mushy and does not click.
- The button gets stuck inside the frame.
- The hoverboard only turns on when you hold the button down constantly.
- The board turns on by itself without you touching it.
Step 1: The Visual and Physical Inspection
Before opening your board, start with a simple eyes-on check. This is the easiest phase of learning How to Check if a Hoverboard Power Button Is Broken? without using any special tools.
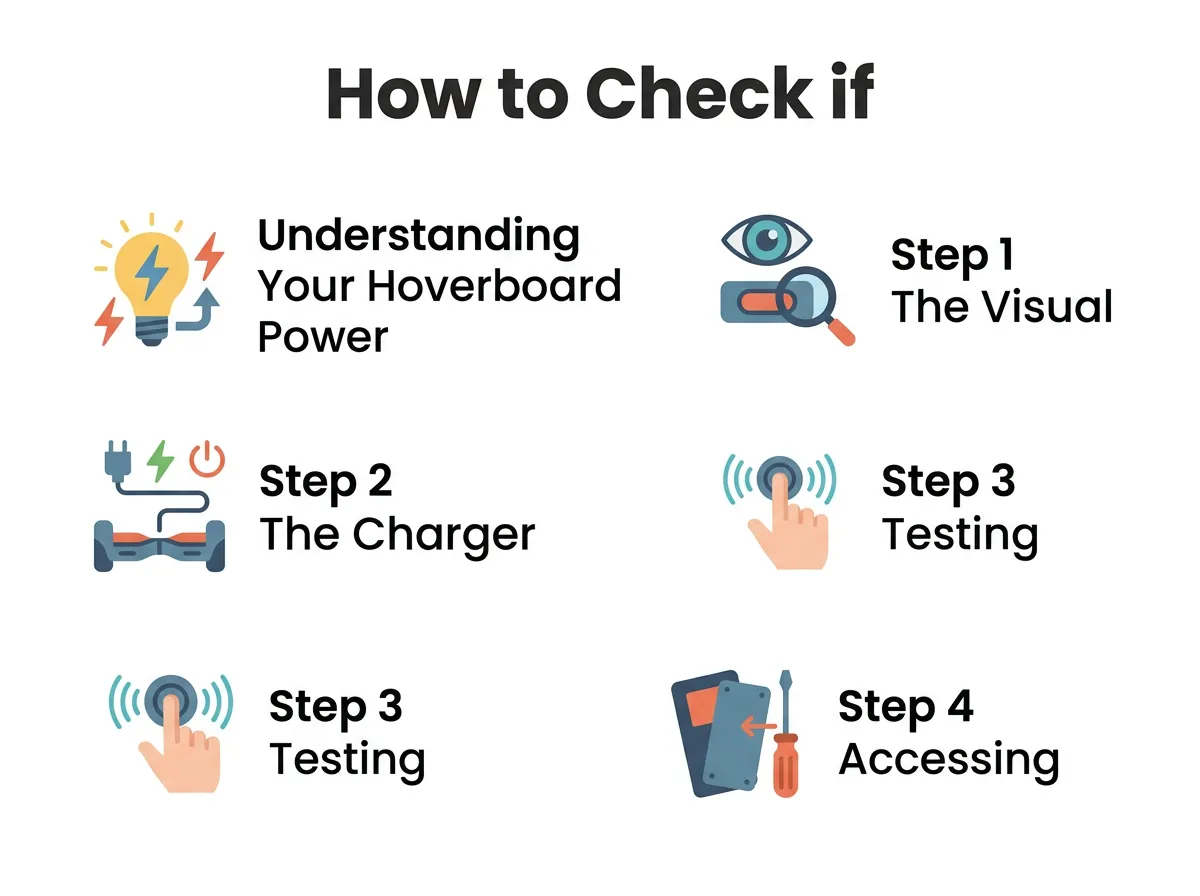
How to Check if a Hoverboard Power Button Is Broken? — key points at a glance
Check for Stickiness
Press the button a few times. Does it feel normal? A good button should have a springy feel. It should make a clear, sharp clicking sound. If it feels soft, mushy, or silent, dirt might be trapped inside. Sometimes, spilled juice or mud can clog the button. You can try cleaning around the edges with a toothpick or a drop of rubbing alcohol on a cotton swab.
Look for Loose Wires
Sometimes the button itself is fine, but the wires behind it are loose. Hoverboards shake a lot when you ride them. This vibration can loosen the plug. If you suspect this, you may need to look under the cover. If your board does not respond at all, you might also want to read about what to do when a hoverboard does not work at all to rule out other system failures.
Step 2: The Charger Test
The charger test is a great way to isolate the power button from the battery. It helps you see if the board is getting electricity at all.
Reading the Charger LED
Plug your charger into the wall outlet first. The light on the charger brick should turn green. Now, plug the charger into your hoverboard. Watch the LED light closely. If the light stays green, the battery is already full, or it is not accepting a charge. If the light turns red, the battery is charging. This means electricity is flowing into the board.
What It Tells You About the Button
While the charger is plugged in, try to turn the hoverboard on. If the hoverboard turns on and beep while plugged in, but dies the moment you unplug it, your battery might be dead. However, if the board refuses to turn on even when plugged into a working charger, the power switch is likely broken or disconnected. This simple test is a crucial step in learning How to Check if a Hoverboard Power Button Is Broken? because it rules out a completely dead battery.
Step 3: Testing with a Multimeter
If you want to be one hundred percent sure, you should use a multimeter. This tool measures electrical current. Do not worry if you have never used one. It is very simple to operate for this test.
Setting Up Your Tool
First, make sure your hoverboard is turned off and unplugged from the charger. You will need to open the plastic outer shell of the hoverboard to access the back of the power button. Use a screwdriver to remove the screws on the bottom of the board. Lift the cover off gently. Locate the wires running from the power button to the motherboard.
Set your multimeter to the “continuity” mode. This mode usually has an icon that looks like a small sound wave. When the two metal probes of the multimeter touch each other, the device will make a beeping sound. This beep means electricity can flow freely.
Reading the Continuity
Find the two main metal terminals on the back of the power switch. Touch one probe to the first terminal. Touch the second probe to the other terminal.
Now, ask a friend to press the power button on the outside of the board.
If the multimeter beeps when the button is pressed, the switch is working perfectly. The electrical path is closing as it should. If the multimeter remains silent when the button is pressed, the switch is broken. You have successfully answered the question of How to Check if a Hoverboard Power Button Is Broken? and can now plan your fix.
Step 4: Accessing and Replacing the Switch
Once you know the button is broken, you can replace it easily. You do not need to buy a brand-new hoverboard. A replacement switch is very cheap and can be bought online.
Opening the Shell Safely
Keep the screws organized in a small bowl so you do not lose them. When you lift the shell, be careful. There are wires attached to the shell for the LED lights. Gently unplug these wires from the motherboard. Now you have a clear view of the power button assembly. If you get stuck, you can refer to a handy how to fix power button on hoverboard guide for visual aids and deeper steps.
Swapping the Button
The power button is usually held in place by a small metal nut on the inside.
Use a pair of pliers to unscrew this nut. Once the nut is off, you can slide the old button out through the front.
Slide the new button in. Tighten the nut to secure it. Plug the wire connector back into the motherboard.
Before you screw the plastic shell back on, press the new button to test it. If the board beeps and lights up, you did it! Put the shell back on and tighten the screws.
Conclusion
A broken power button can make your hoverboard seem like a piece of junk. But as we have learned today, it is a simple fix. By performing a physical check, trying the charger test, or using a multimeter, you can easily find the problem. This saves you time, money, and stress. Now you can fix your board with confidence and get back to enjoying your outdoor adventures!
Frequently Asked Questions
How do I know if my hoverboard power button is stuck?
A stuck button will feel flat and will not push down or click. You can try to wiggle it gently with a toothpick or clean around the edges with rubbing alcohol to release it.
Can a hoverboard work if the power button wire is loose?
No, the board will not turn on if the wire is loose. The connection must be tight to send the electrical signal from the button to the motherboard.
How much does a replacement hoverboard power button cost?
A replacement power button is very affordable. You can easily find them online for under ten dollars, and they often come with the necessary wires attached.
Do I need to solder wires to replace the power button?
In most cases, no soldering is required. Most modern hoverboards use simple clip-in plastic connectors that plug directly into the motherboard.
Can a bad battery look like a broken power button?
Yes, if the battery is completely dead, the board will not turn on. However, if the board turns on when plugged into the charger, the button is fine and the battery is the issue.
Is it safe to open my hoverboard to check the button?
Yes, it is safe as long as the hoverboard is turned off and unplugged from the charger. Be careful not to touch the battery with metal tools to avoid sparks.
