


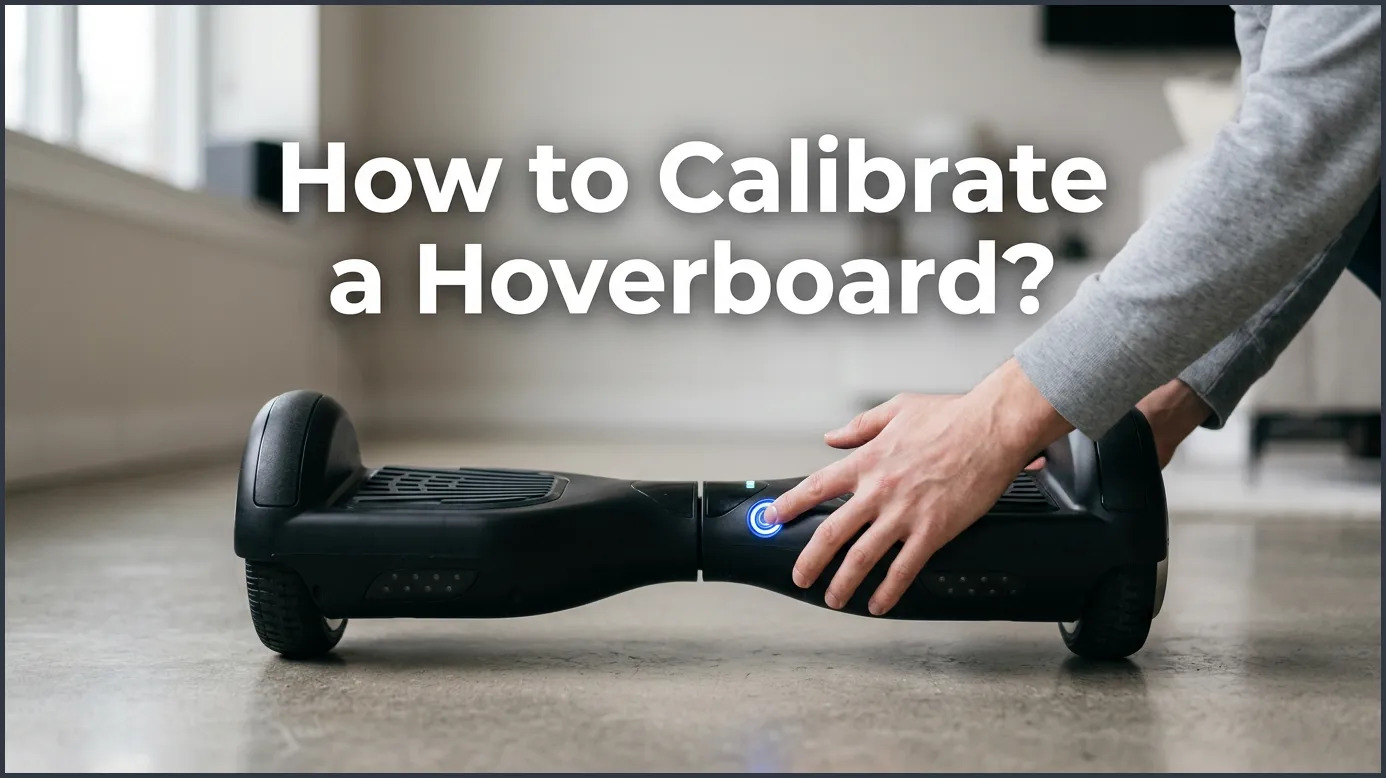
To calibrate a hoverboard, place it on a completely flat surface and level the pedals. Press and hold the power button for 5 to 10 seconds until the lights flash and you hear a beep. Release the button, turn the hoverboard off, and then turn it back on to enjoy a smooth, safe, and balanced ride.
Imagine you are gliding down your street on a warm summer evening. The wind is in your hair, and you feel completely in control. Suddenly, your hoverboard jerks to the left. It begins to shake under your feet. You try to lean back, but the board wobbles violently. Your smooth ride instantly becomes a stressful balancing act.
You might think your expensive ride is permanently broken. You might worry that you need to buy a brand new one. Thankfully, this is rarely the case. In most situations, your self-balancing board has simply lost its sense of balance. Just like a computer, it needs a quick restart to function properly again.
In this beginner-friendly guide, we will teach you exactly how to calibrate a hoverboard. This simple process takes less than five minutes. It does not require any special tools. Let us dive in and get your hoverboard running like new again!
Key Takeaways
- Restores Balance: Calibration resets the internal gyroscopes to make riding smooth and safe again.
- Use a Flat Surface: The hoverboard must be completely level during the process, or the calibration will fail.
- The 10-Second Rule: Holding the power button for 5 to 10 seconds triggers the reset mode.
- Visual & Audio Cues: Flashing lights and beeping sounds indicate that the reset is happening.
- Repeat if Needed: Some hoverboards require two or three calibration attempts to fix deep balance issues.
- Post-Crash Routine: It is a good practice to calibrate your board after any hard crashes or bumps.
📑 Table of Contents
What is Hoverboard Calibration and Why Does It Matter?
Before we jump into the steps, it helps to understand what calibration actually means. Inside your hoverboard, there are tiny sensors called gyroscopes. These sensors act like your board’s inner ear. They detect your weight, the tilt of your feet, and the direction you want to go.
When you ride over bumps, drop your board, or crash into a curb, these sensors can get confused. They lose track of what “flat” actually feels like. When this happens, the board might lean to one side, refuse to move forward, or shake violently when you step on it. Calibration resets these gyroscopes to their factory settings. It tells the board exactly what a level, flat surface feels like.
If you want a deeper look at sensor technology, the StreetSaw hoverboard calibration guide explains how these parts interact to keep you upright. Knowing how these parts work makes it much easier to diagnose issues down the road.
Signs Your Hoverboard Needs a Reset
How do you know it is time for a calibration? Look out for these common warning signs:
- The hoverboard shakes or vibrates when you step on it.
- One side of the board sits higher than the other side.
- A red warning light flashes continuously on the center console.
- The board pulls to one side when you try to ride straight.
- It makes a constant beeping sound and refuses to move.
Step-by-Step: How to Calibrate a Hoverboard?
Now, let us walk through the physical calibration process. This method works for almost 95% of all hoverboard brands on the market. Follow these simple steps carefully.
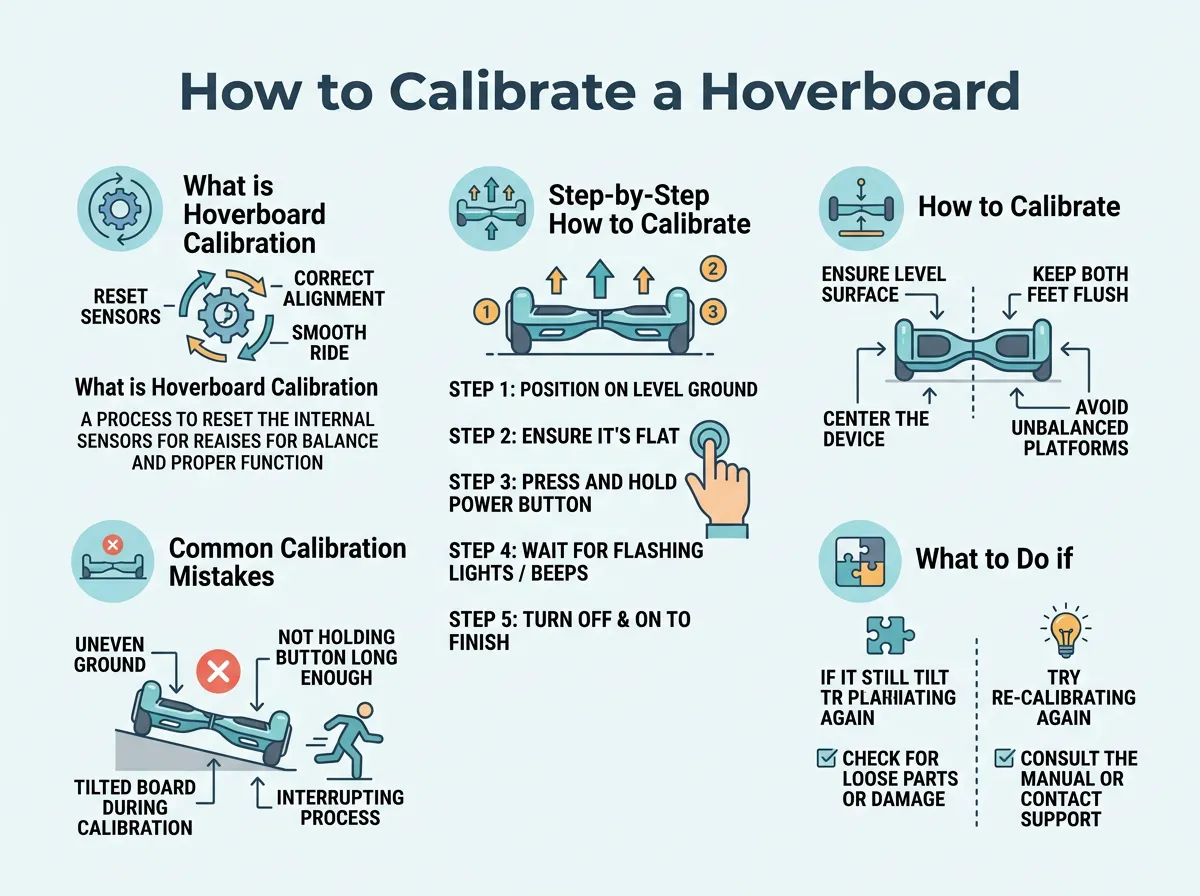
How to Calibrate a Hoverboard? — key points at a glance
Step 1: Power Off Your Hoverboard
First, make sure your hoverboard is completely turned off. Do not just put it in standby mode. Press the power button once to turn it off. Ensure that all the lights on the board are completely dark.
Step 2: Find a Completely Flat Surface
This is the most important step. If you calibrate your board on an uneven surface, it will remain unbalanced. Place your hoverboard on a flat floor. Hardwood, tile, or concrete floors work best. Avoid thick carpets, as they can tilt the wheels slightly.
Step 3: Level the Pedals
Look at your hoverboard from the side. Both foot pedals must be perfectly level with the floor and with each other. You can use your hands to adjust the two halves of the board until they align. If you have a small bubble level, place it on the pedals to ensure they are perfectly horizontal.
Step 4: Press and Hold the Power Button
Once the board is perfectly level, press the power button and hold it down. Do not let go! Keep pressing the button for 5 to 10 seconds.
While you hold the button, you will see the LED lights on your board start to flash. You will also hear a loud beep. This flashing and beeping mean that the board has entered its calibration mode. Once the lights start flashing, you can release the power button.
Step 5: Let the Board Calibrate
After you let go of the button, leave the hoverboard completely still. Let the lights flash for another 10 to 15 seconds. During this time, the internal computer is saving the new balance coordinates. Do not touch, kick, or move the board during this window.
Step 6: Power Off and Restart
Press the power button once to turn the hoverboard off. This action saves the new settings into the memory chip. Wait about five seconds, then press the power button again to turn the hoverboard back on. Step on it gently to test your work. Your ride should now feel smooth, stable, and perfectly balanced!
For brand-specific details on this process, you can also check out the official Jetson hoverboard recalibration instructions, which are incredibly helpful for riders using their specific models.
How to Calibrate a Bluetooth Hoverboard
Many modern hoverboards come with built-in Bluetooth speakers and smart apps. You might wonder if these high-tech models require a different process. The good news is that the physical button method described above still works perfectly on Bluetooth boards.
However, some advanced models allow you to calibrate directly through a smartphone app. Here is how to do it:
App-Based Calibration Steps
First, download the official app that goes with your specific hoverboard brand. Turn on your board and connect it to your phone via Bluetooth. Place the hoverboard on a flat floor and level the pedals. Open the app, navigate to the settings menu, and look for an option that says “Calibrate” or “Calibrate Unit.” Tap the button and follow the on-screen prompts. The app will trigger the reset automatically without you needing to hold down any physical buttons.
Common Calibration Mistakes to Avoid
While the process is highly straightforward, it is easy to make minor mistakes. Here are some common traps that beginners fall into:
- Calibrating on Carpet: Soft surfaces allow the wheels to sink in unevenly. Always use hard floors.
- Leaving the Charger Plugged In: Never try to calibrate your board while it is plugged into the wall charger. This can cause a system error. Unplug it first.
- Moving the Board Too Soon: If you move the board while the lights are flashing, the sensor calibration will be off. Keep it perfectly still.
- Uneven Footpads: If one footpad is angled slightly higher than the other during the reset, the board will lean permanently when you ride it.
What to Do if Calibration Fails
Sometimes, you might finish the steps, but the red light keeps blinking. Or perhaps the board still shakes when you step on it. If your first attempt fails, do not panic. Here is what you should do next.
Try the Three-Times Rule
In many cases, the gyroscopes do not register the reset on the first try. Many experienced riders recommend repeating the calibration steps three times in a row. Turn it off, calibrate, turn it off, and repeat. Often, this consecutive repetition solves stubborn balance issues.
Check for Physical Damage
If you have repeated the steps and the board still acts up, you might have a loose internal wire. A heavy crash can unplug the cable connecting the gyroscope to the main motherboard. If you feel comfortable, you can unscrew the bottom plastic shell to check for loose green or red wires. If you do not feel comfortable doing this, it is best to take the board to a local repair shop.
How to Keep Your Hoverboard Balanced
To avoid calibrating your board every single week, you can practice a few good habits. Treat your hoverboard with care to protect its internal sensors.
Avoid riding off high curbs or jumping on the pedals. These hard impacts shock the delicate gyroscopes. Additionally, avoid getting your board wet. Water can short-circuit the sensor boards, leading to permanent balance failure. Finally, store your board in a temperature-controlled environment. Extreme heat or cold can affect battery health and sensor accuracy.
Conclusion
Learning how to calibrate a hoverboard is a vital skill for every rider. It is the easiest way to solve wobbly rides, shaking pedals, and flashing red warning lights. By simply placing your board on a flat floor and holding the power button, you can save yourself time and money on professional repairs. Keep your board level, ride safely, and enjoy the smooth glide of a perfectly balanced machine!
Frequently Asked Questions
Why is my hoverboard shaking when I step on it?
Shaking usually happens because the internal gyroscopes have lost their balance baseline. Calibrating the hoverboard on a flat surface resets these sensors and stops the shaking immediately.
How long does it take to calibrate a hoverboard?
The entire calibration process takes less than two minutes. You only need to hold the power button for 10 seconds and let the board save its settings for another 15 seconds.
Can I calibrate my hoverboard while it is plugged in?
No, you should never calibrate your hoverboard while it is charging. Always unplug the charger from the board before starting the calibration process to avoid system errors.
How often should I calibrate my hoverboard?
You do not need a strict schedule for calibration. Simply perform a reset whenever you notice the board pulling to one side, shaking, or after you experience a major crash.
What does a flashing red light on a hoverboard mean?
A flashing red light usually indicates a system error or a balance issue. In most cases, a quick calibration will clear the error and turn the light back to green.
Will calibration fix a hoverboard that won’t turn on?
No, calibration only fixes balance and sensor issues. If your hoverboard refuses to turn on at all, the issue is likely a dead battery, a faulty charger, or a damaged motherboard.
