


Updating your hoverboard’s firmware can fix balance issues, increase speed, and improve battery life. Most modern boards update instantly through a Bluetooth phone app, while custom DIY projects require a manual flash using a computer. Always keep your hoverboard fully charged and stationary on a flat surface during the update process.
Imagine gliding down the street on your favorite self-balancing scooter. The sun is shining, and the ride is perfectly smooth. Then, out of nowhere, the board starts to shake. Or maybe it loses its balance for a split second. You might worry that the motor is broken or the battery is dying. However, the real problem is often much simpler. Just like your smartphone or tablet, your hoverboard has a tiny computer inside. This computer runs on software called firmware. When this software gets old or glitched, you need to fix it.
Learning how to update hoverboard firmware can solve many common problems. It can stop weird vibrations, make your battery last longer, and even unlock new speeds. If you want your ride to feel brand new, updating the software is the best place to start. In this guide, we will break down the entire process into simple steps. We will cover the easy method using Bluetooth apps and the manual method for tech lovers.
Key Takeaways
- Smart App Updates: Most modern hoverboards update easily through a dedicated Bluetooth smartphone app.
- DIY Manual Flashing: Custom projects and older boards require a computer, programming software, and an ST-Link tool.
- Battery Safety: Never start a firmware update unless your hoverboard has at least a 50% charge to prevent bricking.
- Post-Update Calibration: Always calibrate your hoverboard after updating the software to ensure the sensors work correctly.
- Performance Boosts: Firmware updates can fix annoying motor vibrations, improve range, and unlock smoother riding modes.
📑 Table of Contents
What is Hoverboard Firmware?
Before we jump into the steps, let us talk about what firmware actually is. Think of firmware as the brain of your hoverboard. It is the code that tells the electric motors how fast to spin. It tells the gyroscopes how to keep you upright. It also monitors the battery to make sure it does not overheat.
Why You Need to Keep It Updated
Manufacturers are always learning how to make their products safer and more fun. When they find a way to improve the ride, they release a firmware update. These updates can fix bugs that make the board tilt randomly. They can also make the steering feel much more responsive. Sometimes, an update can even add new safety features, like a slower speed mode for young kids.
Method 1: Updating via Bluetooth App (The Easy Way)
If you own a modern smart hoverboard, you are in luck. Most of these models come with built-in Bluetooth. This means you do not need to plug the board into a computer to update it. You can do the whole thing right from your mobile phone. Let us look at how this works.
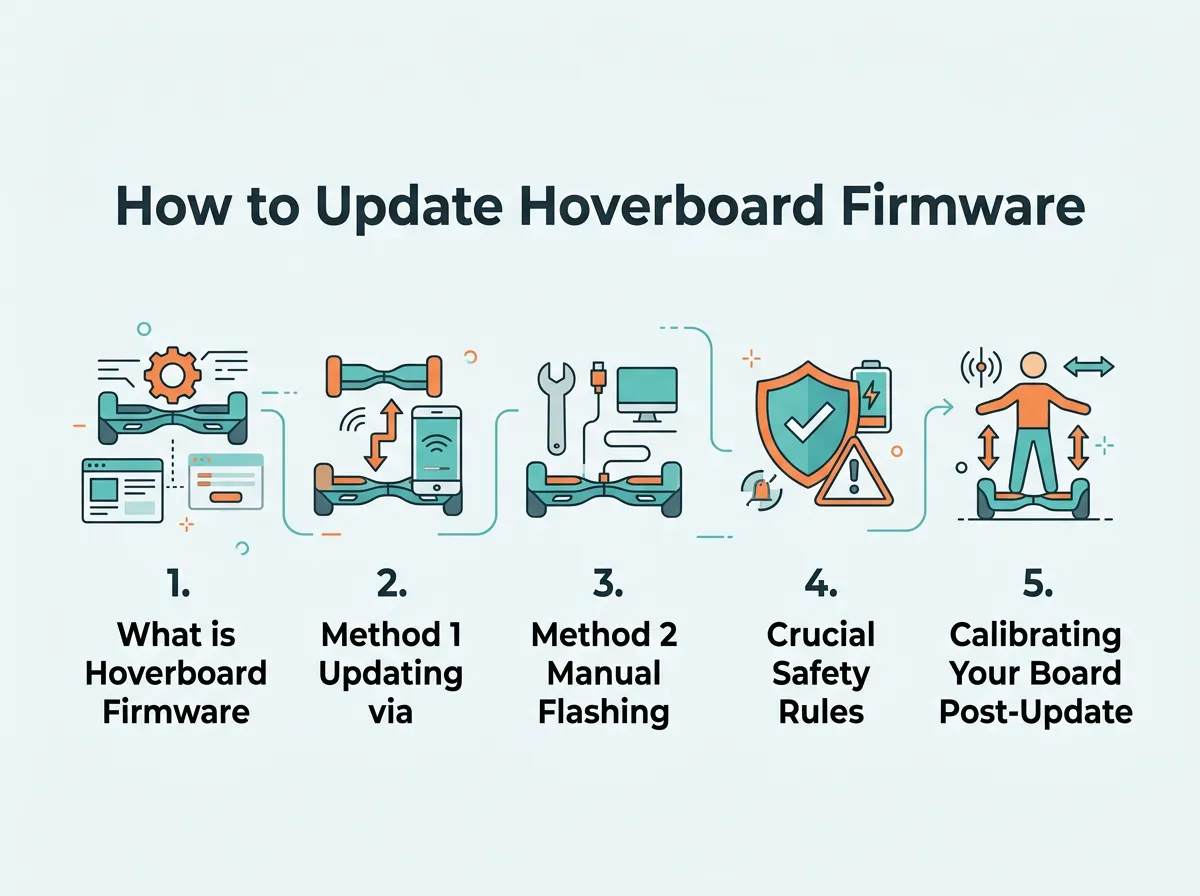
How to Update Hoverboard Firmware? — key points at a glance
Step 1: Charge Your Battery
This is the most important step. Make sure your hoverboard has a charge of at least 50%. If the battery dies in the middle of an update, your board will stop working completely. Tech experts call this “bricking” the device. It means your hoverboard becomes as useless as a real brick. To be safe, plug your board into the charger before you begin.
Step 2: Download the Official App
Open the app store on your Apple or Android phone. Search for the official app made by your hoverboard brand. Popular brands like Segway, Razor, and Jetson all have their own apps. Download the app and make sure it is the latest version.
Step 3: Connect to Your Hoverboard
Turn on your hoverboard and enable Bluetooth on your phone. Open the app and tap the connect button. Look for your hoverboard in the list of nearby devices. Once connected, you should see your board’s speed, battery level, and settings on your screen.
Step 4: Run the Firmware Update
Go to the settings menu inside the app. Look for a tab that says “Firmware Update,” “System Update,” or “Check for Updates.” If an update is ready, the app will show a prompt. Tap the “Update” button to start. Keep your phone close to the hoverboard during this time. Do not close the app or turn off the board until the progress bar reaches 100%. Once finished, the hoverboard will beep and restart automatically.
Method 2: Manual Flashing for Custom DIY Projects
What if you want to push your hoverboard past its factory limits? Or what if you want to turn your hoverboard parts into a robot or a go-kart? In these cases, the standard app will not help you. You will need to learn how to update hoverboard firmware manually using a computer. This process is called flashing.
This method is popular in the maker community. Many hobbyists use the EFeru Hoverboard Firmware Hack to unlock Field Oriented Control (FOC). This hack makes the motors run almost silently and gives you amazing torque control.
The Tools You Will Need
- An ST-Link V2 USB Programmer: This is a cheap tool that lets your computer talk to the hoverboard chip.
- Female-to-Female Jumper Wires: You need these to connect the programmer to the board.
- A Computer: You will need a PC to run the flashing software.
- Screwdrivers: To open up the hoverboard plastic shell.
Step-by-Step Hardware Flashing
First, make sure the hoverboard is turned off and unplugged from the wall. Unscrew the bottom plastic cover of the hoverboard to reveal the green motherboard inside. Locate the programming pins on the main chip. These are usually labeled as GND, CLK, and DIO.
Next, use your jumper wires to connect these pins to your ST-Link V2 programmer. Plug the programmer into your computer’s USB port. Open a program like STM32 Cube Programmer on your PC. From here, you can load your custom firmware file and click “Write” to flash the chip.
Many builders use this exact method when they want to make custom vehicles. For example, you can read about reprogramming hoverboards for robots to see how developers turn old boards into smart moving platforms. You can also learn about controlling hoverboard motors with Arduino to make your own remote-controlled projects.
Crucial Safety Rules to Remember
Updating software is usually very safe, but things can go wrong if you are not careful. Keep these three rules in mind every time you perform an update.
1. Do Not Move the Hoverboard
During a firmware installation, the sensors inside the board are being calibrated. If you kick, tilt, or move the board while it is updating, the sensors might get confused. This can cause the board to spin out of control when you turn it back on. Keep the board completely flat on the floor.
2. Use a Stable Wi-Fi Connection
If you are updating through a phone app, make sure your phone has a strong Wi-Fi signal. If your internet drops in the middle of downloading the update, the file could get corrupted. A bad file can cause the installation to fail.
Calibrating Your Board Post-Update
Once you finish learning how to update hoverboard firmware and apply the patch, you must calibrate the sensors. Think of this as teaching the hoverboard where the ground is. It resets the gyroscopes so you can ride safely.
To calibrate your board, place it on a perfectly flat table or floor. Make sure the footpads are level with each other. With the hoverboard turned off, press and hold the power button for about five to ten seconds. Do not let go when you hear the first beep. Keep holding until the LED lights on the front start flashing rapidly. Once they flash, let go of the button. Turn the board off, then turn it back on. Your hoverboard is now calibrated and ready to ride!
Troubleshooting Failed Updates
Sometimes, things do not go as planned. If your update gets stuck at 50%, or if your hoverboard keeps beeping after an update, do not panic. Most of these issues are easy to fix.
App Freeze or Lost Connection
If the app freezes, do not turn off the hoverboard yet. Simply close the app on your phone, turn your phone’s Bluetooth off and on again, and open the app. Often, the app will resume the update where it left off.
The Red Light of Death
If a red light starts flashing on your hoverboard after a manual update, it means the chip did not accept the new code. This is usually caused by a loose wire during the programming process. Double-check your wire connections and try flashing the firmware one more time.
Conclusion
Keeping your hoverboard healthy does not have to be hard. Knowing how to update hoverboard firmware is a great skill that will save you time and money. For most riders, a quick check on the mobile app once a month is all it takes to keep things running beautifully. For tech hobbyists, custom flashing opens up a whole new world of fun robotic projects. Grab your phone or your tools, update your board today, and enjoy a much smoother, safer ride!
Frequently Asked Questions
How long does a firmware update take?
An update using a Bluetooth smartphone app usually takes about 2 to 5 minutes. If you are flashing the board manually with a computer, the physical upload process takes less than a minute once everything is wired up.
Can I update my hoverboard without Bluetooth?
Yes, but only if you are willing to open up the case. Older models without Bluetooth require a manual flash using an ST-Link programmer tool connected directly to the motherboard pins.
Will updating the firmware delete my custom settings?
In most cases, yes. A major firmware update will reset your speed limits, steering sensitivity, and sensor calibrations back to the factory defaults, so you will need to set them up again.
What happens if the update gets interrupted?
If the power cuts out during an update, the hoverboard can get “bricked,” meaning its brain is empty and it will not turn on. You will likely need to flash it manually with a computer to restore the code.
How do I know if my hoverboard needs an update?
If your hoverboard shakes, vibrates at high speeds, struggles to hold a charge, or shows a notification inside its official mobile app, it is time for a firmware update.
Is it safe to use custom firmware on my hoverboard?
Custom firmware is great for DIY robot projects, but it can be dangerous for riding. Removing factory safety limits can lead to motor failure or high-speed crashes, so only use custom code if you know what you are doing.
