


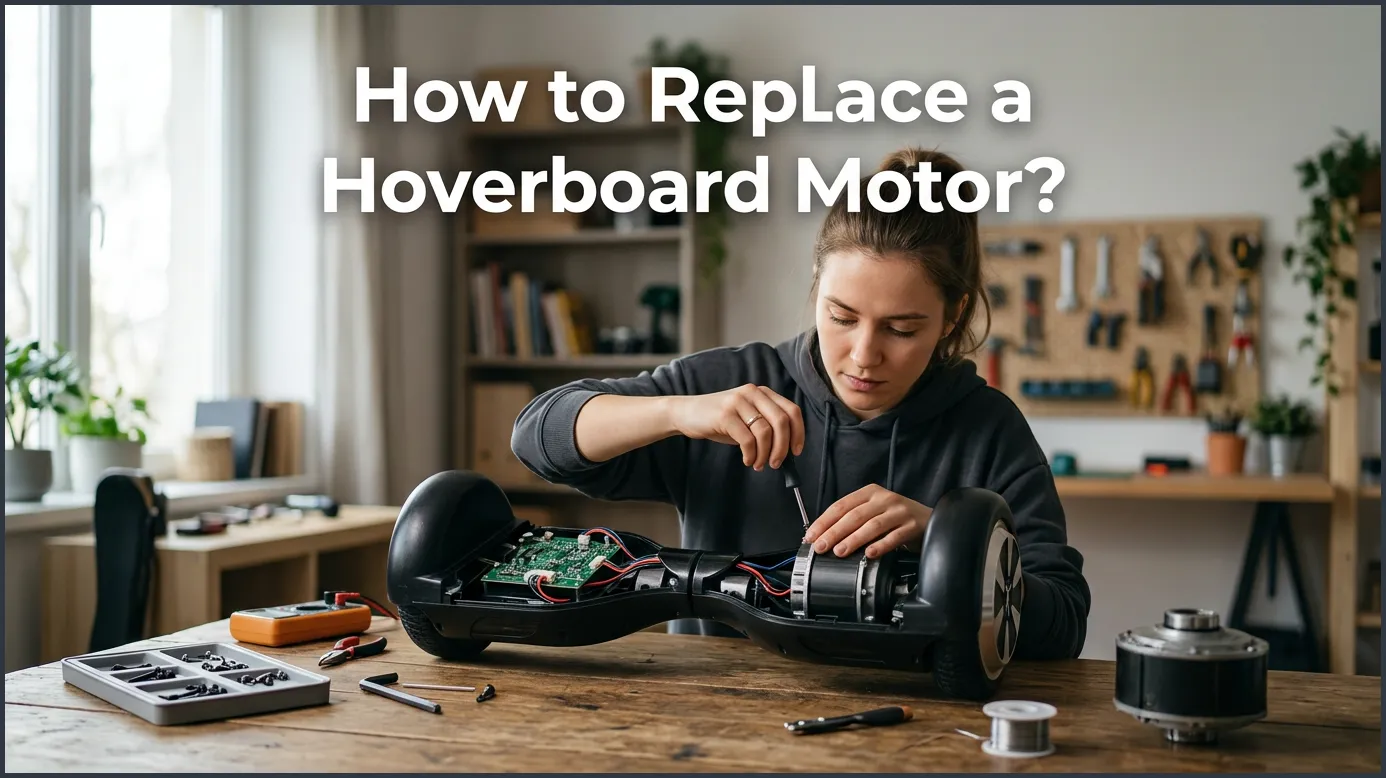
Replacing a hoverboard motor is a straightforward DIY task that involves opening the outer shell, unplugging the old motor cables from the motherboard, and bolting in a new wheel motor assembly. By following basic safety steps like disconnecting the battery first, you can easily restore your ride’s power and performance at home. This guide breaks down every step so you can fix your hoverboard without spending money on professional repairs.
Imagine this: you are gliding down the sidewalk on a sunny afternoon. The wind is in your hair, and you feel like you are flying. Suddenly, your hoverboard shudders. It makes a harsh grinding noise, tilts to one side, and shuts off completely. Your fun afternoon comes to a grinding halt. You try to turn it back on, but one side of the board refuses to budge. What do you do now? Is your expensive ride ready for the trash heap?
Do not panic! Most of the time, a dead or noisy wheel means your hoverboard motor has given up. The good news is that you do not need to buy a brand-new hoverboard. You also do not need to pay a professional repair shop a fortune to fix it. With a few basic tools and a little bit of patience, you can swap out the motor yourself at home. This article is your ultimate guide on how to replace a hoverboard motor at home.
In this beginner-friendly guide, we will walk you through the entire process step by step. We will cover the signs of a failing motor, the exact tools you need, and how to safely install a new one. Knowing how to replace a hoverboard motor is a great skill for any rider. By the end of this article, you will know exactly how to replace a hoverboard motor and get back to riding in no time.
Key Takeaways
- Safety First: Always disconnect the hoverboard battery before touching any internal wires or components to avoid short circuits.
- Organize Your Screws: Keep track of the many small screws you remove by placing them in labeled cups or magnetic trays.
- Unplug with Care: Take a photo of the motherboard wiring before unplugging the motor cables to make reassembly easy.
- Match the Part: Ensure your replacement motor matches the exact size, voltage, and brand specifications of your original wheel.
- Test Before Closing: Turn on and test the hoverboard briefly before screwing the outer shell back together.
📑 Table of Contents
Signs Your Hoverboard Motor Needs Replacing
How do you know for sure that the motor is the problem? Hoverboards are complex machines. They have batteries, motherboards, gyroscopes, and motors. Before you buy any spare parts, you want to make sure you are fixing the right thing. Here are the most common signs that your wheel motor is dead.
Strange Grinding or Clicking Noises
A healthy hoverboard motor should run quietly. It makes a soft, futuristic hum when you accelerate. If you start hearing a loud grinding, clicking, or rattling noise from one of the wheels, that is a bad sign. It usually means the internal gears or magnets have slipped or broken. If you want to see what the inside of these wheels looks like, you can check out this detailed hoverboard motor teardown review to understand the internal components.
One Wheel Will Not Spin
This is the most obvious sign. If you step on the board and only one side moves, the other motor is likely dead. Try spinning the broken wheel with your hand while the hoverboard is turned off. If it feels extremely stiff, locked up, or resists turning, the motor is seized. A good motor should spin relatively smoothly when the power is off.
The Dreaded Red Warning Light
Most hoverboards have indicator lights in the center. If your hoverboard senses a problem with the motor, it will flash a red light. Sometimes, it will beep constantly to warn you. If you count the number of red flashes, you can look up the error code in your manual. A specific number of blinks often points directly to a motor connection issue or a failed motor phase.
Tools and Materials You Will Need
Before you begin learning how to replace a hoverboard motor, you need to gather your tools. Having everything ready on your workbench will make the process smooth and stress-free. Do not worry, you do not need any specialized or expensive gear.
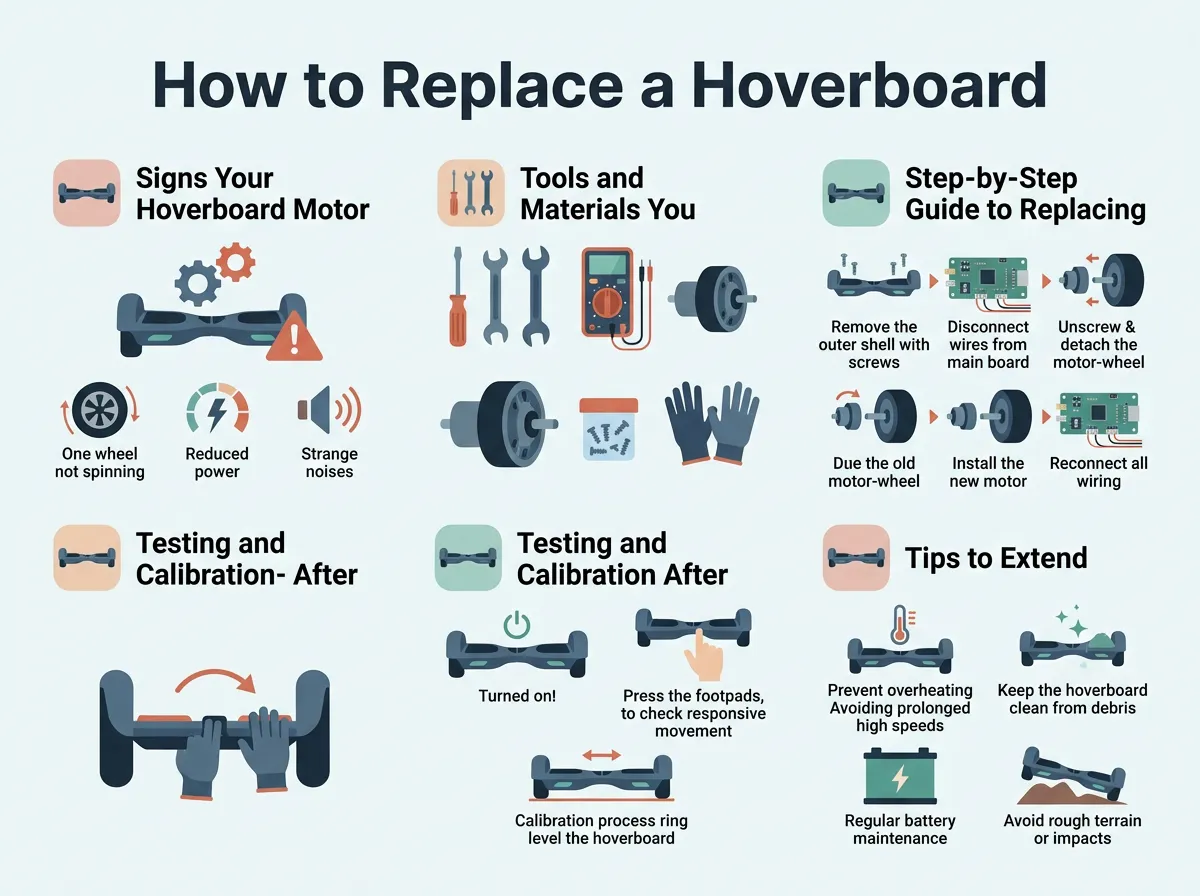
How to Replace a Hoverboard Motor? — key points at a glance
- A replacement motor: Make sure you buy a wheel motor that matches your hoverboard’s wheel size (usually 6.5-inch, 8-inch, or 10-inch) and voltage.
- Phillips head screwdriver: A medium-sized screwdriver is perfect for the outer shell screws.
- Wrench or socket set: You will need this to loosen the heavy-duty bolts holding the motor axle to the frame.
- Small cups or a magnetic tray: Use these to hold the tiny screws so they do not roll off your table.
- Smart phone: You will use this to take photos of the wiring before you unplug anything. This is a lifesaver!
Step-by-Step Guide to Replacing the Motor
Now that you have your tools, it is time to get to work. Find a clean, flat, well-lit table. Lay down a soft towel to protect the plastic shell of your hoverboard from scratches while you work on it. This step-by-step guide is the easiest way to learn how to replace a hoverboard motor without paying a pro.
Step 1: Safety First (Disconnect the Battery)
Safety is the most important part of any DIY electronics project. Always make sure your hoverboard is turned completely off. Unplug it from the wall charger too. Place the hoverboard upside down on your towel. Find the side of the hoverboard that houses the battery. Carefully remove the screws holding the plastic shell in place on that side. Once open, find the yellow or black battery connector. Unplug it immediately. This cuts off all power to the board and keeps you safe from accidental short circuits.
Step 2: Remove the Outer Shell
Next, you need to remove the plastic cover from the side with the broken motor. Take your Phillips head screwdriver and remove all the screws on the bottom of that side. Keep these screws separate from the battery cover screws, as they are sometimes different sizes. Lift the plastic cover gently. Be careful! There might be wires connected to the charging port or power button attached to this shell. Gently unplug these small wire connectors so you can set the plastic shell aside completely.
Step 3: Unplug the Old Motor Wires
With the shell removed, you will see the green motherboard and a bundle of wires. The motor has two main sets of wires. First, there are three thick power wires (usually blue, green, and yellow). Second, there is a bundle of five thin wires attached to a white plastic plug. This is the Hall sensor wire. Take your phone and snap a clear picture of exactly where these wires plug into the circuit board. Once you have a photo, carefully unplug them. You can find helpful visual aids and step-by-step teardown instructions on iFixit if you get stuck on this step.
Step 4: Remove the Motor Axle Bolts
Flip the hoverboard slightly so you can see the metal frame beneath the wheel. The wheel motor is held in place by a heavy-duty metal bracket and four strong bolts. Use your wrench or socket set to loosen and remove these bolts. Keep a firm grip on the wheel while you do this so it does not drop suddenly. Once the bolts are out, slide the old wheel and its wires out of the frame slot. If you need a more visual guide on this step, look at this article on replacing the entire wheel frame for extra tips.
Step 5: Install the New Motor
Take your brand-new replacement motor wheel. This is the most critical part of learning how to replace a hoverboard motor correctly. Thread the motor wires through the hole in the metal frame, just like the old ones were. Slide the axle into the frame slot. Align the screw holes on the metal bracket. Insert the four bolts and tighten them securely with your wrench. Make sure the wheel is firmly attached and does not wiggle.
Step 6: Connect the New Wires
Now, refer to the photo you took in Step 3. Plug the new motor’s wires into the correct spots on the motherboard. Connect the thick blue, green, and yellow power wires to their matching terminals. Plug the white Hall sensor connector into its slot. Make sure all connections are tight and fully seated. If you want to double-check your connections against a master diagram, refer to this comprehensive guide by Gyroor which details common wiring layouts.
Step 7: Reconnect the Battery and Test
Before you screw the plastic cover back on, you should do a quick test. Reconnect the battery wire. Carefully turn the hoverboard right side up. Press the power button. If the board turns on without beeping, gently press down on the footpads with your hands. The new wheel should spin smoothly and quietly. Once you confirm it works, turn it off, disconnect the battery again, put the plastic shells back on, and tighten all the outer screws.
Testing and Calibration After Installation
You did it! The new motor is installed, and the shell is screwed back on tight. But before you jump on and ride, you need to calibrate your hoverboard. Replacing a motor can throw off the internal gyroscopes. Calibration resets these sensors so your board knows what “flat” feels like.
To calibrate your hoverboard, place it on a perfectly flat, level floor. Make sure both footpads are completely even with each other. Press and hold the power button for about 5 to 10 seconds. The lights on the board will start flashing, and you might hear a beep. Keep holding the button until the flashing stops. Release the button, turn the hoverboard off, and then turn it back on. Your hoverboard is now calibrated and ready for action!
Tips to Extend Your New Motor’s Lifespan
Now that you know how to replace a hoverboard motor, you probably do not want to do it again anytime soon. To keep your new motor running great for years, follow these simple tips:
- Avoid Water and Puddles: While some hoverboards are water-resistant, they are not waterproof. Water can easily get inside the wheel motor and rust the magnets or short out the wires.
- Stay Off Rough Terrain: If your hoverboard is built for flat sidewalks, do not ride it through deep grass, thick mud, or gravel. This puts extra strain on the motor and causes it to overheat.
- Respect the Weight Limit: Every hoverboard has a maximum weight capacity. Exceeding this limit forces the motors to work twice as hard, which shortens their lifespan quickly.
- Avoid Jumping Curbs: Hard impacts can crack the internal magnets of the motor or bend the axle. Treat your board gently.
Conclusion
Learning how to replace a hoverboard motor might seem scary at first. However, as we have shown, it is a task that anyone can complete with just a little patience and a screwdriver. By taking your time, organizing your screws, and taking photos of the wiring, you can save a lot of money and get your favorite ride back on the road. Now, put on your helmet, step onto your freshly repaired board, and enjoy the ride!
Frequently Asked Questions
Can I replace just one hoverboard motor?
Yes, you can replace just one hoverboard motor if the other side is still working perfectly. Hoverboards have two independent wheel motors, so swapping out the broken one is all you need to do to fix the issue.
How much does a replacement hoverboard motor cost?
A replacement hoverboard wheel motor typically costs between $30 and $60 depending on the size and brand. This is much cheaper than buying a completely new hoverboard.
Are all hoverboard motors the same size?
No, hoverboard motors come in different sizes, usually 6.5 inches, 8 inches, or 10 inches. You must check your hoverboard model and buy a replacement motor that matches your current wheel size.
Do I need to solder any wires to replace the motor?
No soldering is required for this repair. The motor wires connect to the motherboard using simple plug-and-play plastic connectors and screw terminals.
How long does it take to replace a hoverboard motor?
For a beginner, the entire process of replacing a motor takes about 30 to 45 minutes. Taking your time to organize the screws and trace the wires will make the job much easier.
Why is my hoverboard shaking after installing the new motor?
If your hoverboard shakes or vibrates after the repair, it usually means the sensors need to be recalibrated. Simply place the board on a flat surface, hold the power button for 10 seconds to calibrate it, and the shaking should stop.
