


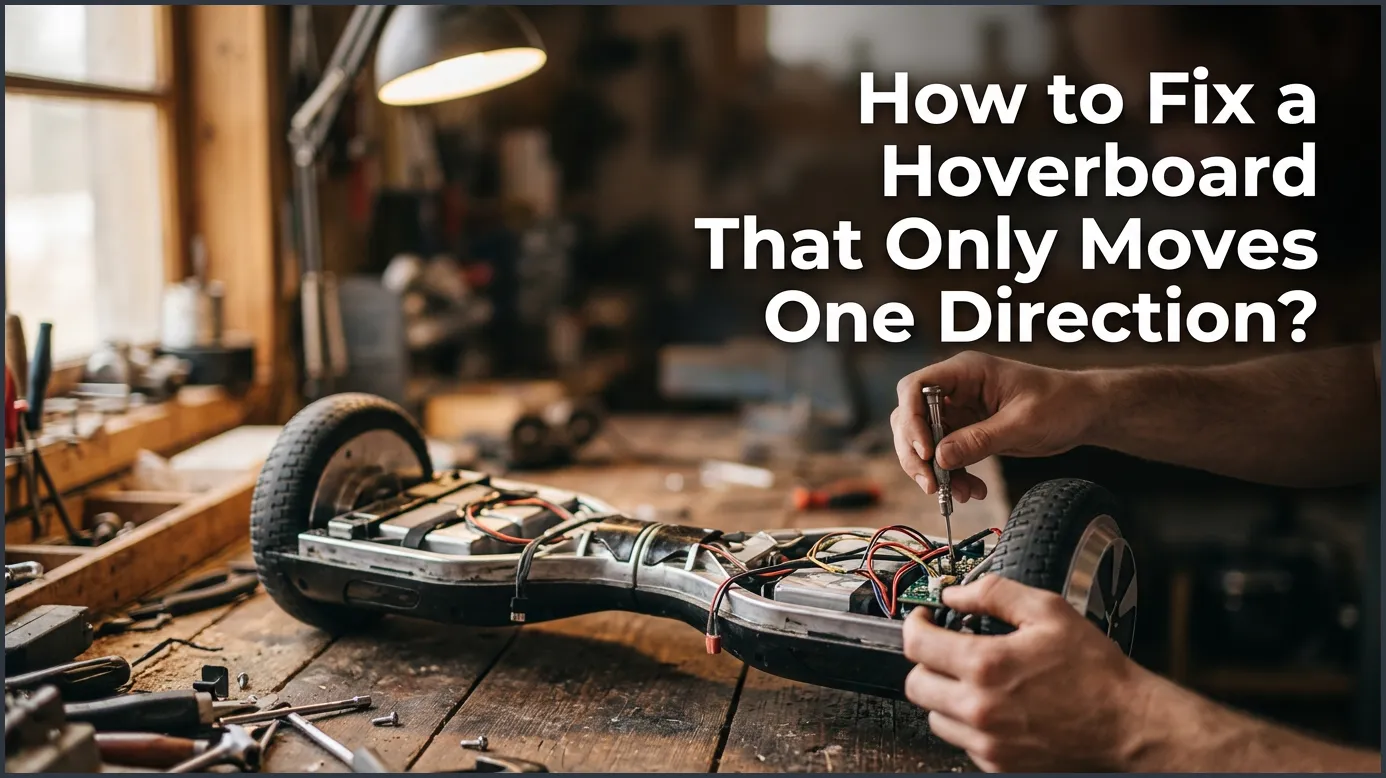
If your hoverboard only moves in one direction, the most common culprit is a miscalibrated gyroscope, which you can easily reset at home. Other frequent causes include damaged gyroscopic sensor pads, disconnected interior wires, or a faulty motherboard. By systematically calibrating your board, checking internal connections, and inspecting the pressure pads, you can quickly restore full directional control to your ride.
Imagine the excitement of stepping onto your hoverboard. You expect a smooth, effortless glide down the sidewalk. You lean forward, and your board rolls beautifully. But then, you try to turn, back up, or pivot. Suddenly, the board refuses to cooperate. It feels like one half of the machine has gone completely to sleep. You might feel frustrated, confused, or even a bit worried that your expensive toy is broken forever.
Do not panic just yet. This is actually a very common issue that many riders face. Whether your board only goes forward, refuses to back up, or spins in endless circles, the underlying cause is usually easy to pinpoint. In this beginner-friendly guide, we will walk you through the process of how to fix a hoverboard that only moves one direction? with simple, clear steps. You do not need to be a professional technician to get your wheels rolling again.
We will cover everything from simple sensor resets to checking the internal wiring. By the end of this guide, you will understand how your hoverboard reads your movements and how to bring both sides back into perfect harmony. Let us dive in and get your ride back on track!
Key Takeaways
- Gyroscope Calibration: Most directional issues can be solved with a simple system reset.
- Inspect Foot Sensors: Damaged or stuck rubber foot pads can prevent backward or forward signals.
- Wire Check: Loose wires inside the hoverboard can disrupt the communication between the wheel motors and the motherboard.
- Battery Health: A low or unstable charge can cause uneven power distribution, limiting wheel movement.
- Motherboard Replacement: If physical resets fail, the main circuit board might be faulty and require replacement.
📑 Table of Contents
Understanding How Your Hoverboard Moves
Before we start turning screws, it helps to understand how your hoverboard works. Hoverboards are smart machines. They rely on a mix of balance, sensors, and power to move. When one direction stops working, it means the communication system has broken down somewhere inside the board.
The Role of Gyroscopes
Inside each side of your hoverboard sits a tiny sensor called a gyroscope. These sensors detect your weight. They measure how far you tilt forward or backward. When you lean, the gyroscopes tell the motherboard how fast to spin each wheel. If one gyroscope stops sending signals, your board will lose its ability to move in that direction. This often leads to searching for a solution on hoverboard tilt repair solutions to balance the sensors out.
Why Directions Get Locked
Sometimes, the board gets confused. This is called system confusion. If you crash into a curb or drop the board, the internal sensors can lose track of what “flat” actually means. The board might think you are constantly leaning forward, even when you are standing straight. When this happens, it will refuse to go backward to prevent you from falling over.
Step 1: Calibrate Your Hoverboard (The Quick Fix)
If you are looking for how to fix a hoverboard that only moves one direction?, calibration is always your first step. It is the hoverboard equivalent of restarting your computer. It resets the gyroscopes and tells the motherboard where the level ground is. This simple fix solves about 80 percent of all directional issues.
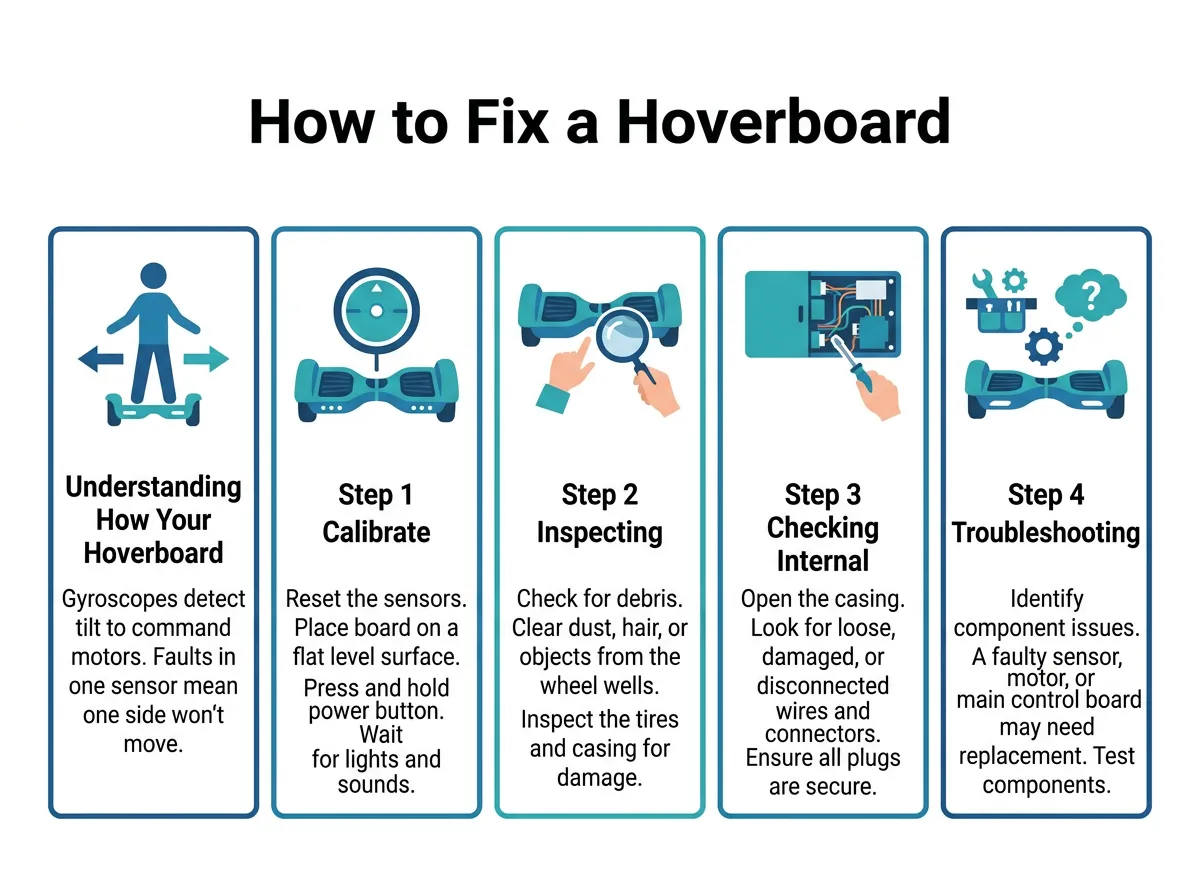
How to Fix a Hoverboard That Only Moves One Direction? — key points at a glance
How to Perform a Hard Reset
To calibrate your hoverboard, follow these simple steps carefully:
- Turn off your hoverboard completely. Do not use standby mode.
- Place the hoverboard on a completely flat, level surface. A hard tile or hardwood floor works best. Avoid thick carpets.
- Align both halves of the board. Ensure they are perfectly level with the ground and level with each other.
- Press and hold the power button down for about 10 seconds.
- Keep holding the button until you see the LED lights start flashing. You will also hear a loud beep.
- Release the power button and let the lights flash for another 5 to 10 seconds.
- Turn the hoverboard off to lock in the new calibration.
Now, turn your board back on and try to ride it. If a simple calibration was all you needed, your hoverboard should now move smoothly in all directions.
When Calibration Fails
Did the lights flash, but the board still resists moving backward? Do not worry. This simply means the issue is physical rather than digital. We need to look at the physical parts that trigger the sensors. If your board still acts up, you might want to look at more advanced troubleshooting steps for a backward-only hoverboard to diagnose the sensor brain.
Step 2: Inspecting the Foot Sensors and Pads
Under the rubber foot pads of your hoverboard are plastic switches. When you step on the board, your feet push these rubber pads down. The pads push physical plastic pegs into infrared sensor beams. This tells the motor to move.
Checking the Rubber Pedals
Sometimes, the rubber foot pads get stuck. This is very common if you ride your hoverboard in dusty areas, mud, or near sand. Tiny rocks can get wedged under the rubber lip. This keeps the sensor pressed down constantly. Inspect the edges of your rubber foot pads. Gently clean out any dirt, grass, or debris with a toothpick or a small brush.
Fixing Stuck Sensor Switches
If the pads are clean but still feel stiff, the plastic pegs underneath might be bent. To check this, you will need to open the outer plastic shell. When the shell is off, you can see the small rubber cups that push the sensors. If they are out of place, push them back into their correct positions. If you are unsure about doing this yourself, reading community forums can help. Many users share their hands-on experiences in user discussions on one-sided hoverboard issues to guide you through the process.
Step 3: Checking Internal Wiring and Connections
If the sensor pads are working but the board still won’t move in both directions, we must check the wires. Hoverboards vibrate a lot during use. Over time, these vibrations can shake internal connectors loose.
Opening Your Hoverboard Safely
Before you open your board, safety must come first. Ensure the hoverboard is completely turned off. Unplug the charger from the wall and the board. Place the board upside down on a soft towel. This prevents the outer shell from getting scratched. Use a Philips screwdriver to remove the screws holding the bottom cover in place. Keep the screws safe in a small bowl.
What to Look For Under the Hood
Once you lift the bottom cover, you will see a lot of colorful wires. Do not feel overwhelmed. Look closely at the wires running from the wheel motor to the main circuit board. Are any plugs loose? Are any wires pinched or cut? Gently push each plug to ensure it is seated tightly in its socket. If a wire has come completely unplugged, trace it back and plug it back into its matching color-coded port.
Step 4: Troubleshooting the Motherboard and Gyro Boards
If your connections are secure and your foot pads are clear, the issue might lie in the brains of the hoverboard. Your hoverboard has one main motherboard and two smaller gyroscope boards (one under each foot).
Identifying Motherboard Issues
Sometimes, a component on the motherboard burns out. This can happen if you ride up steep hills for too long or if the board gets wet. Look closely at the green circuit boards. Do you see any black burn marks? Do you smell a strong plastic burning odor? If so, the motherboard or gyroscope board is damaged. If only one side of the board is receiving power, refer to a detailed guide on fixing a dead hoverboard wheel to see if your motor or board needs replacement.
When to Replace Parts
Replacing a gyro board or a motherboard is easier than it sounds. You can buy replacement kits online. These kits usually come with a new motherboard and two matching gyro boards. Replacing them is a simple matter of unplugging the old boards, screwing in the new ones, and plugging the wires back into the color-coded slots. Always replace these boards as a complete set to ensure they match perfectly.
Tips to Prevent Future Directional Issues
Now that you know how to fix a hoverboard that only moves one direction?, you should take steps to stop it from happening again. Preventive care will extend the life of your board by years.
- Avoid Water: Hoverboards are not waterproof. Water can ruin the sensitive gyroscopes and short out the motherboard.
- Step Off Backwards: Always step off your hoverboard backward, one foot at a time. Stepping off forward can trick the sensors and throw off the calibration.
- Avoid Rough Terrain: Hard bumps and drops can loosen internal wires and damage the delicate gyroscopes. Try to ride on smooth pavements.
- Keep it Charged: Never store your hoverboard with a completely flat battery. Charge it at least once a month to keep the battery healthy.
Conclusion
A hoverboard that only moves in one direction can be incredibly frustrating. However, in most cases, the fix is quick and simple. Start with a basic system calibration. If that does not work, check your foot sensor pads for dirt or damage. If you are comfortable, open the case to inspect the internal wiring for loose plugs. With a little patience, you can solve most hoverboard directional issues right at home. Keep your board clean, ride on smooth surfaces, and you will enjoy a smooth, bidirectional ride for a long time to come!
Frequently Asked Questions
Why does my hoverboard only go forward and not backward?
This is usually caused by a calibration error where the gyroscopes lose track of the true level position. Performing a hard system reset by holding down the power button on a flat surface will normally fix this issue. If the reset fails, you may have a physically stuck rubber foot sensor pad.
How do I know if my hoverboard motherboard is broken?
A broken motherboard often produces a strong burning smell or visible black scorch marks on the circuit board itself. You might also notice the hoverboard won’t turn on, won’t charge, or completely ignores input from one of the side gyro boards. Replacing the motherboard is usually required to fix these issues.
Can water damage cause a hoverboard to move in only one direction?
Yes, water can corrode the delicate gyroscopic sensors or cause a short circuit in the motherboard. If your hoverboard got wet, turn it off immediately, dry it thoroughly, and check for corrosion on the connectors. If the damage is severe, you may need to replace the wet circuit boards.
How long does it take to calibrate a hoverboard?
Calibrating a hoverboard is a very quick process that takes less than one minute. You simply need to hold down the power button for about 10 seconds until the lights flash, let it sit for a few seconds, and then turn it off and back on again. It is the easiest DIY fix available for directional problems.
Is it safe to ride a hoverboard that only moves one way?
No, it is not safe to ride a hoverboard that does not respond in both directions. The sudden loss of control can cause you to lose your balance, fall, and injure yourself. You should troubleshoot and fix the issue completely before attempting to ride the board again.
Can a loose wire inside the hoverboard cause directional failure?
Yes, loose wires are a very common cause of directional failure due to the constant vibrations from riding. A loose plug can disconnect the communication between the gyroscopic sensor and the motherboard, causing one direction or side to stop working entirely. Simply opening the board and tightening all internal connections often solves the problem.
