


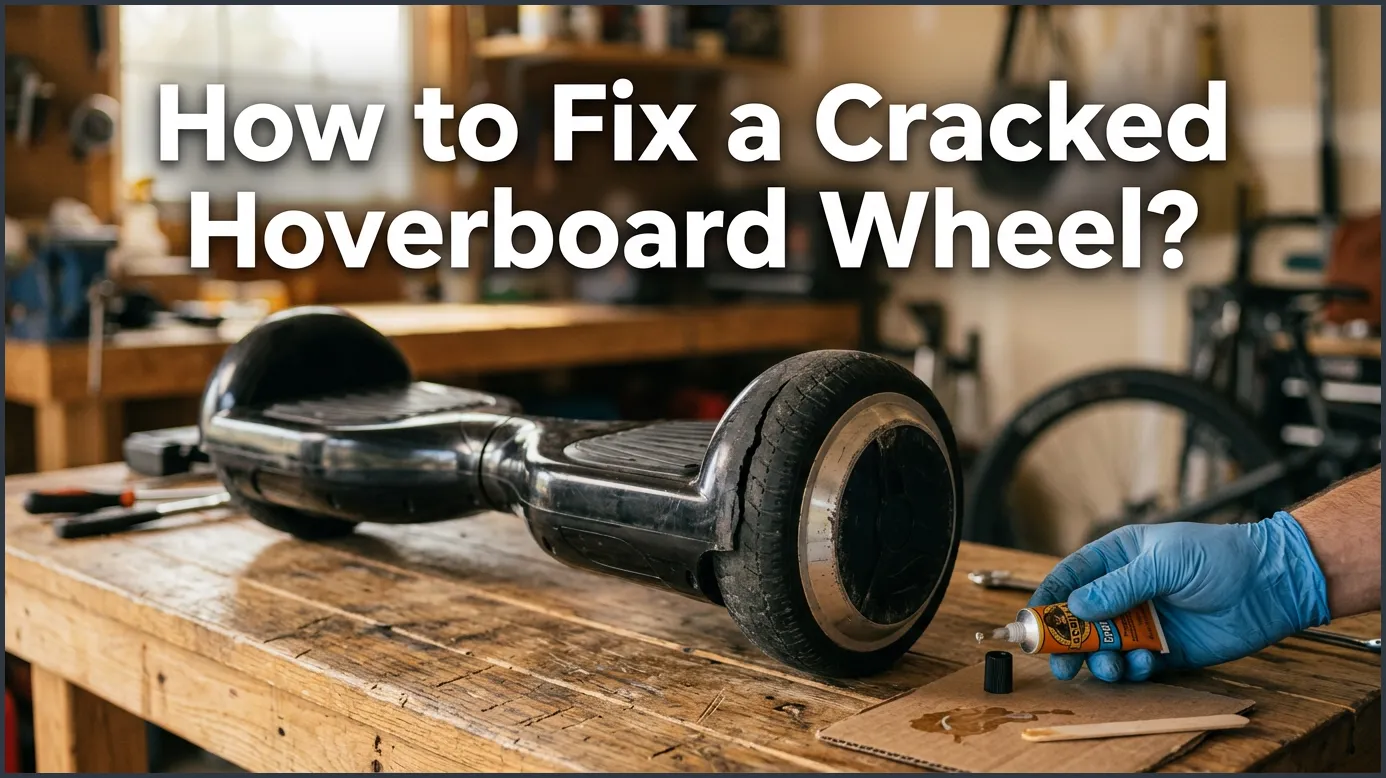
Fixing a cracked hoverboard wheel depends on where the crack is located. While you can easily repair small cracks on the outer rubber tire with a strong adhesive, a cracked plastic or metal rim requires a full wheel replacement to keep you safe. Always turn off and calibrate your hoverboard after any wheel repairs to ensure a smooth, safe ride.
Picture this. You are cruising down the sidewalk on a sunny afternoon. The wind is in your hair. Your hoverboard feels smooth and fast. Suddenly, you hit a sharp curb or a stray rock. You hear a loud crack. You step off to check the damage. Your heart sinks when you see a line running through your wheel. It is a frustrating moment that every rider dreads.
Do not let a damaged wheel keep you indoors for long. Many riders think they need to throw away their board or pay a fortune at a repair shop. Luckily, you can often handle this issue right at home. In this guide, we will teach you how to fix a cracked hoverboard wheel step by step. We will cover everything from simple patches to full wheel swaps.
Our goal is to make this repair easy, cheap, and safe. You do not need to be a professional mechanic to get your board back in top shape. With a few basic tools and some patience, you will be gliding down the street again in no time. Let us dive in and look at how your wheels work!
Key Takeaways
- Spot the difference: Learn to tell a harmless surface scratch from a deep structural crack.
- Prioritize safety: Riding on a cracked rim can cause the wheel to break completely while you ride.
- Use the right tools: Minor rubber tears only need quality rubber cement or flexible silicone.
- Replace when needed: Major rim damage means you must buy and install a new hoverboard wheel.
- Calibrate after fixing: Always reset your hoverboard after taking it apart to ensure proper balance.
📑 Table of Contents
Understanding Your Hoverboard Wheels
Before you grab your tools, you need to understand what you are working with. Hoverboard wheels are not like normal bicycle wheels. They are much more complex. They contain both structural parts and electrical parts that work together to move you forward.
The Anatomy of a Hoverboard Wheel
Each hoverboard wheel is a self-contained unit. The outside is made of thick rubber. This rubber tire gives you grip on the road. Inside the rubber tire is a hard metal or plastic hub. This hub is called the rim. Inside the rim lies the electric motor. This motor connects directly to your hoverboard motherboard through wires. This means that a crack can affect more than just your balance.
Rubber vs. Plastic/Metal Cracks
Cracks usually happen in one of two places. First, you might find a crack in the outer rubber tire. This is common if you ride over sharp glass or rocks. Second, you might find a crack in the hard inner rim. This usually happens from hard drops or heavy impacts. Rubber cracks are easy to patch up. Rim cracks are much more serious. They can cause the entire wheel to collapse under your weight.
How to Inspect Your Wheel for Damage
You must inspect the damage closely before starting any repairs. A tiny scratch is nothing to worry about. A deep split can be a major safety hazard. Let us look at how to inspect your board properly.
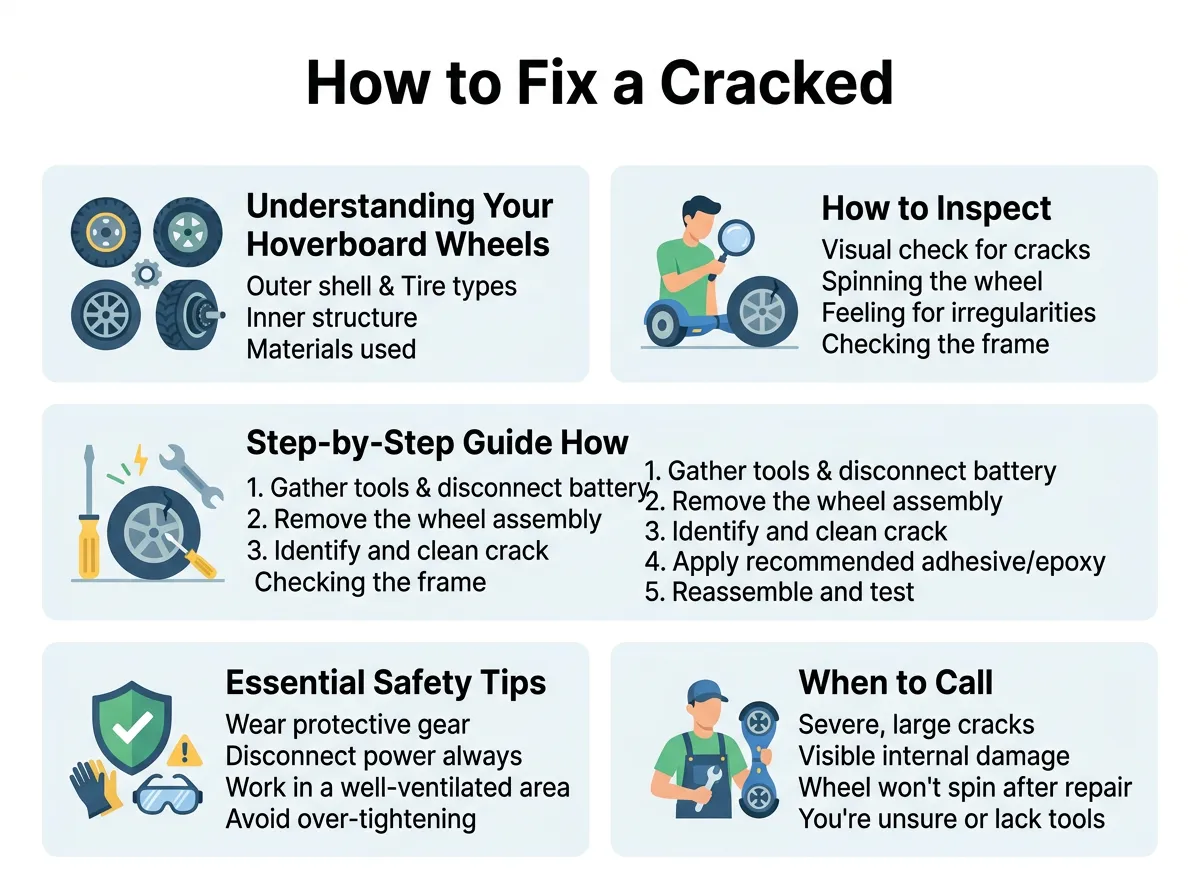
How to Fix a Cracked Hoverboard Wheel? — key points at a glance
Signs of a Hidden Crack
Sometimes you cannot see a crack right away. You might notice your board shaking when you ride. You might hear a strange clicking or grinding noise. If your board feels wobbly, stop riding immediately. Put your hoverboard on a clean table. Turn it off. Shake the wheel gently with your hand. If it moves from side to side, you have a structural problem.
If your wheel refuses to turn at all after a bump, you might have a different issue altogether. You can read more about dealing with hoverboard wheels stuck in place to troubleshoot this problem. A stuck wheel often points to internal damage or a broken motor casing.
Testing the Wheel Movement
With the power off, spin the wheel with your hand. It should spin smoothly and quietly. Look closely at the tire as it spins. Watch for any wobbling or uneven shapes. If you see the wheel dipping or waving, the rim is likely cracked or bent. This means you will need to replace the entire wheel assembly.
Step-by-Step Guide: How to Fix a Cracked Hoverboard Wheel
Now you are ready to learn how to fix a cracked hoverboard wheel. We will divide this into two different methods. The first method is for minor rubber cracks. The second method is for serious rim cracks that require a new wheel.
Gathering Your Tools
To start, you will need a few basic items. Make sure you have these ready on your workbench:
- A Phillips head screwdriver
- Heavy-duty rubber adhesive or silicone sealant
- Sandpaper (medium grit)
- A clean cloth and rubbing alcohol
- A replacement wheel (if the rim is cracked)
Patching Minor Tire Cracks
If the crack is only in the outer rubber tire, you can patch it easily. First, clean the area around the crack. Use your cloth and rubbing alcohol to remove dirt, mud, and grease. Let the rubber dry completely. Next, use a small piece of sandpaper to gently scuff the surface around the crack. This helps the glue grip the rubber better.
Apply a generous amount of rubber adhesive or silicone sealant directly into the crack. Use a plastic tool to press the glue deep into the split. Smooth out the excess glue on the surface. Let the adhesive cure for at least 24 hours. Do not ride the board until the glue is completely dry and hard.
Replacing a Severely Cracked Wheel
If the hard plastic or metal rim is cracked, you cannot glue it. The glue will not hold your weight. You must replace the wheel. If you want a detailed breakdown of the mechanical process, check out this excellent how to fix a hoverboard wheel a step-by-step guide for extra visual help.
First, turn off your hoverboard. Place it upside down on a soft towel. Remove the screws from the bottom cover on the side with the broken wheel. Lift the cover off carefully. You will see several wires running from the wheel to the motherboard. Unplug these wires gently. Note where each wire connects so you do not forget later.
Next, use your screwdriver or a wrench to remove the bolts holding the wheel shaft to the frame. Slide the old wheel out. Slide the new wheel into place. Tighten the bolts securely. Plug the wires back into the motherboard. Put the bottom cover back on and screw it down. It is that simple!
Essential Safety Tips for DIY Repairs
Working on electric rideables can be dangerous if you are not careful. You must protect yourself and your board’s electronics while doing any repairs.
Disconnecting the Battery
Always disconnect the hoverboard battery before touching any internal wires. A short circuit can ruin your motherboard instantly. It can also cause a painful electric shock or a fire hazard. Once the bottom cover is off, find the thick yellow or red battery plug. Pull it apart to cut the power completely. Only plug it back in when the repair is finished.
Calibration After Repair
Whenever you change a wheel, you change the balance of the board. You must calibrate your hoverboard before your first ride. To do this, place the hoverboard on a completely flat floor. Hold the power button down for about 10 seconds. The lights will start flashing. Release the button and wait for the lights to stop flashing. Turn the board off, then turn it back on. Your board is now calibrated and safe to ride.
When to Call a Professional
DIY repairs are great, but sometimes they are not enough. You should know when to step back and ask for help from an expert.
Dealing with Motor Issues
Sometimes a physical crack can lead to internal electrical failures. If your motor stops working entirely, learn what to do when your hoverboard wheels won’t spin at all. If you swap the wheel and it still will not spin, the issue might lie in your motherboard or speed controllers. This is a complex job that requires professional testing tools.
Buying the Right Replacement Parts
Hoverboards come in different sizes. The most common sizes are 6.5 inches, 8 inches, and 10 inches. You must buy a replacement wheel that matches your exact board model. Buying the wrong size will prevent the board from balancing. If you are unsure, contact the manufacturer or visit a local repair shop to get the correct parts.
Conclusion
Learning how to fix a cracked hoverboard wheel is a valuable skill. It saves you money and keeps your favorite ride in perfect condition. Remember to inspect the damage carefully first. Use glue for simple rubber tire cuts, but always replace the wheel if the metal rim is broken. Take your time, work safely, and always calibrate your board when you are done. Soon, you will be back out on the pavement, enjoying your hoverboard with total confidence!
Frequently Asked Questions
Can I ride my hoverboard with a cracked wheel rim?
No, you should never ride on a cracked rim. The rim holds your weight and houses the motor. If it breaks completely while you are riding, it can cause a sudden, dangerous fall.
What is the best glue to fix a cracked rubber hoverboard tire?
The best adhesive to use is a high-quality flexible rubber cement or a heavy-duty silicone sealant. These products can bend and stretch as the wheel rolls without cracking or peeling off.
How much does it cost to replace a cracked hoverboard wheel?
A replacement hoverboard wheel usually costs between $30 and $60, depending on the size of your board. Doing the replacement yourself saves you an extra $50 to $100 in repair shop labor fees.
Do I need to replace both hoverboard wheels if only one is cracked?
No, you only need to replace the damaged wheel. However, make sure the new wheel is the exact same size and model as the old one so your hoverboard stays balanced.
Why does my hoverboard shake after I replaced the wheel?
Shaking is usually caused by a calibration issue. To fix this, place your hoverboard on a flat surface and hold the power button down for 10 seconds to reset the balance sensors.
Can a cracked wheel cause my hoverboard to stop turning?
Yes, a severe crack can jam the wheel against the outer frame or damage the internal motor wires. If your wheel cannot spin freely, it can cause the hoverboard to shut down or show an error light.
