


Building your own riding hoverboard is a fun and educational project that you can complete in a single weekend. By using a leaf blower, a sturdy piece of plywood, and some heavy-duty plastic sheeting, you can easily craft a working science-fair-style hovercraft. This beginner-friendly DIY project teaches the basics of air pressure, physics, and basic woodworking in a hands-on way.
How to Build a Hoverboard?
Imagine floating on a cushion of air right above the kitchen floor or the backyard deck. It feels like magic, but it is actually simple science. Ever since classic movies showed us futuristic flying skateboards, we have wanted one of our own. While we may not have anti-gravity tech yet, we can build something very close with basic tools.
You might think that learning how to build a hoverboard is too hard for a beginner. However, you do not need an engineering degree or thousands of dollars to make this dream a reality. In fact, you can create a working model in just a few hours with some simple items from your local hardware store.
In this guide, we will walk you through a step-by-step process to make your own leaf-blower powered hovercraft. We will cover the tools you need, how to assemble the deck, and how to test your new ride. Let’s jump in and see how easy it is to build your own flyer!
Key Takeaways
- Simple Materials: You only need plywood, a heavy-duty tarp, duct tape, and a leaf blower.
- Air Cushion Physics: The project uses high-pressure trapped air to lift the board and reduce friction.
- Easy Assembly: It takes just a few hours to cut the deck, attach the skirt, and mount the blower.
- Budget-Friendly: Building your own board is much cheaper than buying a commercial motorized model.
- Safety First: Always wear safety gear and ride on flat, smooth surfaces with adult supervision.
📑 Table of Contents
1. Understanding How a DIY Hoverboard Works
Before we start cutting wood, it helps to know how this machine actually floats. The science behind it is simple and fun to learn.
The Magic of Air Cushion Physics
A standard leaf blower pushes out a large volume of air at high speeds. When we direct this air under a wooden deck, it needs somewhere to go. By trapping the air under a plastic skirt, we build up high pressure. This pressure pushes against the ground and lifts the board up. Because the air escapes slowly around the edges, it creates a nearly frictionless cushion. This is the exact same concept used by large commercial hovercrafts that cross lakes and swamps.
2. Gathering Your Materials and Tools
To learn how to build a hoverboard, you must first collect your supplies. Most of these items are very cheap, and you might even find them in your garage.
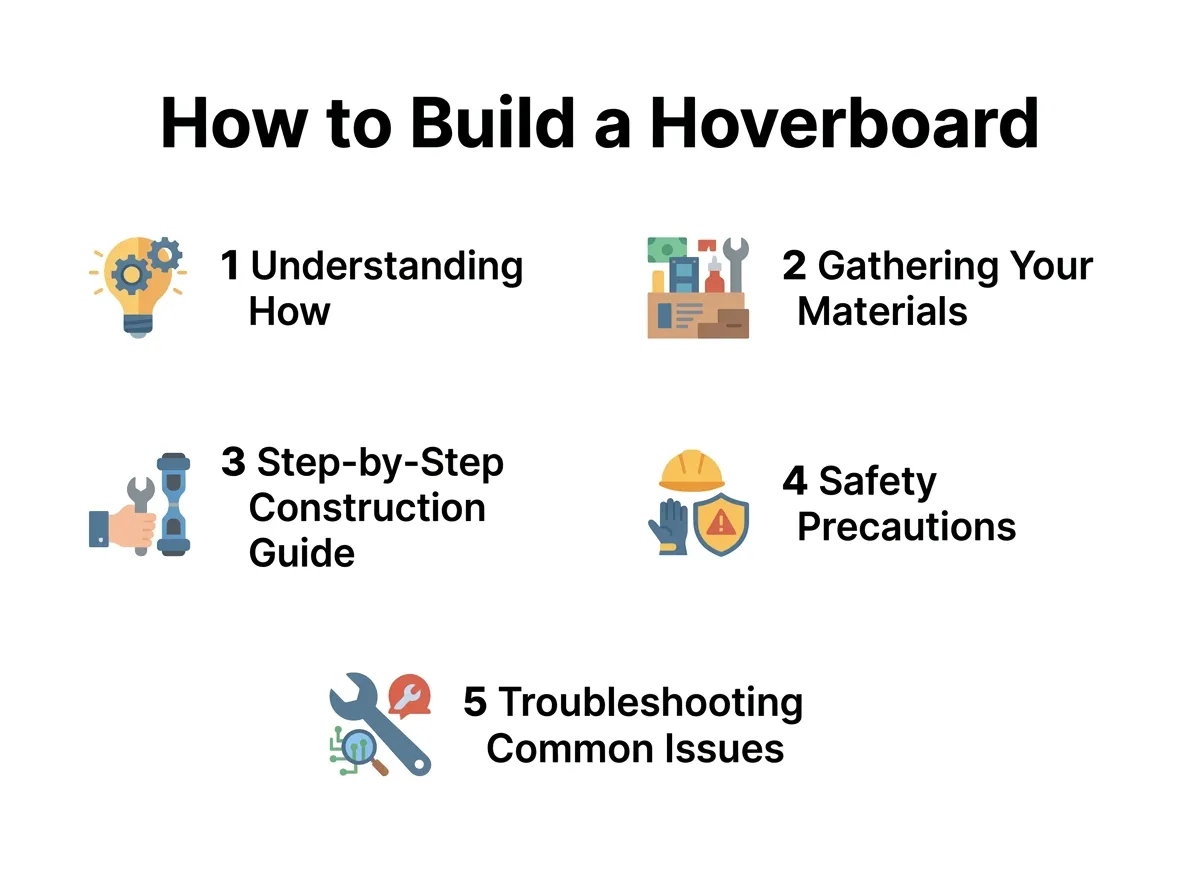
How to Build a Hoverboard? — key points at a glance
What You Will Need
- Plywood: A half-inch thick sheet of plywood, cut into a circle. A diameter of 36 to 48 inches is best.
- Heavy-Duty Tarp: A thick plastic painter’s tarp or a vinyl shower curtain to act as the skirt.
- Leaf Blower: A standard electric or gas leaf blower. Electric ones are quieter and easier to use indoors.
- Duct Tape: High-strength tape to seal the edges and prevent air leaks.
- Plastic Disc: A small plastic lid or coffee can lid to secure the center of the skirt.
- Staple Gun: For attaching the plastic skirt to the wood deck.
- Screws and Drill: For making holes and securing the plastic disc.
For a detailed breakdown of different wood types, check out this great guide on How to Build a Hoverboard You Can Ride online. It lists options for choosing lighter materials to make your ride even faster.
3. Step-by-Step Construction Guide
If you want to know how to build a hoverboard, just follow these simple construction steps. Take your time to ensure everything is sealed correctly.
Step 1: Cutting and Preparing the Deck
First, draw a perfect circle on your plywood sheet. A good size for beginners is a 36-inch circle. You can do this by tying a pencil to a string and holding the string in the center of the board. Cut out the circle using a jigsaw. Use sandpaper to smooth the edges. This prevents the sharp wood from tearing your plastic skirt later on.
Step 2: Drilling the Air Intake
Next, you need to find where the leaf blower nozzle will go. Place your leaf blower nozzle on the wood, about six inches from the edge. Draw a circle around it. Use your drill and a hole saw to cut this hole out. The nozzle should fit snugly inside this hole. If there are gaps, you can seal them later with duct tape.
Step 3: Attaching the Skirt
Lay your plastic tarp flat on the floor. Place your wooden circle right in the middle of the tarp. Cut the tarp so that it is about six inches wider than the wood all the way around. Now, wrap the edges of the tarp over the top of the wood. Staple the tarp to the wood every two inches. Make sure the plastic is snug, but do not pull it too tight. You want some slack so the air can fill the skirt. Seal the staples with duct tape to prevent air leaks. For step-by-step visuals, you can view the build process on Instructables Hoverboard 2 page.
Step 4: Adding the Center Disc and Holes
Flip the board over so the plastic bottom is facing up. Find the exact center of the board. Place your plastic lid or coffee can lid in the center. Screw this lid into the wood. This lid prevents the plastic skirt from ballooning out too much. Now, cut six small holes in the tarp, spaced evenly around the center lid. These holes should be about the size of a half-dollar coin. These holes let the air escape and create the cushion.
4. Safety Precautions and Riding Tips
Before you turn on the power, safety must come first. Since you are floating on air, steering can be a bit tricky at first.
Staying Safe While Hovering
Always wear a helmet and elbow pads when riding your hovercraft. Only ride on smooth, flat surfaces like concrete, wood, or short grass. Avoid hills, stairs, and streets with traffic. It is also wise to have a friend nearby to help you balance. Since there are no brakes, you must turn off the leaf blower to stop quickly.
Riding Techniques
To ride, sit or stand right in the middle of the board. Keep your weight balanced. Have a friend turn on the leaf blower. As the skirt fills with air, you will feel the board rise. Lean slightly in the direction you want to go. If you want to take this project further, you can look into DIY hoverkart plans to build a seat or a cart that makes riding even more stable.
5. Troubleshooting Common Issues
When figuring out how to build a hoverboard, you might hit a few bumps along the road. If your board does not lift off, do not worry. This is a normal part of the learning process.
What to Do If It Does Not Hover
First, check for air leaks. Ensure the duct tape is sealed tight around the leaf blower nozzle and the staples. Second, check your leaf blower power. If the blower is too weak, it will not lift a heavy rider. You might need a stronger blower. Third, make sure your plastic skirt is not too tight. It needs to fill with air like a balloon to lift the board. Finally, make sure the surface you are riding on is flat. Cracks in the concrete will let the air escape too fast, which stops the board from floating.
6. Conclusion
Learning how to build a hoverboard is a fantastic DIY project. It is cheap, fun, and teaches you great lessons about physics. By recycling a leaf blower and some wood, you can create a working rideable toy. Gather your friends, build your board, and start floating today!
Frequently Asked Questions
Can a leaf blower really lift a person?
Yes, a leaf blower can easily lift a person when the air is trapped inside a skirt. The trapped air creates a high-pressure cushion that reduces friction. This allows you to float smoothly just above the ground.
What is the best wood for a DIY hoverboard?
Half-inch thick plywood is the best choice for this project. It is light enough to float easily but strong enough to hold a rider’s weight safely. Make sure to sand the edges to protect your plastic skirt.
Is a gas or electric leaf blower better?
Electric leaf blowers are usually better for beginners because they are quieter and lighter. However, they do require a long extension cord which can limit your riding area. Gas leaf blowers offer more freedom but are louder and produce exhaust fumes.
How do you steer a homemade hoverboard?
You steer by leaning your body weight in the direction you want to go. Since there is very little friction, a small lean will slide you across the floor. You can also have a friend gently push or pull you to guide your path.
Can you ride a DIY hoverboard on grass?
Yes, but only if the grass is very short, dry, and flat. Tall or wet grass can catch on the skirt and let air escape. For the best ride, stick to smooth concrete or wooden surfaces.
How much does it cost to build a hoverboard?
If you already own a leaf blower, you can build this hoverboard for under fifty dollars. The wood, tarp, tape, and screws are very cheap at any local hardware store. This makes it a very budget-friendly science project.
