


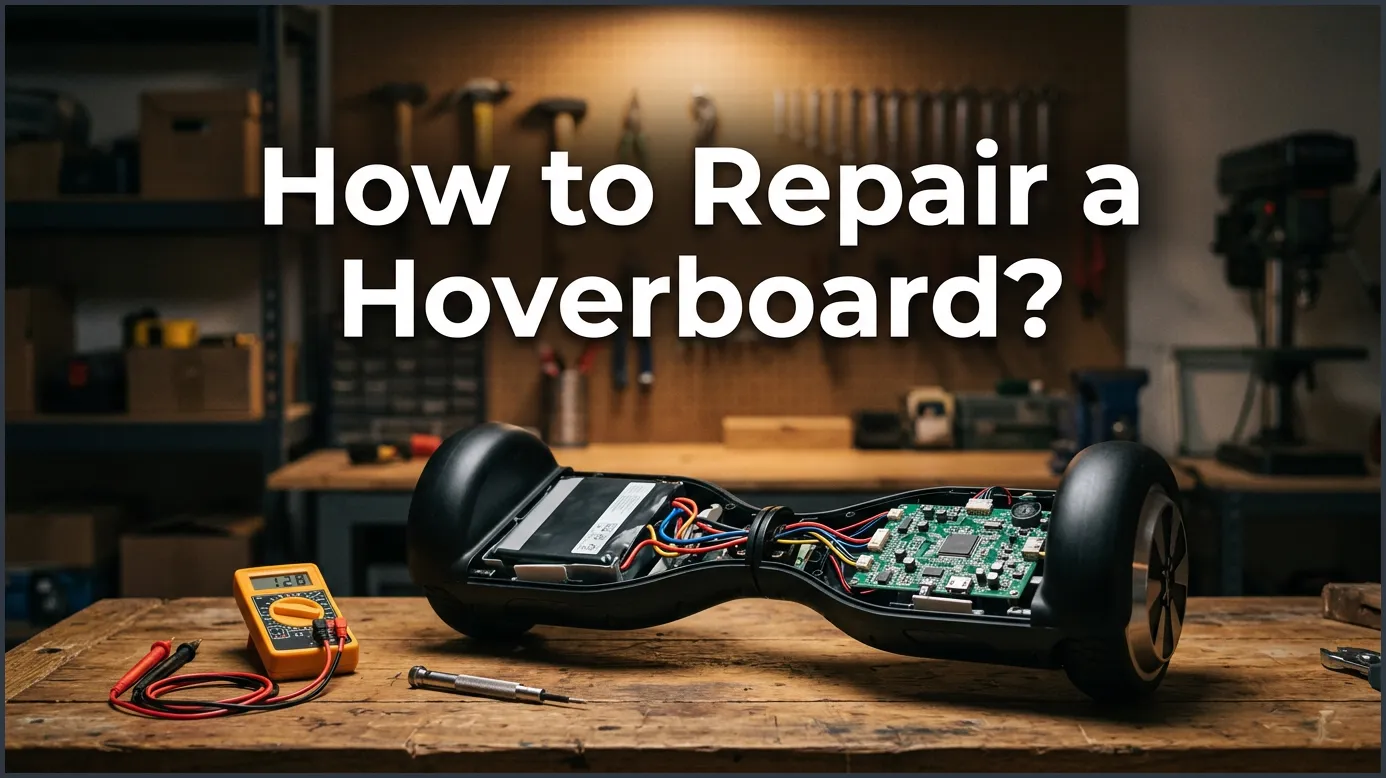
Most common hoverboard problems can be easily fixed at home with a few basic tools and some patience. By learning how to calibrate your board, check for loose wires, and replace worn-out batteries, you can save money and get back to riding in no time. This guide simplifies the entire repair process for beginners.
Imagine this scenario. You pull your favorite self-balancing scooter out of the closet. You want to feel the wind in your face. You press the power button, step on the footpads, and… nothing. Or maybe the board starts spinning in wild circles. It can be very frustrating when your ride stops working. You might think it is time to buy a new one. But wait! You do not need to spend a lot of cash on a replacement just yet.
Learning how to repair a hoverboard is much easier than you might think. Most issues are caused by loose cables, simple software glitches, or battery drain. These are all things you can fix at home with basic tools. You do not need a degree in engineering to get your board back in shape.
In this guide, we will walk you through the most common fixes. We will cover calibration, battery swaps, and wire checks. With a little time and some patience, you will be cruising down the street again in no time. Let us dive in and look at how to bring your ride back to life.
Key Takeaways
- Calibrate First: Many common balance and sensor issues can be fixed by simply recalibrating your hoverboard.
- Check the Battery: If your hoverboard dies quickly or won’t turn on, a faulty battery is the most likely culprit.
- Watch the Beeping: Red flashing lights and beeps are actually error codes that tell you exactly what is wrong.
- Secure the Wiring: Loose cables inside the shell can cause power loss and sensor failures.
- Safety is Key: Always turn off the hoverboard and unplug the charger before opening the casing.
- Replace Parts Easily: Motor, motherboard, and gyroscope replacements are modular and easy to swap out.
📑 Table of Contents
Step 1: Learn to Read the Warning Signs
Your hoverboard is smart. When something goes wrong, it tries to tell you. It does this using a system of lights and sounds. Before you open up the shell, you must listen to what your board is saying. Understanding these signs is the first step when learning how to repair a hoverboard.
The Red Flashing Light Codes
Have you noticed a blinking red light in the center of your board? This is not just an annoying light. It is actually a secret code. The number of times the light flashes before pausing tells you what is wrong. For instance, one flash usually means a motherboard issue. Four or five flashes often point to a motor problem on either the left or right side. Recognizing these flashing sequences helps you pinpoint exactly which part needs your attention.
Constant Beeping and What It Means
Is your board making a loud, continuous beep? This beep is a safety warning. It often happens when the board is tilted too far. It can also happen when you try to ride on a surface that is too steep. However, if it beeps while sitting flat on the floor, it means the system is out of balance. In most cases, a loud beep means your board needs a quick reset. If you want to dive deeper into these warnings, you can read about common hoverboard problems to see what your specific model is trying to tell you.
How to Recalibrate Your Hoverboard
Did you know that most issues are not hardware failures? Often, the board simply loses its sense of balance. This is very common after a crash or a hard bump. If your board pulls to one side or shakes when you step on it, you need to calibrate it. This is the easiest repair you can do.
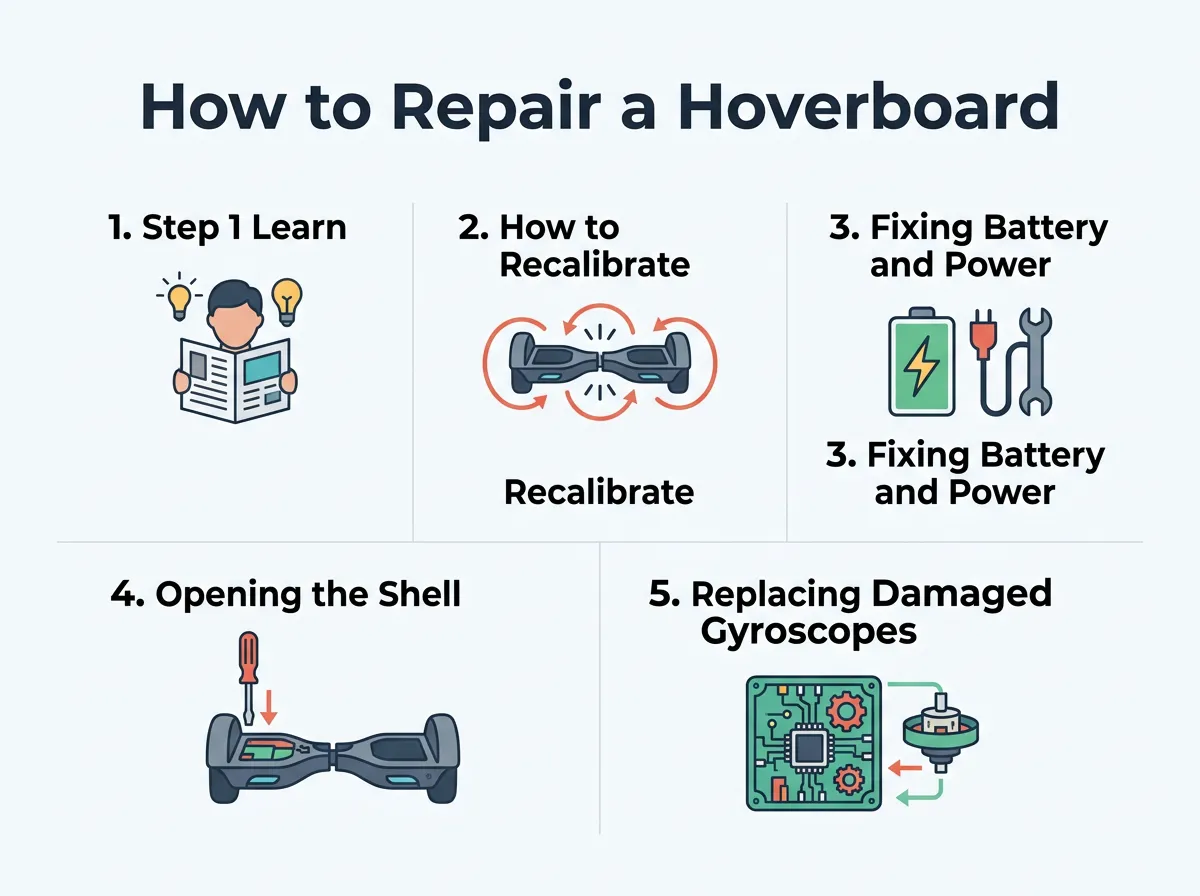
How to Repair a Hoverboard? — key points at a glance
Why Calibration Works
Inside your board are tiny sensors called gyroscopes. These sensors detect your weight and tilt. They tell the motors how fast to spin. Over time, these sensors lose their reference point. Calibration resets this point. It tells the board what “flat and level” actually looks like. It is like hitting the reset button on your board’s inner ear.
The 5-Step Calibration Process
You do not need any tools for this fix. Just follow these simple steps:
- Step 1: Turn off your hoverboard completely. Make sure it is not connected to the charger.
- Step 2: Place the board on a flat, level surface. You can use a bubble level app on your phone to make sure it is perfectly flat.
- Step 3: Align the two halves of the board. Make sure they are perfectly straight with each other.
- Step 4: Press and hold the power button down for about 10 seconds. Do not let go when you hear the first beep. Keep holding it.
- Step 5: The LED lights will start flashing. This means the board is in calibration mode. Wait for the lights to stop flashing or turn off, then release the power button.
Turn the board off and then back on. Step onto the board. In most cases, the shaking and pulling will be completely gone!
Fixing Battery and Power Issues
Does your hoverboard turn off suddenly? Or maybe it only lasts for a few minutes before the battery dies. Power issues are very common. Knowing how to repair a hoverboard with a bad battery is a very useful skill. If you want a detailed look at hardware fixes, you can find a lot of help in this guide on step-by-step hoverboard troubleshooting online.
Checking the Charger and Port
Before you blame the battery, check your charger. Plug the charger into the wall. The light on the brick should turn green. Now, plug it into your board. The light should turn red. This means the battery is taking a charge. If the light stays green, the charger is not talking to the battery. Check the charging port on the board. Sometimes, the three small pins inside the port get bent. You can gently bend them back with a small tool. Just make sure the board is off before you touch the pins.
How to Replace the Battery Pack
If your board is old, the battery might be dead. This is normal. Lithium-ion batteries wear out over time. Replacing the battery is simple. Here is how to do it:
First, buy a high-quality replacement battery. Make sure it has the same voltage as your old one. Most boards use a 36V battery. Next, lay your board upside down on a soft towel. Remove the screws on the battery side of the shell. Lift the cover off. You will see a blue or black plastic pack. This is the battery. Unplug the yellow power connector. Unscrew the metal bracket holding the battery down. Slide the old battery out, put the new one in, and plug it back in. Screw the cover back on, and you are done!
Opening the Shell and Fixing Loose Wires
Hoverboards take a lot of abuse. They jump off curbs, crash into walls, and roll over bumps. All this vibration can shake internal parts loose. If your board acts strange, you may have a loose wire inside. Learning how to repair a hoverboard often involves looking inside the plastic shell.
Safe Opening Techniques
To look inside, you will need a Phillips head screwdriver. Place your board upside down on a clean workspace. There are usually about 15 to 20 screws holding the plastic shell in place. Keep track of these screws! They are not always the same size. Group them so you know where they go. Gently lift the plastic shell. Be careful! There are wires attached to the shell for the LED lights and charging port. Do not yank the cover off. Gently unplug these wires first.
Identifying Disconnected Cables
Once you are inside, look at the wires. You will see a lot of colorful cables. Check if any plug is loose. Sometimes, a plug has slipped halfway out of its socket. Push all the plugs firmly into their connectors. Look for pinched or broken wires. If you see a broken wire, you can strip the ends and use electrical tape to join them back together. In many cases, simply pushing a loose plug back into place will fix your issues instantly.
Replacing Damaged Gyroscopes and Motherboards
If calibration and wire checks do not work, you might have a bad sensor or motherboard. Do not worry. These parts are modular. They are very easy to replace at home. You can find cheap replacement parts online.
Testing the Gyroscopes
Each wheel has its own gyroscope board. If one side of your board does not respond, that side’s gyroscope is likely dead. To test this, you can swap the left and right gyroscope boards. If the problem moves to the other side of the hoverboard, you know that specific gyroscope board is broken. You will just need to order a new one and screw it into place.
Swapping Out the Main Logic Board
The motherboard is the brain of your hoverboard. If your board will not turn on at all, or if it behaves erratically, the motherboard may be fried. Replacing it is a matter of unplugging the old wires and plugging them into the new board. To make this easy, take a clear photo of the old motherboard before you unplug anything. This photo will be your map. It will show you exactly where each colored wire goes on the new board. If you feel unsure about doing this yourself, you can always look into professional hoverboard repairs to get expert help.
Conclusion
Learning how to repair a hoverboard does not have to be scary. Most of the time, the fix is quick and simple. Start with a basic calibration. It costs nothing and fixes most balance issues. If that fails, check the wires and the battery. By taking your time and following these simple steps, you can save money and gain the satisfaction of fixing your own ride. Now, grab your screwdriver, give it a try, and get back to enjoying your hoverboard!
Frequently Asked Questions
Why is my hoverboard beeping and flashing a red light?
This usually indicates an error code or system calibration issue. Count the number of flashes to determine the exact problem, as each sequence points to a specific part like the battery or motor. In many cases, a simple recalibration will stop the beeping.
How long does a hoverboard battery typically last?
A standard hoverboard lithium-ion battery lasts for about 1 to 2 years of regular use. Over time, it will hold less charge and may need to be replaced. Always use a high-quality replacement battery of the correct voltage.
Can I repair a hoverboard that has water damage?
Yes, but you must act quickly by turning it off and removing the battery immediately. Open the shell and let all the internal components dry completely for at least 24 to 48 hours. If it still does not work, you may need to replace the motherboard or gyroscopes.
How do I know if my hoverboard motherboard is bad?
If your hoverboard does not turn on at all, or if it behaves erratically despite calibration, the motherboard may be damaged. A flashing red light with a single blink sequence is also a common sign of a motherboard issue. Replacing the logic board is often the best solution.
Do I need special tools to fix my hoverboard?
No, you only need basic tools for most repairs. A simple Phillips head screwdriver is usually enough to open the outer plastic casing. A small pair of pliers or tweezers can also help with handling small wires and connectors.
Is it safe to repair my hoverboard at home?
Yes, home repairs are safe as long as you follow basic safety rules. Always turn off the power and unplug the charger before opening the shell. Handle the battery pack with care and avoid puncturing it or touching bare wires together.
