


To know if your hoverboard is charging, simply check the LED indicator light located directly on the charger box. A solid red light means the battery is currently drawing power and charging, while a solid green light indicates the battery is fully charged or not connected properly. Some hoverboards also feature flashing battery icons on the deck to show active charging.
Picture this. It is a beautiful, sunny Saturday morning. You have the whole weekend ahead of you, and you are ready to cruise around the neighborhood on your hoverboard. You run to the closet, pull out your board, and press the power button. Nothing happens. The battery is completely flat.
You quickly grab the charger and plug it into the wall. But as you look at the board, you find yourself staring blankly. Is it actually charging? Why is there a tiny green light on the block? Should the board itself be blinking? These are very common questions for every beginner rider. When you want to get back on the road, you need clear answers fast.
In this guide, we will cover everything you need to know about your hoverboard battery. We will explain how to read the charger lights, look for indicators on the board itself, and troubleshoot common charging issues. You will also learn some easy tips to make your battery last much longer. Let us dive right in and get your board ready for action!
Key Takeaways
- The Charger Light is Key: A red light on the charger box means it is charging, while a green light means it is fully charged or disconnected.
- Turn Off the Board: Always turn your hoverboard completely off before plugging it in to charge.
- Check the Pin Alignment: Make sure the three-prong charging port aligns perfectly with the plug to prevent damage.
- Do Not Overcharge: Unplug the charger as soon as the light turns green to save battery health.
- Troubleshoot Stuck Green Lights: A green light that stays on when plugged into a dead board usually means a bad battery or a loose wire.
- Charge Safely: Always charge your hoverboard on flat, hard, and non-flammable surfaces.
📑 Table of Contents
The Magic of the Charger Indicator Light
The easiest way to answer the question, “How Do I Know if My Hoverboard Is Charging?” is to look at the charger box. The charger box is the small plastic brick on your power cord. It has a tiny LED light that tells you exactly what is happening with your battery. You do not even have to look at the hoverboard itself to get your first clue.
The Solid Red Light Meaning
When you plug the charger into the wall and then connect it to your hoverboard, the LED light on the charger block should turn red. A solid red light is your best friend. It means that electricity is successfully flowing from your wall outlet into the hoverboard battery. If you see this red light, you can relax. Your board is actively charging, and the battery is filling up.
The Solid Green Light Meaning
A solid green light can mean two different things. First, if your hoverboard has been plugged in for a few hours, a green light means the battery is fully charged. You are ready to unplug it and ride! However, if you just plugged in a dead hoverboard and the light is immediately green, it means the charger does not detect the battery. We will troubleshoot this trickier situation a bit later.
For more details on setting up your charging routine, you can read the official manufacturer instructions on how to charge my hoverboard safely and correctly.
Checking the Hoverboard’s Built-In Display
While the charger block does most of the talking, your hoverboard has its own ways of communicating. Most modern hoverboards have indicator lights right on the center of the deck, between your feet. These lights give you real-time updates on your battery status while the board is plugged in.
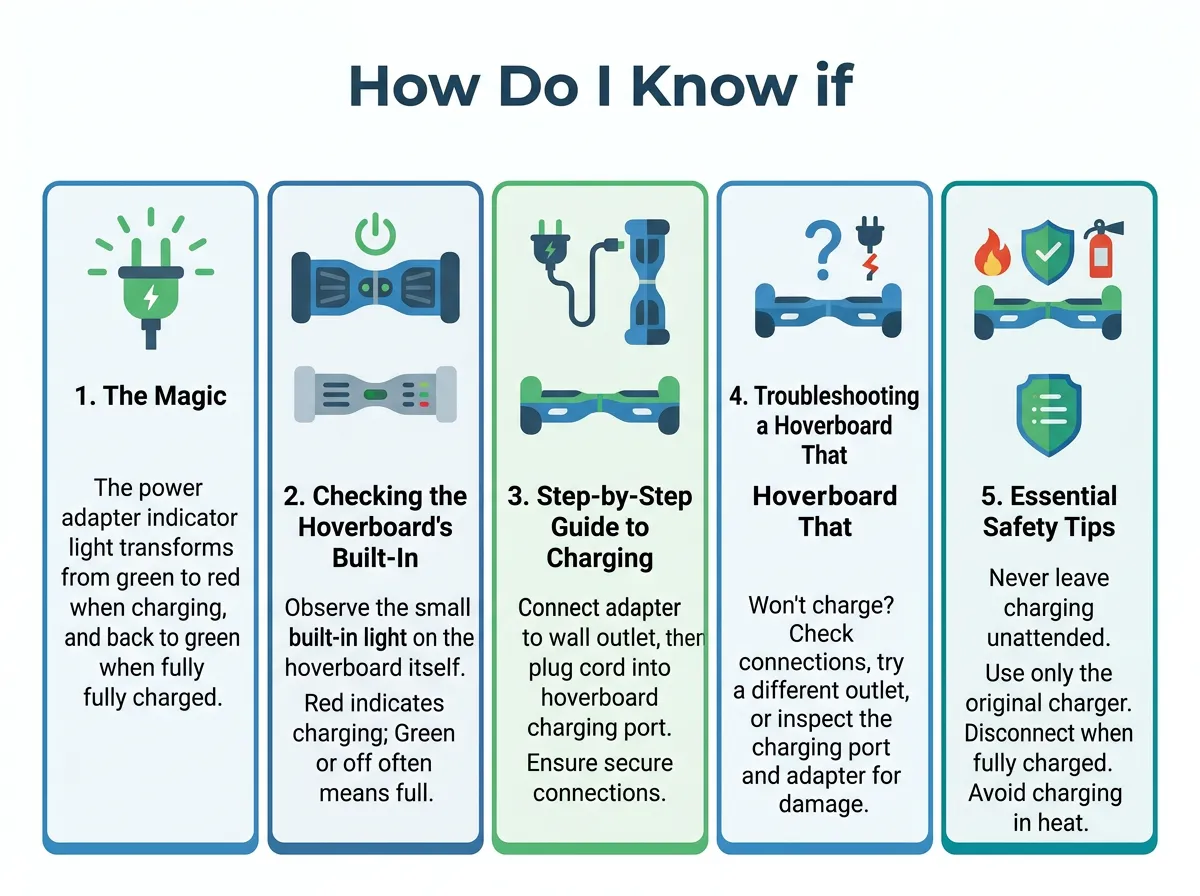
How Do I Know if My Hoverboard Is Charging? — key points at a glance
Battery Icons and Flashing Lights
When you connect the power cord, many hoverboards will show a flashing battery icon or a blinking light on the deck. This flashing light is the board’s way of saying it feels the power coming in. Once the battery reaches 100 percent, this blinking light will usually stop flashing and turn into a solid green or solid blue color. Some basic models do not have lights on the deck that stay active when turned off, so you must rely solely on the charger block.
What If the Board Beeps?
Some hoverboards will emit a short beep when you plug them into the charger. This is a normal notification sound. However, if your hoverboard starts beeping continuously while charging, something is wrong. Continuous beeping usually means the board is turned on while plugged in, or there is a system error. If this happens, unplug the board immediately and make sure the power button is switched off.
Step-by-Step Guide to Charging Your Hoverboard
To keep your hoverboard safe and ensure it charges properly every single time, you should follow a simple routine. Doing things in the wrong order can sometimes create sparks or confuse the charger’s smart sensors.
Step 1: Turn Off the Hoverboard
Never charge your hoverboard while it is turned on. This is a very common beginner mistake. Charging a powered-on board can damage the internal motherboard and lead to inaccurate battery readings. Always press the power button and ensure all the lights on the deck are completely off before you plug anything in.
Step 2: Connect the Charger to the Wall First
Always plug your charger into the wall outlet before you connect it to your hoverboard. When you do this, the LED light on the charger block should turn green. This step ensures that the charger is getting stable power from your home before it touches your precious hoverboard battery.
Step 3: Align the Pins Correctly
Look closely at the charging port on your hoverboard. You will notice it has a specific three-pin layout with a small notch on one side. The charging cable has a matching shape. Gently line up the notch on the cable with the groove in the port. Push it in gently. Never force the plug into the port, as you can easily bend the delicate metal pins inside.
Step 4: Monitor the Charge Time
Once connected, the light on the charger block should change from green to red. Now, simply wait. Most hoverboards take between two and four hours to charge fully. Keep an eye on it, and check back every hour to see if the light has turned back to green.
Troubleshooting a Hoverboard That Won’t Charge
Sometimes, things do not go as planned. If you plug in your board and still ask yourself, “How Do I Know if My Hoverboard Is Charging?” because the lights look strange, do not panic. Let us look at the most common issues and how to solve them.
The Charger Stays Green When Plugged In
If you plug your charger into a dead hoverboard and the light stays green, the charger is not transferring power. This usually means the battery is too deeply discharged to accept a charge, or a wire inside the board has come loose. In some cases, it means the battery has reached the end of its lifespan and needs to be replaced. For a deeper look at this issue, check out this guide on how to tell if a hoverboard is charging for more detailed steps.
No Lights Turn On At All
If you plug the charger into the wall and the box does not show any light at all, the charger itself is likely dead. Try plugging it into a different wall outlet. If there is still no light, you need to buy a replacement charger. Make sure the new charger has the exact same voltage and voltage output as your original one to prevent damage. You can read about similar hardware issues on this page regarding issues where a hoverboard won’t turn on when plugged in to see how experts diagnose these power problems.
Essential Safety Tips for Hoverboard Charging
Hoverboards use powerful lithium-ion batteries. While these batteries are excellent for providing lots of speed and range, they require careful handling. Charging your board safely should always be your top priority.
Avoid Overcharging the Battery
It is very tempting to plug your hoverboard in before bed and leave it overnight. Please avoid doing this. Leaving a hoverboard on the charger for 8 to 12 hours can degrade the battery cells. Overcharging can lead to overheating and, in rare cases, can even cause a fire. Set a timer on your phone for three hours to remind yourself to unplug it.
Charge on Flat, Non-Flammable Surfaces
Always place your hoverboard on a hard, flat surface like concrete, tile, or hardwood while it charges. Never charge it on highly flammable surfaces like carpets, rugs, beds, or couches. If the battery gets warm during charging, a soft carpet can trap the heat and cause dangerous thermal buildup.
How to Extend Your Hoverboard Battery Life
A good hoverboard battery should last for one to two years of regular use. However, you can easily double that lifespan with a little bit of proactive care. Here are some simple habits to adopt.
Store at the Right Temperature
Lithium-ion batteries hate extreme temperatures. Do not store your hoverboard in a freezing garage during the winter or in a hot car trunk during the summer. Keep your board inside your home in a dry, temperature-controlled room.
Don’t Let It Sit Empty
If you plan to store your hoverboard away for the winter, do not leave the battery completely empty. When a battery sits at zero charge for months, it can slip into a “deep sleep” state. Once this happens, the battery may refuse to ever take a charge again. Charge the board to about 50 percent before putting it away, and plug it in once a month to keep the battery healthy.
Conclusion
Knowing how your hoverboard communicates while charging is the best way to keep your rides smooth and safe. By simply asking, “How Do I Know if My Hoverboard Is Charging?” and paying close attention to your charger block’s red and green LED lights, you can easily avoid dead-battery disappointments. Remember to always turn your board off before charging, align the plug pins carefully, and never leave your board plugged in overnight. With these simple habits, your hoverboard will always be fueled up and ready for your next big adventure. Safe riding!
Frequently Asked Questions
How long does a hoverboard take to charge?
Most hoverboards take between 2 to 4 hours to reach a full charge. Check your specific user manual, as smaller boards may charge faster while larger off-road models might take a bit longer.
Why is my hoverboard charger light green when plugged into a dead board?
This usually indicates that the charger does not detect the battery inside the board. It can be caused by a completely dead battery that cannot hold charge, a loose internal wire, or a damaged charging port.
Can I leave my hoverboard charging overnight?
No, you should never leave your hoverboard charging overnight. Overcharging can overheat the lithium-ion battery, shorten its overall lifespan, and create a potential fire hazard.
Should the hoverboard be turned on or off while charging?
Your hoverboard must always be turned completely off while charging. Charging the board while it is powered on can damage the internal motherboard and lead to incorrect battery readings.
Why is my hoverboard blinking red when I plug it in?
A blinking red light on the hoverboard deck typically means the battery is extremely low and is currently receiving emergency power. Once the battery level rises slightly, the light should transition to a steady charging behavior.
How do I know if my hoverboard charger is broken?
If you plug the charger into a working wall outlet and the LED indicator light on the block does not turn green or red at all, the charger itself is likely broken and needs to be replaced.
