


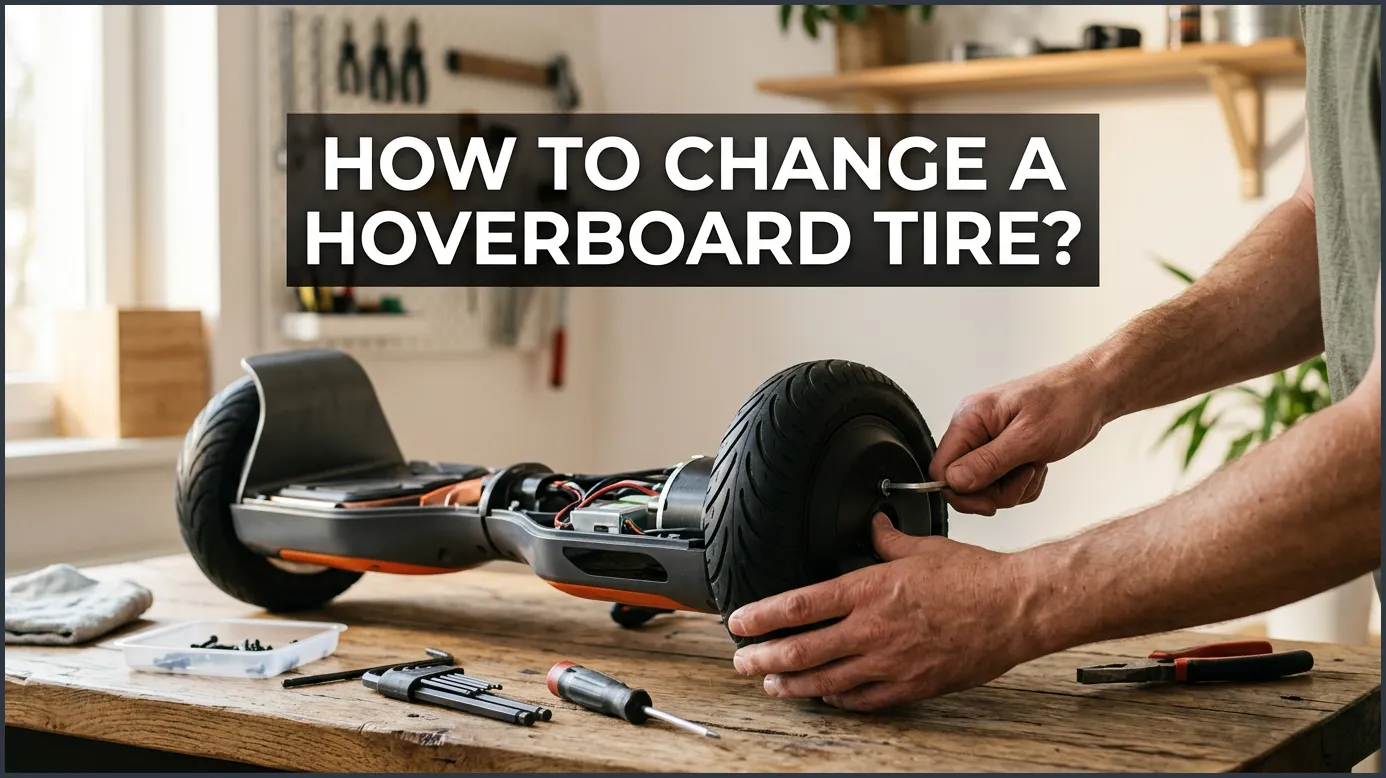
Changing a hoverboard tire is a straightforward DIY task that involves turning off the device, removing the outer shell, disconnecting the battery, and swapping the damaged tire or inner tube. With basic tools like a screwdriver and a wrench, you can easily restore your ride’s smooth performance at home. Always remember to prioritize safety by disconnecting the power before starting your repair.
Imagine you are gliding down the street. The sun is shining. You feel the cool wind. Suddenly, you hear a loud pop. Your smooth ride stops. You look down. You see a flat tire. It is a sad moment. But do not worry. You do not need a new hoverboard. You can fix this at home. Learning how to change a hoverboard tire is easy. It saves you money. It gets you back to riding fast. This guide will show you how. We use simple steps. We explain every part of the process.
Many people feel scared of repairs. They think it is too hard. They think they need special skills. That is not true. If you can use a screwdriver, you can do this. You just need a little patience. Our guide breaks down the job into simple steps. We will help you understand your board. You will learn about the tools you need. Then, we will walk you through the swap. Let us get started and fix your ride!
Key Takeaways
- Safety First: Always turn off the hoverboard and disconnect the battery before opening the shell.
- Identify Your Tire Type: Check if your hoverboard uses solid rubber tires or inflatable pneumatic tires.
- Gather Proper Tools: Prepare a Phillips head screwdriver, Allen keys, and a socket wrench set beforehand.
- Track Your Screws: Use a magnetic tray or small bowls to organize screws of different sizes during disassembly.
- Check the Motor Wiring: Be gentle with the internal motor cables to avoid electrical damage during the swap.
- Regular Maintenance: Keep inflatable tires properly pressurized to prevent future pinch flats.
📑 Table of Contents
Understanding Your Hoverboard Tire Type
First, look at your wheels. Hoverboards have two main types of tires. You must know your type before you buy new parts. Each type of wheel needs a different repair method. Knowing how to change a hoverboard tire starts with this choice.
Solid Rubber Tires
Many small hoverboards have solid rubber tires. These are common on 6.5-inch models. These tires do not hold air. They cannot get flat. That is a great benefit. But they do wear down over time. The rubber can get smooth. Smooth tires slip on wet ground. When they wear out, you must change the whole wheel. The electric motor is inside the wheel. You replace the motor and tire together as one unit.
Pneumatic (Air-Filled) Tires
Larger boards use air-filled tires. These are common on 10-inch models. They have a rubber tire and an inner tube. They give a very soft ride. You can ride over bumps easily. But sharp objects can puncture them. Nails and glass can cause flats. For these boards, you do not need a new motor. You only need a new inner tube or outer tire. If you have a flat, learning how to change a hoverboard tire inner tube is the best way to save cash.
Tools You Will Need for the Job
You do not need many tools for this task. Most of them are in your home toolbox. Gather them before you start. This saves time and keeps you calm.
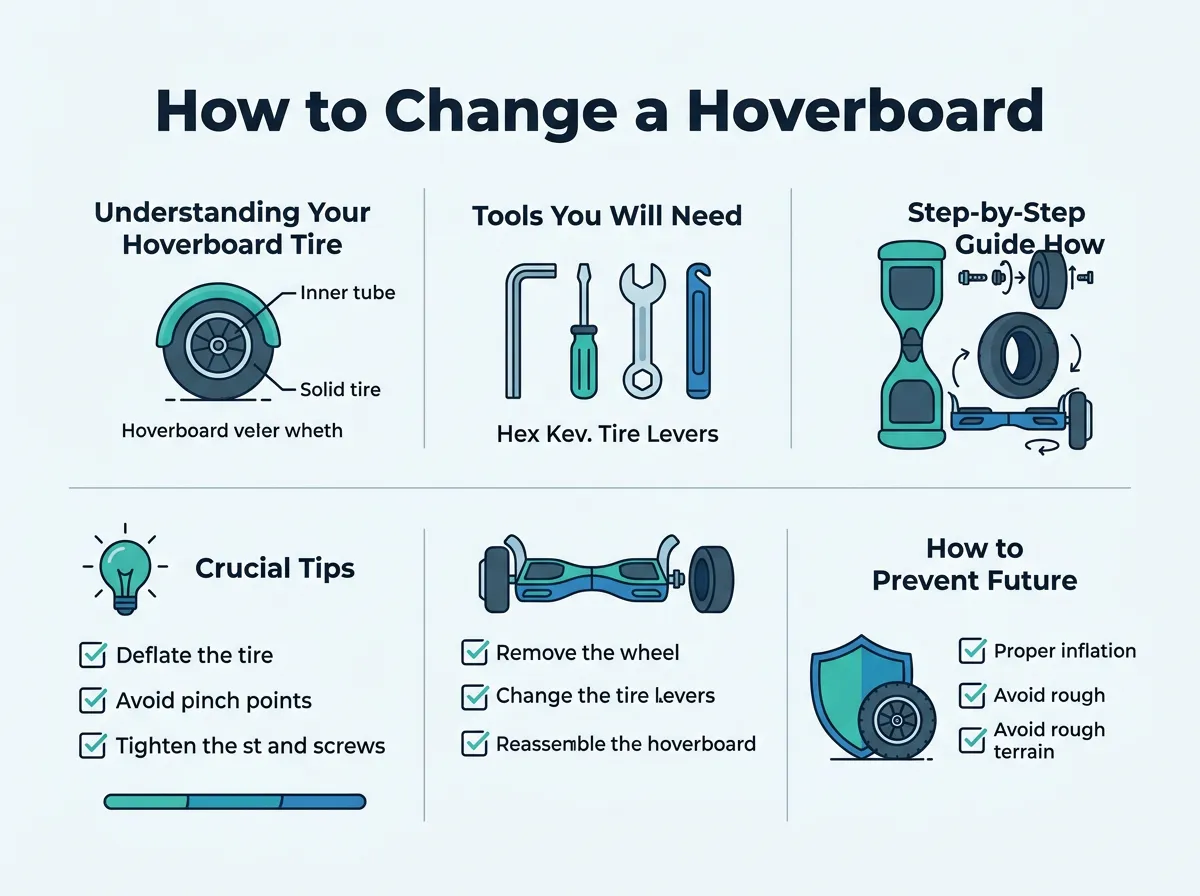
How to Change a Hoverboard Tire? — key points at a glance
Essential Toolkit Checklist
First, get a Phillips head screwdriver. This opens the plastic case. Next, get a socket wrench. You need this to loosen the wheel axle. If you have air-filled tires, get tire levers. Do not use metal screwdrivers to pry tires. They can damage the metal rim. Use plastic tire levers instead. Finally, get a small bowl. Use it to hold the tiny screws. This stops them from rolling away.
For a detailed breakdown of the tools needed for larger boards, you can check out this guide on how to fix a flat tire on 10-inch hoverboard models. Having the right tools makes the entire process stress-free.
Step-by-Step Guide: How to Change a Hoverboard Tire?
Now, let us begin the main task. Follow these steps slowly. Do not rush. Working carefully ensures safety.
Step 1: Safety and Preparation
Safety is always the first step. Turn off your hoverboard. Never work on it while it is on. Place a soft towel on your table. Put the hoverboard upside down on the towel. The towel protects the paint from scratches. It also keeps the board stable while you work.
Step 2: Removing the Outer Shell
Look at the bottom of the board. You will see many small screws. Use your Phillips screwdriver. Take out all the screws. Keep them in your small bowl. Now, lift the plastic cover slowly. Do not pull it hard. There are wires attached to the cover. These wires power the LED lights. Unplug these wires gently. Set the cover aside.
Step 3: Accessing the Wheel Assembly
Now you can see the inside parts. Find the battery first. It is the large block. Unplug the battery cable immediately. This prevents electric shocks. Next, find the wires that go to the wheel motor. Unplug them from the green circuit board. Take your socket wrench. Loosen the big nuts on the wheel axle. Slide the wheel out of the frame.
Step 4: Swapping the Tire or Inner Tube
If you have a solid tire, take your new wheel motor. Slide it into the frame. If you have an air-filled tire, let all the air out first. Use your plastic tire levers. Pry the tire edge over the metal rim. Pull out the popped tube. If you need help with this step, you can read more about how to change inner tube tyre hoverboard steps. Put the new tube inside. Push the tire back onto the rim. Pump a little air to check the fit.
For detailed step-by-step visuals on this specific step, you can also view this tutorial on how to fix a flat tire on 10-inch hoverboard models. It offers great tips for seating the tire bead properly.
Step 5: Reassembling the Hoverboard
Now, put everything back. Slide the wheel back into the frame. Tighten the axle nuts very hard. Put the motor wires back into the circuit board. Match the wire colors correctly. Plug the battery back in. Connect the light wires to the cover. Place the cover back on. Put the screws back in and tighten them. Turn on the board and go for a test ride.
Crucial Tips for a Smooth DIY Repair
Fixing things yourself is fun. But small mistakes can happen. Use these simple tips to avoid common issues.
Cable Management Secrets
There are many wires inside a hoverboard. They can get pinched easily. When you put the cover back, check the wires. Make sure they are clear of the screw holes. A pinched wire can short out the board. Use tape or zip ties to keep them neat.
Organizing Screws Like a Pro
Some screws are long. Some screws are short. Do not mix them up. You can draw a picture of the board on cardboard. Poke the screws into the cardboard where they belong. This helps you remember their correct places.
How to Prevent Future Tire Damage
You have a new tire now. You want it to last a long time. Follow these simple tips to protect your wheels.
Maintain Proper Tire Pressure
Check your tire air once a week. Low pressure causes flats easily. It also makes the motor work harder. That drains your battery fast. Fill the tires to the correct level. You can find this number on the side of the tire.
Avoid Rough Terrain
Try to ride on smooth paths. Avoid sharp rocks and glass. Do not ride through thick grass or thorns. Clean paths keep your tires safe. They also make your ride much smoother.
Conclusion
Now you know how to change a hoverboard tire. It is a great skill to learn. It saves you money on repairs. It also teaches you how your board works. Keep your tires pumped. Ride on safe paths. Enjoy your smooth, fun rides!
Frequently Asked Questions
Can I change a hoverboard tire myself?
Yes, you can easily change a hoverboard tire at home with basic tools. All you need is a screwdriver, a socket wrench, and a bit of patience. Following a step-by-step guide makes the entire process simple and safe.
Do I need to buy a new motor to fix a flat tire?
No, you do not need to buy a new motor if you have air-filled tires. You can simply replace the cheap inner tube inside the tire. However, if your hoverboard has solid rubber wheels, you will need to replace the whole motor wheel assembly.
What tools do I need to change a hoverboard tire?
You will need a Phillips head screwdriver to remove the outer cover. You also need a socket wrench to loosen the wheel axle bolts. If your board has air-filled tires, plastic tire levers will help you remove the rubber tire safely.
How long does it take to change a hoverboard tire?
For a beginner, the entire process takes about 30 to 45 minutes. Taking your time is important to avoid pinching any internal wires. Once you get used to the steps, you can complete the repair much faster.
Why does my hoverboard tire keep going flat?
Your tire might keep going flat due to low air pressure, which causes pinch flats. Riding over sharp objects like glass, thorns, or gravel can also puncture the inner tube. Check your tire pressure weekly to prevent this issue.
Is it safe to open my hoverboard?
Yes, it is completely safe as long as the hoverboard is turned off first. You must also unplug the battery cable before touching any internal wires. This prevents any short circuits or electrical shocks while you work.
