


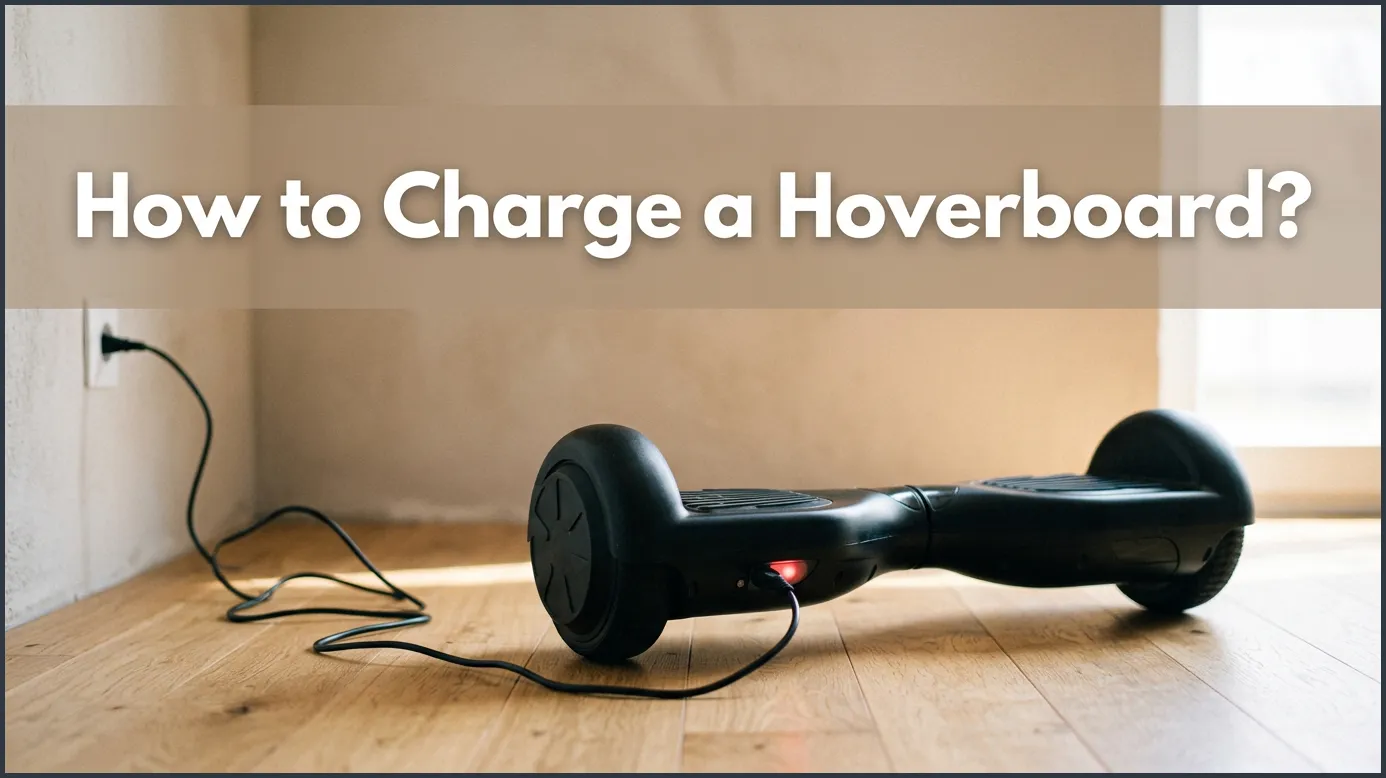
To charge your hoverboard safely, always turn off the device first and plug the charger into the wall outlet before connecting it to the board. Watch for the charger light to turn red, which indicates that it is actively charging, and wait for it to turn green once the battery is full. This simple process usually takes between two to four hours and keeps your battery in peak condition.
Imagine the scene: you just unboxed your brand-new, shiny self-balancing scooter. You are ready to zoom down the sidewalk, show off to your friends, and feel the wind in your hair. But before you can take your first spin, you notice the low-battery warning light blinking. Your excitement takes a tiny pause. You realize you need to plug it in, but you want to do it right.
Learning how to charge a hoverboard properly is not just about keeping the fun going. It is also about protecting your investment, keeping your home safe, and ensuring your battery lasts for years. If you rush the process or use the wrong habits, you could damage the delicate battery cells inside your device.
In this guide, we will walk you through the entire process step by step. We will cover the meaning of charger lights, safety tips, troubleshooting steps, and how to get the longest life out of your battery. Let’s plug in and get started!
Key Takeaways
- Turn Off First: Always make sure your hoverboard is fully powered off before you plug in the charger to protect the internal motherboard.
- Wall Outlet First: Plug the charger into the wall outlet before connecting it to the board to verify the power source is active.
- Read the Indicator Lights: A solid red light means the board is charging, while a solid green light indicates a full battery.
- Avoid Overcharging: Unplug the charger as soon as the light turns green to prevent battery degradation and safety hazards.
- Use Original Chargers: Only use the official manufacturer-approved charger to avoid damaging the lithium-ion battery.
- Cool Down Period: Let your hoverboard cool down for fifteen minutes after a ride before plugging it in to charge.
📑 Table of Contents
- How to Charge a Hoverboard? A Step-by-Step Guide
- Understanding Your Hoverboard Charger Lights
- Essential Safety Precautions for Hoverboard Charging
- How Long Does It Take to Charge a Hoverboard?
- Troubleshooting Common Hoverboard Charging Issues
- Tips to Extend Your Hoverboard Battery Life
- Ready to Ride Safely
How to Charge a Hoverboard? A Step-by-Step Guide
Charging your self-balancing scooter is simple, but doing it in the right sequence keeps your device safe. Follow these five basic steps to power up your ride safely and quickly.
Step 1: Turn off the Hoverboard
Before you even look at the charger, make sure your hoverboard is turned off. Press the power button and ensure all lights are completely dark. Charging a hoverboard while it is turned on can confuse the battery management system. It can also cause a short circuit or damage the internal motherboard.
Step 2: Plug the Charger into the Wall First
When learning how to charge a hoverboard, many beginners make the mistake of plugging the cord into the board first. Instead, always plug your charger into the wall outlet before you connect it to your hoverboard. Once plugged in, look at the small LED indicator light on the charger brick. It should glow solid green. This green light tells you that the charger is receiving electricity and is working properly. If you want to dive deeper into official instructions, you can read the Jetson support guide on charging details to see how manufacturers structure this safety workflow.
Step 3: Align and Connect to the Board
Now, locate the charging port on your hoverboard. You will notice a small groove or notch inside the port. This notch matches a corresponding ridge on the charger plug. Carefully align these two parts. Gently push the plug into the port. Never force it! Forcing the plug can bend the delicate metal pins inside the port, which will ruin your ability to charge the board.
Step 4: Monitor the Indicator Lights
As soon as you plug the charger into your hoverboard, the light on the charger brick should turn from green to red. This solid red light means that the battery is successfully drawing power and charging. Keep your eye on this light during the process. If it does not turn red, unplug it and check the connection.
Step 5: Disconnect Safely
When the hoverboard is fully charged, the light on the charger will turn back to green. Unplug the charger from the wall outlet first, then disconnect the plug from the hoverboard itself. Do not leave the charger plugged into the wall when you are not using it. Your hoverboard is now ready for your next adventure!
Understanding Your Hoverboard Charger Lights
The little LED light on your charger brick is your best friend. It acts as a direct window into your battery’s health and progress. Knowing what these light patterns mean will help you understand how to charge a hoverboard without any guesswork.
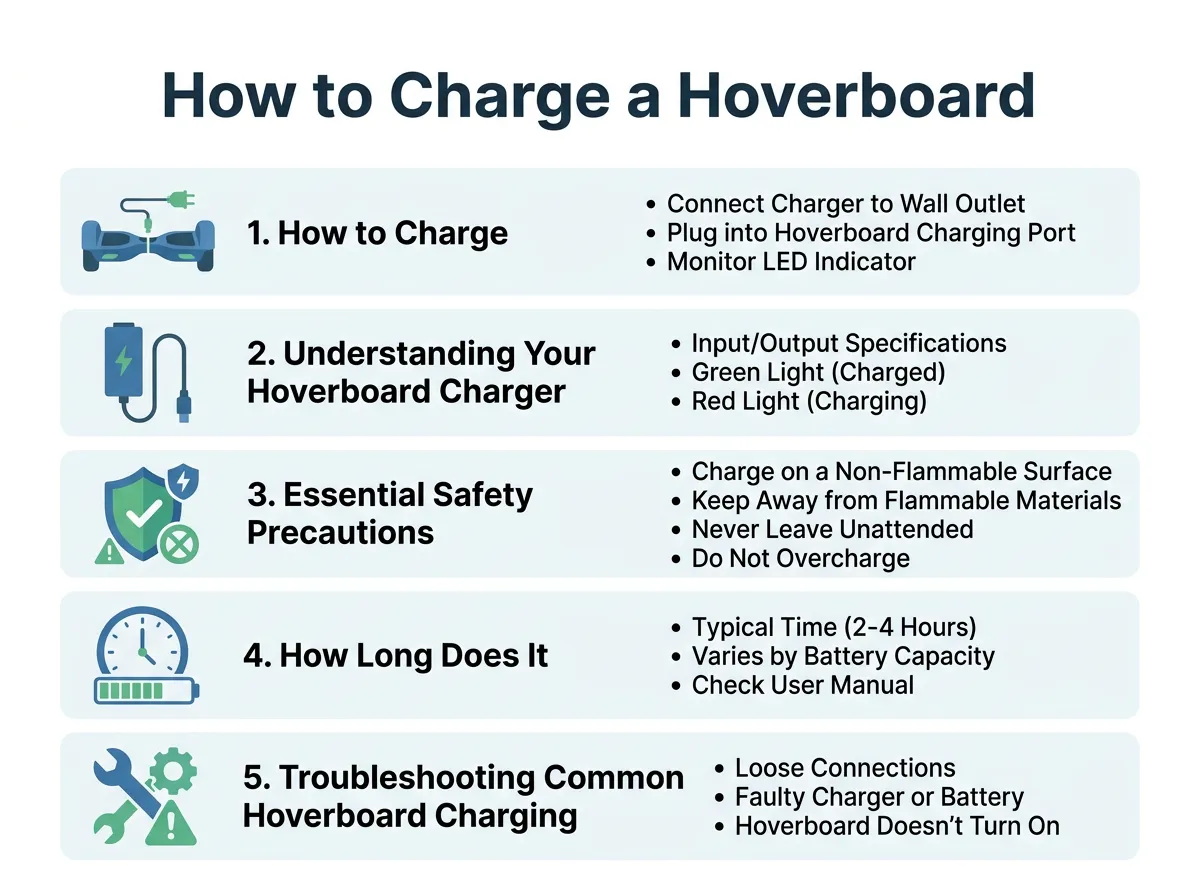
How to Charge a Hoverboard? — key points at a glance
The Solid Red Light
A solid red light is exactly what you want to see when you first plug things in. This indicates that your hoverboard’s lithium-ion battery is empty or low, and it is actively taking in a charge. Depending on how low your battery is, this light will stay red for several hours.
The Solid Green Light
The green light can mean two different things depending on when you see it. If the charger is plugged into the wall but not connected to the board, green means “I have power.” If the charger is connected to both the wall and the board, green means “Your battery is completely full.” When this happens, it is time to unplug.
Flashing or Alternating Lights
If you see a blinking red light or an alternating green-and-red light, something is wrong. This usually means there is a bad connection, a faulty charger, or an issue with the internal battery cells. If you encounter this, unplug the device immediately and seek troubleshooting help.
Essential Safety Precautions for Hoverboard Charging
Hoverboards run on powerful lithium-ion batteries. While these batteries are highly efficient, they can overheat if handled incorrectly. If you are learning how to charge a hoverboard, safety must be your top priority. You can check out more safety tips in this Currys guide on how to safely connect the charger and avoid common electrical issues.
Never Leave Your Hoverboard Charging Overnight
It is very tempting to plug your hoverboard in before bed and forget about it. However, overcharging can lead to battery degradation. In rare cases, it can cause the battery to overheat and catch fire. Always charge your board when you are awake and nearby so you can monitor it.
Choose a Safe Charging Environment
Where you charge your hoverboard is just as important as how you do it. Always place your board on a hard, flat, and dry surface. Avoid charging it on flammable materials like carpets, rugs, beds, or couches. Keep the charging area clear of clutter and ensure the room is at a comfortable, moderate temperature.
Avoid Cheap Third-Party Chargers
If you lose your original charger, do not just buy the cheapest option online. Cheap, unbranded chargers often lack built-in safety features like automatic shut-offs. Using an incompatible charger can send too much voltage to your battery, ruin your hoverboard, or cause a fire hazard. Always buy a replacement directly from your hoverboard’s manufacturer.
How Long Does It Take to Charge a Hoverboard?
One of the most common questions beginners ask is how long they have to wait before they can ride again. When planning how to charge a hoverboard, you should also understand the timeline involved so you can plan your day.
Average Charging Times
On average, most standard hoverboards take between 2 to 4 hours to reach a full charge. Smaller kids’ models with smaller batteries might charge in about 1.5 to 2 hours. Off-road hoverboards with heavy-duty motors and larger batteries can take up to 4 or 5 hours to fully power up.
Do Not Rush the Process
It might be tempting to unplug your hoverboard after just 30 minutes of charging. While this will give you enough juice for a quick ride, constantly doing this can shorten your battery’s overall lifespan. Try to let the battery charge completely before you unplug it whenever possible.
Troubleshooting Common Hoverboard Charging Issues
Sometimes, things do not go as planned. If you are having trouble figuring out how to charge a hoverboard because the lights are acting weird, here are some quick solutions to try.
The Charger Stays Green but the Board is Dead
If you plug your charger into a dead hoverboard and the light stays green, the charger is not recognizing the battery. This can happen if the internal battery wires have come loose. It can also happen if the battery has drained so low that it has entered a “sleep mode” and can no longer accept a charge. In this case, you may need a replacement battery.
The Hoverboard Beeps Nonstop While Charging
If your hoverboard starts beeping when you plug it in, this is an alert. It usually means the board is still turned on, or the battery is experiencing an error. Unplug the charger, turn the board completely off, and try plugging it back in. If the beeping continues, the motherboard might need to be recalibrated.
Tips to Extend Your Hoverboard Battery Life
A hoverboard battery is an expensive component to replace. Knowing how to charge a hoverboard is only half the battle; you also need to protect its long-term health. Fortunately, you can keep your battery healthy and strong for hundreds of charging cycles by adopting some simple habits. If you want to read more about keeping your battery in top shape, check out this guide on the best ways to maintain a hoverboard battery.
Do Not Let the Battery Hit Zero Percent
Lithium-ion batteries do not like to be completely drained. Try to plug in your hoverboard as soon as the battery warning light starts flashing. Letting your battery completely die before charging it puts a lot of stress on the battery cells and reduces their lifespan over time.
Let the Board Cool Down Before Charging
After a long, fast ride, your hoverboard’s battery and motor will be warm. Charging a hot battery can cause damage. Give your hoverboard about 15 to 20 minutes to cool down to room temperature before you plug it into the charger.
Store Your Hoverboard at Half Charge
If you plan to put your hoverboard away for the winter, do not store it completely empty or completely full. Instead, charge it to about 50% or 60%. Store it in a cool, dry place. If you leave it sitting for months, check on it once a month and give it a quick top-off to prevent the battery from falling into a deep, unchargeable sleep.
Ready to Ride Safely
Knowing how to charge a hoverboard is the key to enjoying a safe and reliable ride every time. By following the correct order of plugging in your cords, reading the charger light indicators, and choosing a safe charging space, you will avoid most common hoverboard issues. Remember to never leave your board charging unattended and to always use the official charger. Now that you are an expert on hoverboard charging, plug your board in, wait for that glowing green light, and hit the streets with confidence!
Frequently Asked Questions
Can I charge my hoverboard overnight?
No, you should never charge your hoverboard overnight. Overcharging can damage the lithium-ion battery, shorten its lifespan, and create a serious fire hazard. Always unplug the device as soon as the indicator light turns green.
Why is my hoverboard charger light green when plugged into a dead board?
A green light on a dead board usually means the charger cannot detect the battery. This is often caused by a loose internal connection or a completely failed battery that can no longer hold a charge.
Can I use any charger to charge my hoverboard?
No, you should only use the official charger that came with your specific hoverboard model. Third-party chargers may have different voltage outputs, which can ruin your battery, damage the electronics, or cause a fire.
Why does my hoverboard beep when I plug it in to charge?
Your hoverboard will beep if it is still turned on when you plug it into the charger. Simply turn the hoverboard off and plug it back in to resolve the issue.
How long does a hoverboard battery last on a single charge?
Most standard hoverboards will run for about 45 minutes to 2 hours on a single charge. This timing depends heavily on the rider’s weight, the terrain, and how fast you are riding.
What should I do if my charger light is blinking red?
A blinking red light indicates a charging error or a malfunctioning battery. Unplug the charger immediately from the wall, check for loose connections, and contact the manufacturer if the problem persists.
