


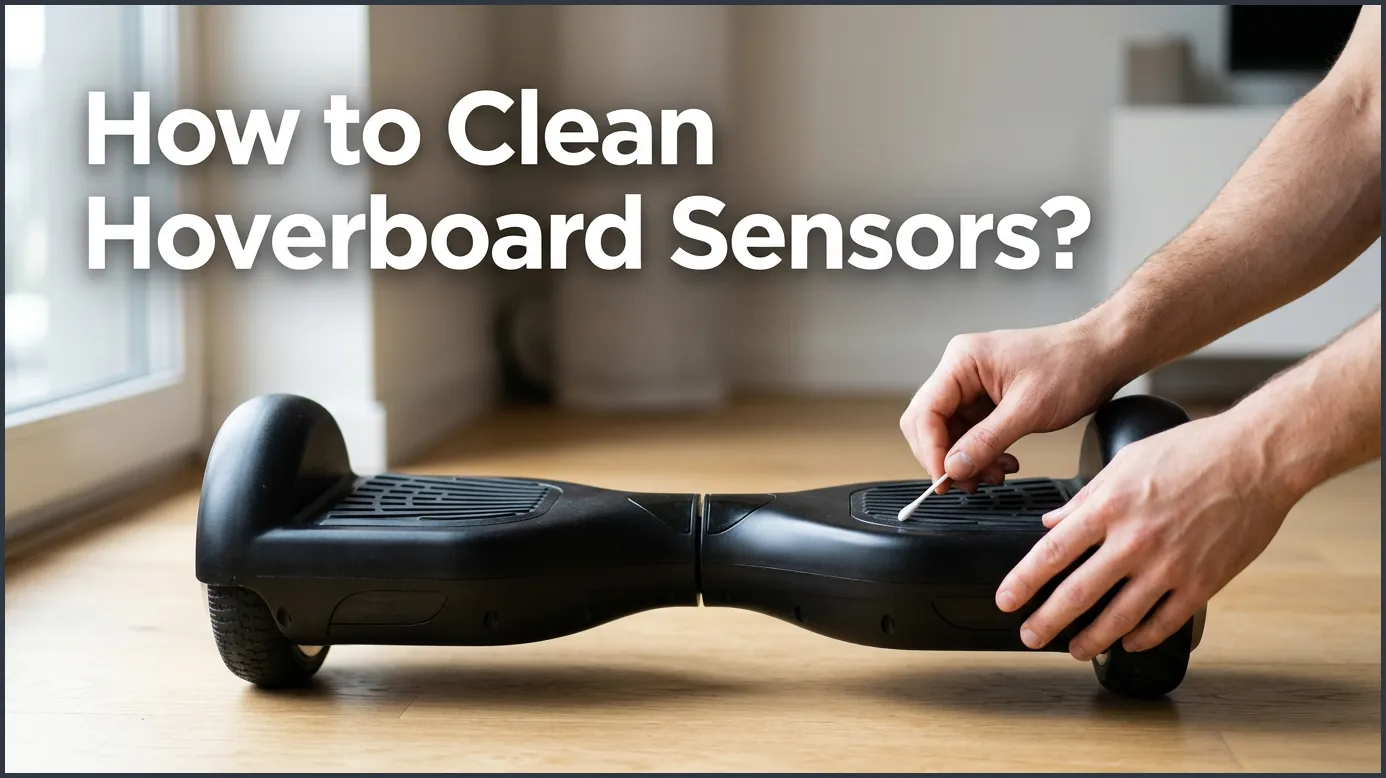
To clean hoverboard sensors, power off the device, remove the outer plastic shell, and locate the foot sensor brackets under the footpads. Gently blow away dust using compressed air and wipe the sensitive parts with a cotton swab dipped in rubbing alcohol. Let all components dry completely before reassembling your hoverboard to restore its balance and response time.
Imagine hopping onto your hoverboard, ready to enjoy a smooth, sunny ride down the street, only to have the board shake violently under your feet. Or perhaps you press down with your toes to go forward, but the board simply refuses to budge. It is a very frustrating feeling that makes many riders worry that their expensive toy is permanently broken. However, you do not need to panic or run to a repair shop just yet.
Most of the time, a sluggish or shaking hoverboard is simply suffering from dirty sensors. Because these boards ride so close to the ground, they easily collect dust, pet hair, dirt, and dried mud. Over time, this debris builds up inside the housing and blocks the parts that detect your feet. Learning how to care for your device is a great way to save money and keep your rides safe and smooth.
In this guide, we will walk you through the entire process of cleaning your board. We will cover how these parts work, the signs that tell you it is time for a cleanup, and the safety steps you must take. By the end of this article, you will know exactly how to get your ride back in perfect working order.
Key Takeaways
- Turn Off Power First: Always turn off and unplug your hoverboard before opening the casing to avoid electric shocks.
- Use the Right Tools: Stick to compressed air, cotton swabs, and high-percentage rubbing alcohol to prevent moisture damage.
- Handle with Care: Avoid touching or pulling the delicate wires connected to the motherboard and sensor boards.
- Dry Completely: Let the interior parts air-dry for at least ten to fifteen minutes before putting the cover back on.
- Calibrate Post-Cleaning: Always perform a system calibration after cleaning to ensure the sensors relearn their level point.
- Preventive Maintenance: Store your hoverboard in a protective bag to keep dust and pet hair from getting inside the shell.
📑 Table of Contents
- What Are Hoverboard Sensors and Why Do They Get Dirty?
- Signs Your Hoverboard Sensors Need Cleaning
- Tools You Need to Clean Hoverboard Sensors
- Step-by-Step Guide: How to Clean Hoverboard Sensors Safely
- Common Mistakes to Avoid When Cleaning
- How to Keep Your Hoverboard Sensors Clean Long-Term
- Conclusion
What Are Hoverboard Sensors and Why Do They Get Dirty?
Before you grab your tools, it helps to understand what is going on beneath your feet. Your hoverboard does not actually read your mind; it relies on clever technology to know when to move, turn, or stop. There are two main types of sensors that keep you balanced while you ride.
The Foot Pedal Gyroscopes
Directly beneath the rubber footpads on your hoverboard sit two gyroscopes. These smart devices measure how much you tilt your body forward or backward. To understand how these components keep you upright, you can learn more about how these sensors detect movement during a ride. When you lean, the gyroscope sends a signal to the motor to spin the wheels, keeping you balanced.
The Role of Infrared Light Beams
The system also relies on infrared light. When you step on the footpad, a small plastic wall, called a sensor bracket, slides down. This bracket blocks an invisible infrared light beam on the circuit board. Once that light is blocked, the hoverboard knows a rider is standing on it. If dust, hair, or dirt gets inside, it can block that light beam even when you are not standing on the board. Getting to know your hoverboard balance sensor mechanism is the best way to understand why cleanliness is so important.
Signs Your Hoverboard Sensors Need Cleaning
How do you know when your board needs a deep clean? Usually, your hoverboard will tell you through its behavior. Here are the most common signs that dirt has invaded your system.
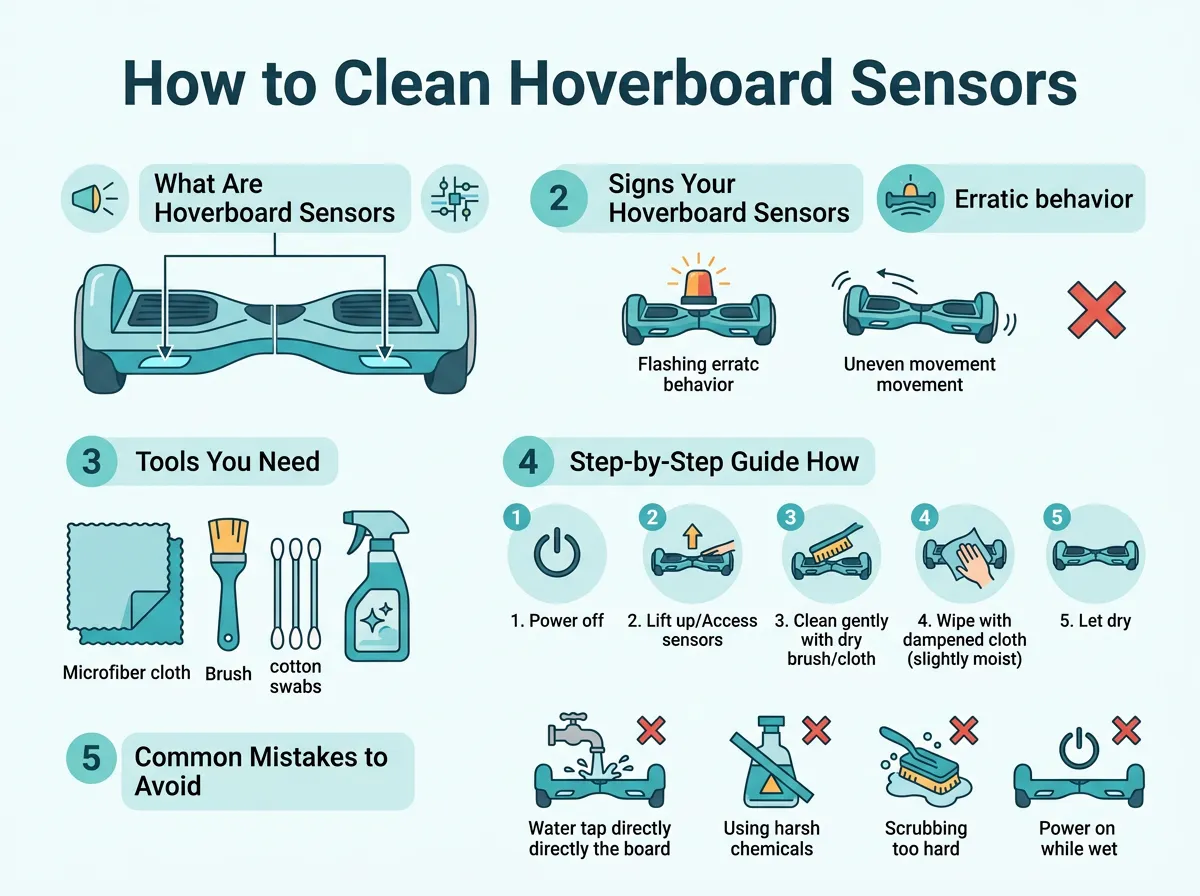
How to Clean Hoverboard Sensors? — key points at a glance
Unresponsive Footpads
If you press down with your toes and the board does not move, or if it takes a few seconds to respond, your light sensors are likely blocked. Dust might be stopping the plastic bracket from sliding smoothly, or dirt is covering the infrared light path.
Constant Beeping or Red Warning Lights
A hoverboard that beeps constantly is trying to tell you something is wrong. If your board beeps even when it is resting on flat ground, a sensor might be stuck in the “pressed” position. This makes the board think someone is standing on it when they are not. Dealing with foot pressure sensor issues can make your ride feel highly unstable and unsafe.
The Board Moves on Its Own
This is a scary issue. If you step off your hoverboard and it keeps spinning or rolls away, the sensor is physically stuck. This usually happens when dirt, hair, or sticky liquids build up around the plastic brackets, holding them down.
Tools You Need to Clean Hoverboard Sensors
You do not need to buy any special, expensive equipment to clean your hoverboard. In fact, you probably have most of these items lying around your house right now. Gather these tools before you begin:
- A Phillips-head screwdriver: This is used to remove the screws from the outer plastic casing.
- A can of compressed air: This is the safest way to blow away loose dust and hair without touching the delicate parts.
- Rubbing alcohol: Use 90% isopropyl alcohol or higher. It cleans well and evaporates very quickly.
- Cotton swabs: These are perfect for reaching into tiny spaces to wipe away grime.
- A clean microfiber cloth: Use this to wipe down the plastic parts and clean up any loose dirt.
- A small bowl: Use this to hold your screws so they do not roll away and get lost.
Step-by-Step Guide: How to Clean Hoverboard Sensors Safely
Now that you have your tools ready, it is time to start the cleaning process. Take your time, work in a well-lit area, and follow these simple steps carefully.
Step 1: Power Down and Prepare
Safety always comes first. Make sure your hoverboard is turned completely off. Unplug it from the charger. Find a flat, clean workspace, like a table or a clean floor. Lay down a soft towel to protect the top plastic shell of your hoverboard from scratches while it is upside down.
Step 2: Remove the Outer Shell Screws
Place your hoverboard upside down on the towel. You will see several screws on the bottom of the plastic shell. Use your Phillips-head screwdriver to remove them. Put all the screws into your small bowl so you do not lose them. Once the screws are out, gently lift the bottom shell. Be careful! There are wires connected to the shell for the LED lights and battery. Do not pull on these wires. Gently set the shell to the side while keeping the wires connected.
Step 3: Locate the Sensor Boards
Look underneath the areas where your feet usually rest. You will see small, green circuit boards on each side. These are the sensor boards. On top of them, you will see the black plastic sensor brackets. These brackets move up and down when you step on the rubber footpads.
Step 4: Use Compressed Air to Clear Dust
Take your can of compressed air. Hold it upright and spray short bursts of air around the sensor boards and the plastic brackets. This will quickly blow away loose dust, pet hair, and dirt. Pay close attention to the tiny gaps where the plastic brackets move. If you run into stubborn dirt or physical damage during this step, reading a guide on fixing hoverboard sensor problems can help you decide what to do next.
Step 5: Wipe the Parts with Rubbing Alcohol
Dip a cotton swab into your rubbing alcohol. It should be damp, not dripping wet. Gently wipe the plastic sensor brackets and the areas around the infrared lights. The alcohol will dissolve sticky dirt, oils, and grime. Use a dry cotton swab to wipe away any leftover residue. Let the board sit open for about ten minutes to make sure all the alcohol has evaporated completely.
Step 6: Reassemble the Casing
Once everything is clean and completely dry, gently place the plastic cover back onto the hoverboard. Make sure none of the colorful wires get pinched between the plastic pieces. Put the screws back in and tighten them with your screwdriver. Do not over-tighten them, as you could crack the plastic shell.
Common Mistakes to Avoid When Cleaning
Cleaning your board is easy, but mistakes can happen if you rush. Keep these tips in mind to keep your board safe from damage:
Never Use Water
Water and electronics do not mix. Never use water, wet wipes, or liquid soap to clean the inside of your hoverboard. Water can easily short-circuit the motherboard, which will ruin your board forever. Stick to rubbing alcohol, which dries almost instantly.
Do Not Force the Screws
If a screw is hard to turn, do not force it. You might strip the screw head, making it impossible to remove in the future. Line up the plastic cover carefully before inserting the screws to make sure they go in smoothly.
Do Not Pull on Wires
The wires inside your hoverboard are thin and delicate. Pulling on them can break the solder joints that connect them to the circuit boards. Always lift the plastic shell slowly and gently.
How to Keep Your Hoverboard Sensors Clean Long-Term
Now that your hoverboard is clean and running smoothly, you will want to keep it that way. Here are some simple habits to protect your sensors from getting dirty again:
Avoid Mud and Wet Grass
Riding your hoverboard through wet mud or tall grass is a quick way to get dirty water and debris inside the casing. Try to stick to dry, paved surfaces like sidewalks and clean driveways.
Store Your Board in a Bag
When you are not using your hoverboard, store it in a zipped carrying bag. This keeps household dust, pet hair, and spiderwebs from settling inside the shell while it sits in your closet or garage.
Perform Quick Outer Wipe-downs
After each ride, use a damp cloth to wipe down the outside of the rubber footpads. This keeps dirt from slipping down through the sides of the pads and landing on the interior sensors.
Conclusion
Taking care of your hoverboard does not have to be a scary task. By learning how to clean your hoverboard sensors, you can fix common riding issues, like shaking and sluggish response times, all by yourself. It only takes a little time, a screwdriver, some compressed air, and rubbing alcohol to keep your board feeling brand new. Regular cleaning keeps your rides safe, smooth, and fun for a very long time. So, grab your tools, clear out that dust, and enjoy your next ride with complete peace of mind!
Frequently Asked Questions
How often should I clean my hoverboard sensors?
For average riders, cleaning the sensors once every six months is enough. However, if you frequently ride outdoors in dusty areas or have pets that shed a lot of hair, you should clean them every two to three months.
Can I use WD-40 to clean the sensors?
No, you should never use WD-40 or other oils inside your hoverboard. These products leave behind a greasy residue that actually attracts more dust and dirt, which will quickly clog your sensors again.
Why does my hoverboard still beep after I cleaned the sensors?
If your board is still beeping after a thorough cleaning, it likely needs to be calibrated. To calibrate it, place the board on a perfectly flat surface, hold the power button down for ten seconds until the lights flash, and then restart it.
Do I need to unplug the battery before cleaning?
While you do not have to unplug the battery, you must make sure the hoverboard is turned off and disconnected from the wall charger. If you want to be extra safe, you can gently unplug the yellow battery connector inside the casing.
What happens if water gets onto the sensor boards?
Water can cause a short circuit and permanently damage the delicate electronics. If water gets on the boards, do not turn the hoverboard on; instead, let it dry in a warm, dry room for at least 24 to 48 hours before testing it.
Can a dirty sensor cause the hoverboard to shake?
Yes, dirty sensors often cause the hoverboard to shake or vibrate rapidly. This happens because the dust blocks the infrared light beams intermittently, making the board rapidly turn the motors on and off as it struggles to read your feet.
