


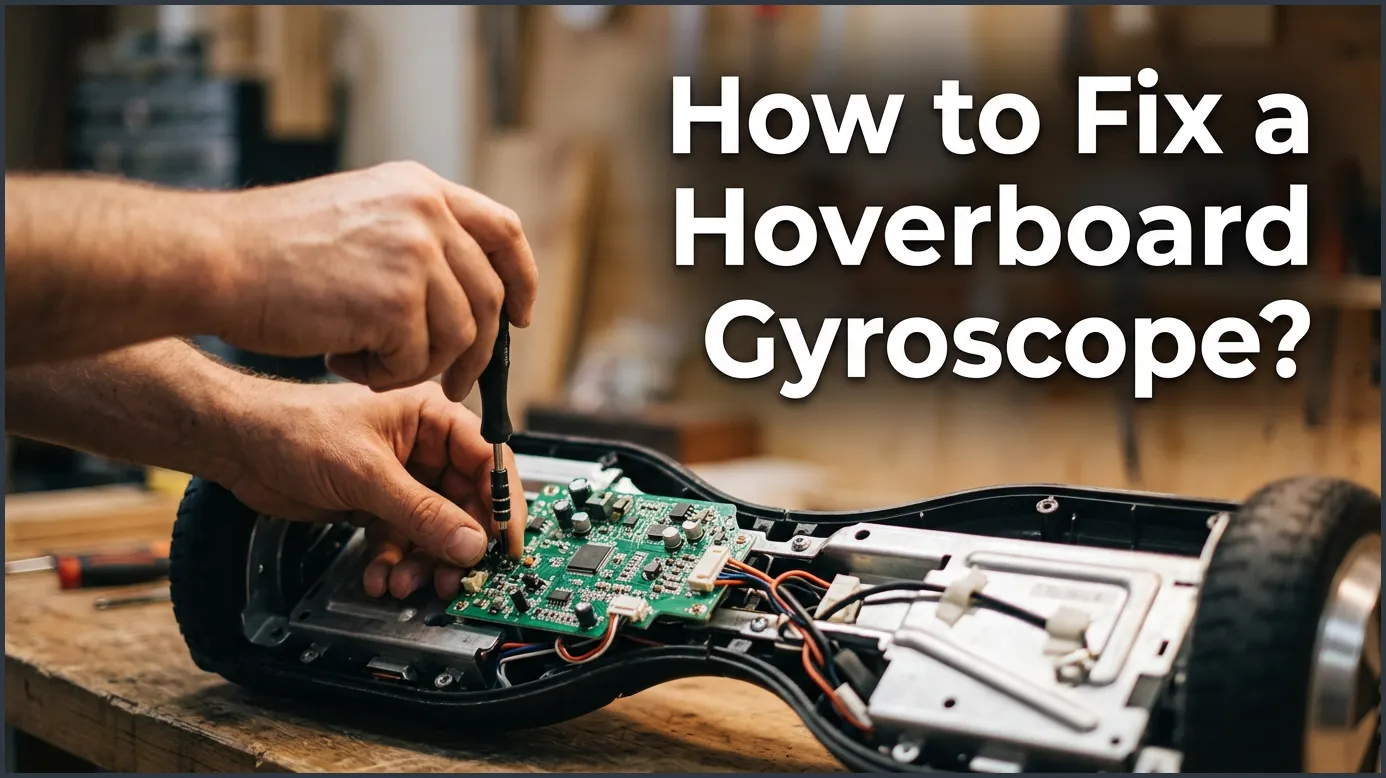
If your hoverboard is shaking, leaning to one side, or refusing to balance, you likely have a faulty sensor. You can easily resolve this issue by performing a quick system recalibration, checking for loose internal wiring, or replacing the physical gyroscope boards if they are permanently damaged.
Imagine stepping onto your hoverboard, ready to glide down the street, only to find it shaking violently under your feet. Or maybe it leans to one side, refuses to budge, or spins in circles like wild. It is a frustrating feeling, but do not panic just yet. You do not need to throw your expensive toy away or run to an expensive repair shop right away.
The culprit behind these strange behaviors is almost always the gyroscope. This tiny, clever sensor is the brain of your ride, keeping you upright and balanced as you zoom around. If it gets confused or damaged, your ride becomes unusable. Fortunately, learning how to fix a hoverboard gyroscope is a highly doable DIY project that can save you a lot of money.
We will guide you through the entire process of troubleshooting and repairing this vital component. From quick resets to physical board replacements, we have got you covered with easy-to-follow steps. Let us dive in and get your wheels rolling smoothly again!
Key Takeaways
- Recalibration First: Most gyroscope issues are software-related and can be fixed with a simple manual recalibration reset.
- Check Connections: Loose cables inside the hoverboard often cause sensor connection errors.
- Symptom Identification: Shaking, spinning in circles, and red warning lights usually point directly to gyroscope failure.
- Replacement is Easy: If the physical chip is broken, you can replace the gyroscope sensor board yourself with basic tools.
- Keep Parts Matching: Always buy replacement gyroscopes that match your hoverboard’s specific voltage and motherboard model.
- Safety First: Always disconnect the battery before opening up your hoverboard to avoid short circuits.
📑 Table of Contents
Understanding Your Hoverboard’s Balance Brain
Before we pick up any tools, it helps to understand what we are dealing with. Your hoverboard relies on two gyroscope sensors, one under each foot pad. These sensors measure the angle and speed at which you lean. They send this data to the main motherboard, which then tells the motors how fast to spin. When you want to know how to fix a hoverboard gyroscope, you must first know how they talk to the rest of the board.
What is a Gyroscope and How Does It Work?
Each gyroscope is a small green circuit board packed with microscopic sensors. When you tilt your foot forward, the sensor detects the change in gravity. It translates this movement into electrical signals. If one gyroscope stops talking to the motherboard, the hoverboard loses its balance. This causes one wheel to spin while the other stays completely still.
Common Symptoms of a Broken Gyroscope
How do you know if the gyroscope is actually the problem? Usually, you will notice very specific warning signs. Your hoverboard might shake violently when you step on it. It might pull hard to one side even when you stand perfectly flat. You might also notice a persistent red blinking light on the center console. If you experience these issues, it is time to troubleshoot some of the common hoverboard problems and how to fix them without panic.
Step 1: The Quickest Fix – How to Recalibrate Your Hoverboard
Before you unscrew a single screw, try recalibrating your board. This is the absolute easiest way to solve the mystery of how to fix a hoverboard gyroscope. Most of the time, the gyroscope is not physically broken. It has simply lost its reference point for what “flat” feels like. A quick manual reset forces the sensors to relearn their level position.
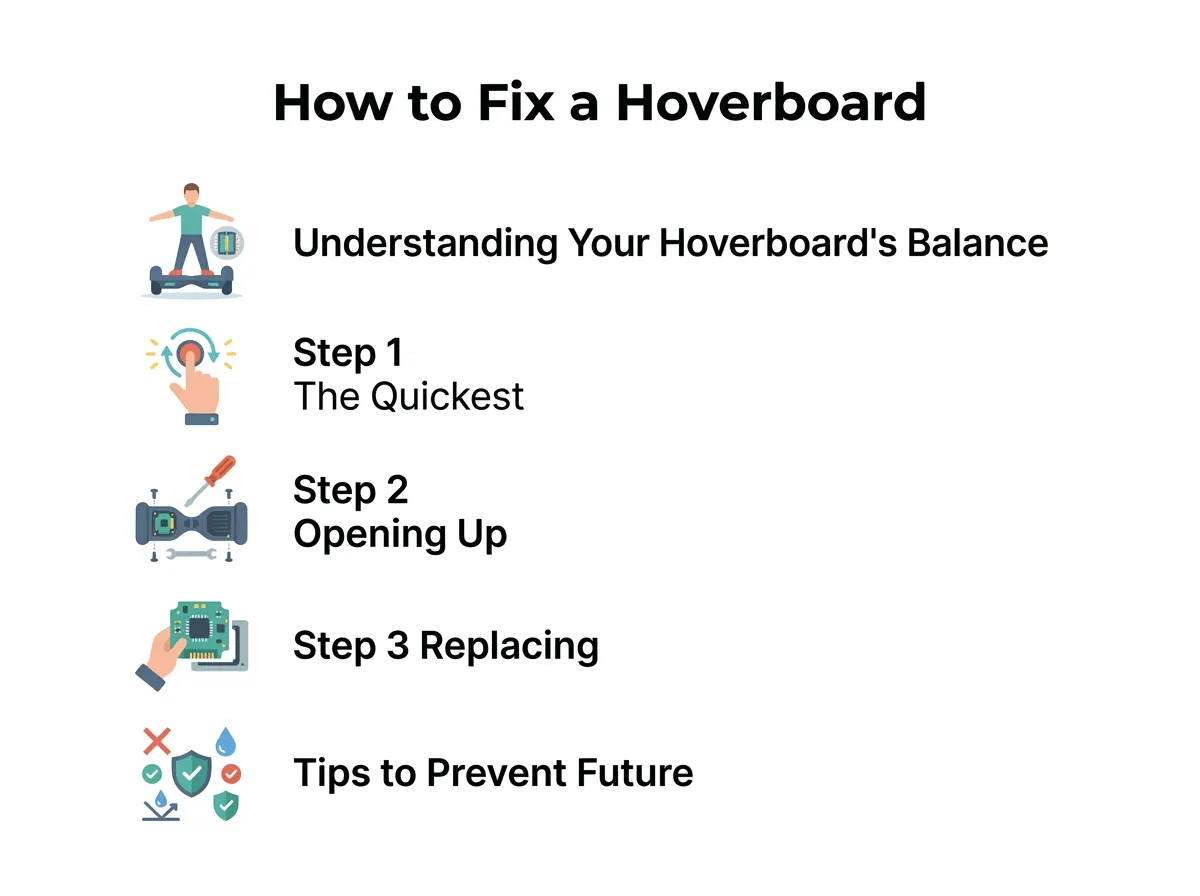
How to Fix a Hoverboard Gyroscope? — key points at a glance
The Easy 5-Step Recalibration Process
To perform a recalibration, follow these simple steps:
- Step 1: Turn off your hoverboard completely. Make sure it is not in sleep mode.
- Step 2: Place the hoverboard on a completely flat, level surface. You can use a bubble level tool to make sure it is perfectly flat.
- Step 3: Align both foot pedals so they are completely parallel to the ground and even with each other.
- Step 4: Press and hold the power button down for about 5 to 10 seconds. Keep holding it until the lights start flashing and you hear a continuous beeping sound.
- Step 5: Release the button, let the lights flash for another 5 seconds, and then turn the hoverboard off.
Once you turn the board back on, test it out. If the shaking and leaning stop, congratulations! You successfully resolved the issue. If the problem continues, you will need to try deeper steps to fix hoverboard gyroscope sensor issues on your own.
Step 2: Opening Up the Board to Inspect the Wires
If calibration did not work, the problem might be a loose connection inside the plastic shell. Hoverboards take a lot of abuse. Every bump, curb, and jump vibrates the internal components. Over time, these vibrations can wiggle the sensor wires loose from their ports.
Safe Opening Procedures
First, grab a Phillips-head screwdriver and find a clean, flat table to work on. Turn off the hoverboard. Flip it over so the wheels are facing up. Remove all the screws from the bottom casing. Keep track of which screws go where, as some might be longer than others. Gently lift the plastic cover off. Be very careful, as there are still wires attached to the charging port and power button on the shell.
Spotting Loose or Damaged Wires
Look at the small green circuit boards near each wheel. These are your gyroscopes. Check the cables running from these boards to the main motherboard in the center. Are they plugged in tightly? Are any wires pinched, frayed, or burnt? Unplug the connectors and plug them back in securely. Sometimes, simply reseating these cables is all it takes to make your board work perfectly again. If you are nervous about this step, it is essential to learn how to fix a broken hoverboard myself before calling for help.
Step 3: Replacing a Damaged Gyroscope Sensor
If your wires look great and calibration fails, you likely have a dead sensor chip. In this case, you must replace the physical board. Do not worry, because this is much easier than it sounds! You do not need to be an electronics genius to do this. Anyone can learn how to replace the parts with a little patience.
Finding the Right Replacement Parts
You must buy a replacement gyroscope that matches your specific hoverboard model. Some hoverboards use a three-piece circuit board system, while others use a two-piece system. Look at the color of your boards and the writing on them. It is usually best to buy a matching pair of gyroscopes. This ensures that both sides of your hoverboard speak the exact same language. You can find detailed guides on how to replace hoverboard gyroscope sensors step by step to ensure you get the exact matching parts.
Removing the Old Sensor and Installing the New One
First, always disconnect the yellow battery plug to cut all power. Safety first! Next, unplug all the wires connected to the old gyroscope board. Use your screwdriver to remove the small screws holding the green board to the metal frame. Lift the old board out and place the new one in its exact spot. Screw it down securely, plug the wire connectors back into their slots, and reconnect the battery. Once everything is put back together, put the plastic cover on, tighten the screws, and perform another calibration test.
Tips to Prevent Future Gyroscope Failures
Once you have solved the riddle of how to fix a hoverboard gyroscope, you will want to make sure you do not have to do it again anytime soon. Gyroscopes are delicate electronics. Taking a few preventive measures can keep them safe and sound for years to come.
Avoid Hard Impacts and Moisture
Never ride your hoverboard off high curbs or down stairs. The sudden impact can easily crack the tiny solder joints on the circuit boards. Additionally, avoid riding through puddles or wet grass. Water is the ultimate enemy of electric sensors. Even a tiny splash of water inside the casing can short out a gyroscope instantly.
Regular Maintenance and Battery Care
Check the bottom screws of your hoverboard occasionally to make sure they are tight. Loose screws allow the internal boards to rattle around, leading to early failure. Also, avoid leaving your hoverboard on the charger for days on end, as overheating can slowly damage the internal chips.
Conclusion
Learning how to fix a hoverboard gyroscope might seem intimidating at first, but it is actually a highly rewarding DIY project. By starting with a simple calibration, checking your wire connections, and knowing how to swap out a broken sensor board, you can tackle almost any balance issue like a pro. Keep your rides smooth, avoid rough impacts, and you will enjoy your hoverboard for many miles to come!
Frequently Asked Questions
Why is my hoverboard shaking and beep continuously?
This shaking is usually caused by a gyroscope that has lost its calibration. The board is struggling to find its center of gravity. A simple system recalibration will almost always resolve this issue.
Can I replace just one gyroscope sensor?
Yes, you can replace just one side. However, it is highly recommended to buy a matching pair. This ensures that both sensors have the exact same firmware and voltage, preventing future balance errors.
How do I know if my gyroscope is burned out?
A burned-out gyroscope will often smell like burnt plastic. It may also show visible black burn marks on the green circuit board, or cause a constant red light to blink on your center dashboard.
Is it safe to open my hoverboard myself?
Yes, it is safe as long as the board is turned off and you unplug the yellow battery connector first. Cutting the power prevents accidental short circuits and keeps you perfectly safe.
How much does a replacement gyroscope board cost?
Replacement gyroscope sensors are quite inexpensive. A single board usually costs between fifteen and thirty dollars online, making it a very budget-friendly DIY fix.
Why did my gyroscope stop working after riding in the rain?
Water likely entered the hoverboard shell and caused a short circuit on the gyroscope board. If this happens, you will need to let the board dry completely, but you will most likely have to replace the damaged sensor.
