


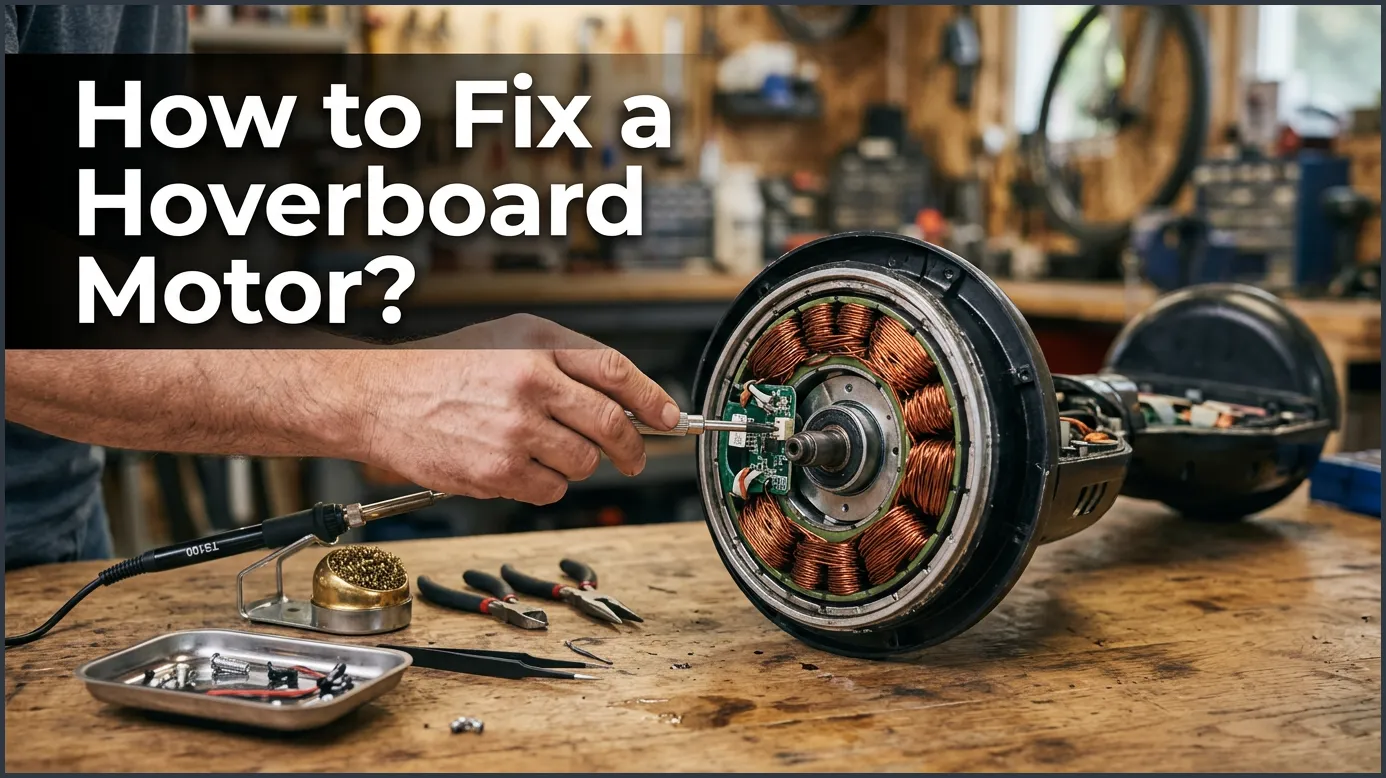
If your hoverboard is not moving, the issue is often a loose cable connection, a faulty gyroscopic sensor, or a damaged wheel motor. You can fix most of these issues at home by opening the outer shell, checking the internal wiring harness, recalibrating the board, or replacing a damaged wheel motor assembly. Always remember to turn off the power and disconnect the battery before starting any hands-on repairs.
Imagine sliding down your driveway on a sunny afternoon. The wind is in your hair, and you feel like you are gliding on air. Suddenly, your hoverboard jerks to a stop. One side feels completely lifeless. You tilt your feet, but nothing happens. You try to restart it, but one wheel is totally locked up. It is a frustrating moment, but do not panic just yet.
Hoverboards look like highly futuristic machines. However, under the sleek plastic shell, their internal systems are actually quite simple. Most hoverboards use two electric motors. These motors live inside the wheels themselves. If one wheel stops spinning, you do not have to throw your expensive toy away. Learning How to Fix a Hoverboard Motor? is easier than you think, and it can save you a lot of money.
In this comprehensive guide, we will walk you through the entire troubleshooting process. We will look at simple fixes you can do in five minutes. We will also cover deeper hardware repairs for hands-on DIYers. Grab your screwdriver, clear off a flat workspace, and let us get your hoverboard back in action!
Key Takeaways
- Calibrate First: Many motor issues are just sensor glitches that a simple recalibration can fix instantly.
- Check the Cables: Loose or disconnected wires inside the shell are the most common cause of single-wheel failure.
- Inspect the Hall Sensors: Faulty sensors inside the wheel hub can cause stuttering or vibrating.
- Safety First: Always unplug the hoverboard battery before touching any internal wires or components.
- Replacement is Easy: If the motor is truly dead, replacing the entire wheel assembly is a simple, budget-friendly DIY job.
📑 Table of Contents
Understanding How a Hoverboard Motor Works
Before you start unscrewing parts, it helps to understand what is happening inside. Each hoverboard wheel is a self-contained unit. Inside the wheel is a brushless direct current (BLDC) motor. These motors are incredibly efficient and durable. They do not have brushes that wear out over time.
The Brains and the Brawn
The motor does not work alone. It relies on the motherboard and gyroscopes. The gyroscope detects your body weight shifting. It sends a signal to the motherboard. The motherboard then tells the motor how fast to spin. If this communication loop breaks, your motor will stop working. Sometimes, the motor is perfectly fine, but the signals are not reaching it.
Power and Data Wires
Each motor has two sets of wires connecting it to the motherboard. First, there are thick power wires. These carry the electrical current to turn the wheel. Second, there is a bundle of thin wires. These are the Hall sensor wires. They tell the motherboard exactly how fast the wheel is spinning. If either of these cable sets gets damaged, the wheel will freeze up.
Step 1: Recalibrate Your Hoverboard First
Before you open up the plastic shell, try the easiest fix first. Many times, a dead motor is actually just a confused gyroscope. If the gyroscope cannot read your balance, it will not power the motor. Recalibration resets these sensors to a level state.
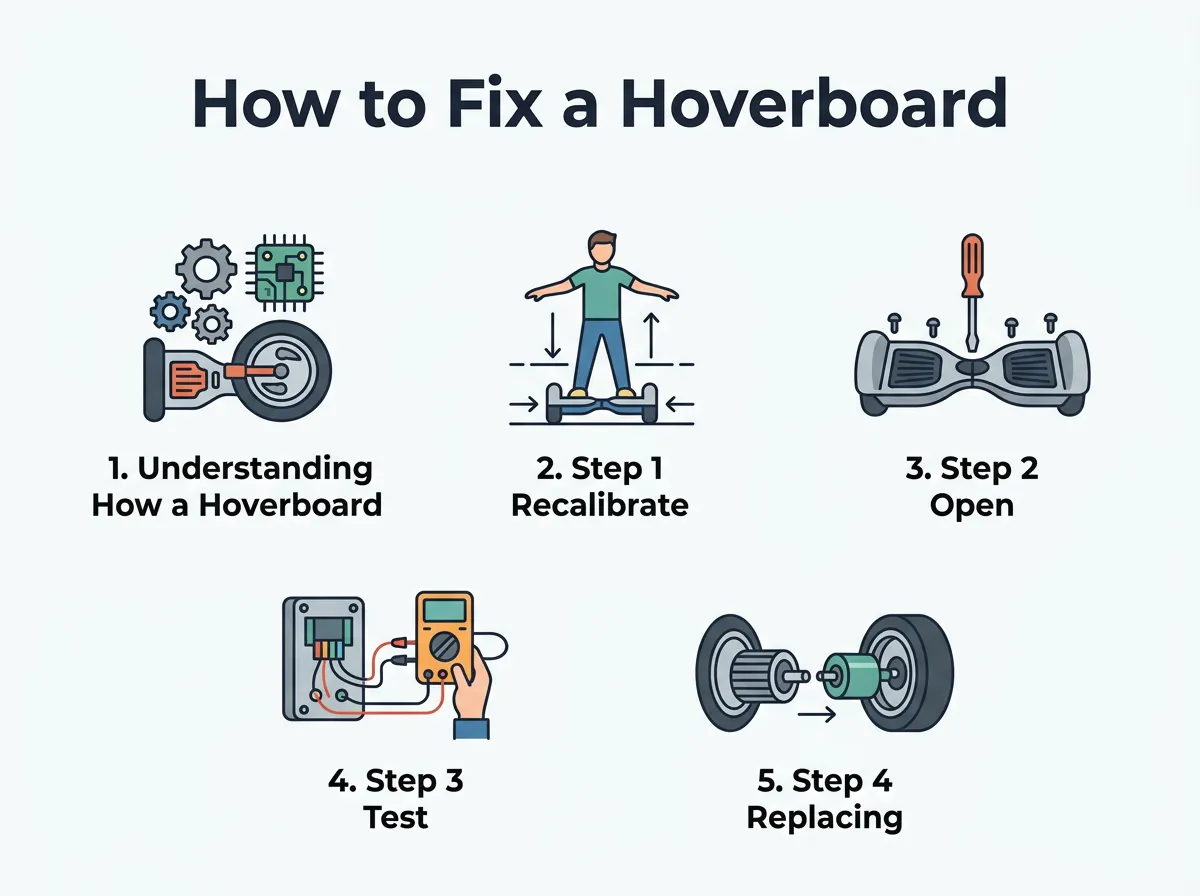
How to Fix a Hoverboard Motor? — key points at a glance
To calibrate your hoverboard, follow these simple steps:
- Place your hoverboard on a completely flat, level floor.
- Make sure both footpads are perfectly level with the ground.
- Press and hold the power button for about 5 to 10 seconds.
- Keep holding it until the lights flash and you hear a steady beep.
- Let go of the power button and turn the board off.
- Turn the board back on and test the wheels.
If calibration does not solve the issue, then you are likely dealing with a physical hardware problem. It is time to look deeper under the hood.
Step 2: Open the Shell and Inspect the Wires
To begin physical repairs, you need to open the protective casing. Place your hoverboard upside down on a soft towel. This will prevent the plastic from getting scratched. You will see a dozen or more small screws on the bottom shell.
Use a Phillips head screwdriver to remove all the screws. Keep them safe in a small bowl so you do not lose them. Gently lift the plastic cover off. Be careful, as there are still wires connected to the charging port and power button on the shell.
Safety Warning: Before touching any internal parts, disconnect the yellow battery plug. This prevents accidental short circuits and keeps you safe while working.
Once inside, look closely at the side with the broken motor. Search for any burnt smells, melted plastic, or disconnected plugs. Often, a wire has simply vibrated loose from its socket during a rough ride. If you find that your hoverboard wheels won’t spin, a disconnected power connector is the number one culprit. Unplug the motor connector, inspect the metal pins, and plug it back in firmly.
Step 3: Test the Motor for Internal Damage
If all the wires look perfectly connected, you need to determine if the motor itself is dead or if the motherboard is failing. Here is a quick trick to test this without any fancy tools.
The Resistance Test
Disconnect the main three-wire power plug of the broken motor from the motherboard. Now, try to spin the wheel with your hand. It should spin freely and smoothly. Next, take a small piece of metal, like a paperclip, and short the three copper pins on the motor plug together. Try to spin the wheel again.
If the wheel is suddenly very hard to turn, this is actually a good sign! It means the magnetic coils inside the motor are healthy. If the wheel spins with the exact same ease whether the pins are shorted or not, the copper coils inside the motor are likely burnt out. In this case, you will need to replace the wheel motor.
The Swap Test
If you want to be 100% sure before buying new parts, try the swap test. Unplug the working motor and the broken motor from the motherboard. Plug the broken motor into the working side of the motherboard. Turn the board on and gently tilt the sensor. If the “broken” motor now spins, your motor is fine! The issue is actually a blown motherboard on the other side.
Step 4: Replacing a Broken Wheel Motor Assembly
If your diagnosis points to a dead motor, do not worry. Replacing the entire wheel assembly is a straightforward process. You do not need to perform an in-depth hoverboard motor teardown to fix this. Trying to rewind copper coils by hand is incredibly difficult. Instead, buying a pre-assembled wheel motor is cheap and fast.
To replace the wheel motor assembly, follow these steps:
- Disconnect the motor power cable and the thin Hall sensor wire harness from the motherboard.
- Locate the four large bolts holding the metal motor axle to the hoverboard frame.
- Use an Allen key or a socket wrench to remove these four bolts.
- Gently pull the old wheel and axle out of the metal frame.
- Slide the axle of your new wheel motor into the frame slot.
- Reinstall the four bolts tightly. Use a bit of thread locker to keep them from vibrating loose later.
- Feed the new cables through the rubber grommet into the hoverboard body.
- Plug the cables back into their matching ports on the motherboard.
Once everything is plugged in, reconnect the battery and turn the board on to test your brand-new wheel!
How to Prevent Future Hoverboard Motor Failures
Now that you know how to fix a hoverboard motor, you should learn how to keep it from breaking again. Most motor failures are caused by how the board is ridden and stored.
Avoid Water and Wet Pavements
Most hoverboards are only water-resistant, not waterproof. Puddles, wet grass, and rain can easily seep into the wheel hubs. This causes the copper coils to rust or short circuit. Always ride on dry, clean surfaces.
Keep Off Rough Terrain
Riding over deep gravel, thick sand, or heavy grass forces the motors to work twice as hard. This causes extreme heat buildup. Overheated motors can melt their internal wire insulation. If you want to ride off-road, make sure you buy an all-terrain hoverboard designed for those conditions.
For more tips on maintaining your ride and avoiding issues, you can read about common hoverboard motor causes and fixes online to keep your board running smoothly for years.
Conclusion
A broken hoverboard motor can feel like a major disaster, but it is usually just a simple DIY project waiting to happen. Whether your board needed a quick recalibration, a loose cable plugged back in, or a full wheel replacement, you now have the knowledge to handle it. Take your time, work safely, and always keep track of your screws. Before you know it, you will be back outside, gliding effortlessly on two working wheels again!
Frequently Asked Questions
Why does one wheel on my hoverboard vibrate and shake?
A vibrating wheel is usually caused by a dirty, loose, or faulty Hall sensor connection. If the motherboard cannot read the exact position of the wheel, it sends jerky power pulses. Check the thin 5-wire cable plug inside the board to ensure it is tight.
Can I ride my hoverboard if the motor is making a clicking sound?
It is not recommended to ride a clicking hoverboard. Clicking often indicates a loose internal magnet, worn bearings, or a foreign object stuck inside the wheel. Continued riding can cause the wheel to lock up suddenly, which could throw you off the board.
Are hoverboard motors waterproof?
Most hoverboard motors are only splash-proof (usually rated IP54). They can handle a tiny bit of dust and light splashes, but riding through deep puddles or in heavy rain will ruin the internal coils and electronic sensors.
How can I tell if my hoverboard motherboard is broken instead of the motor?
The easiest test is to plug the broken wheel into the working side of the motherboard. If the wheel works on the other side, then your motor is healthy. This confirms that the motherboard’s motor driver circuit on the original side is dead and needs replacement.
Do I need to solder anything to replace a hoverboard motor?
No, you do not need to solder. Modern hoverboards use simple clip-in plastic connectors for both the power and sensor wires. You only need a screwdriver and a hex key to swap out a broken wheel motor assembly.
What does a blinking red light on my hoverboard mean?
A blinking red light is a diagnostic code. The number of consecutive blinks tells you what is wrong. For example, 4 or 5 blinks usually indicate a motor or sensor issue on the left or right side. Refer to your user manual to decode the exact error.
