


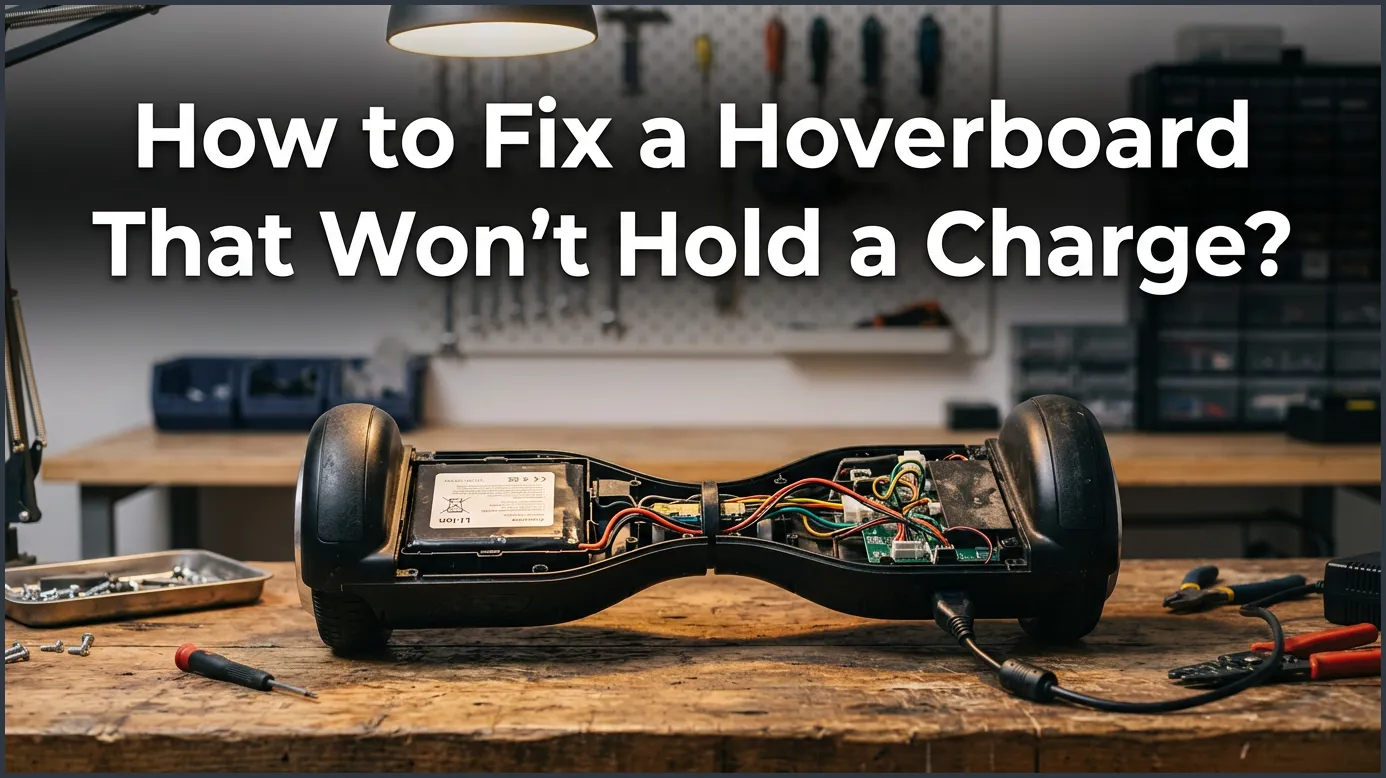
If your hoverboard refuses to hold a charge, the culprit is usually a dead battery pack, a faulty charger, or a loose internal power cable. You can quickly fix this by testing the charger light, resetting the board’s system, or replacing the lithium-ion battery. Following a few simple troubleshooting steps will get your hoverboard back on the road in no time.
Imagine this. The sun is shining. You want to go for a quick spin around the block. You grab your favorite hoverboard, place it on the ground, and step on. But nothing happens. No lights. No beep. Just a quiet, dead machine. You know you left it plugged in all night, so what went wrong? This is a very common issue that many riders face, and it can be highly frustrating.
In this guide, we will look at how to fix a hoverboard that won’t hold a charge? We will walk you through the simple steps to find out why your board is acting up. You do not need to be a tech genius to figure this out. Most of the time, the fix is much easier than you think. Let us dive in and get your wheels moving again.
Key Takeaways
- Check the Charger Light First: A green light on the charger while plugged in usually means a completely dead battery or a loose internal connection.
- Perform a System Reset: Calibrating your hoverboard can sometimes resolve deep battery communication issues and sensor glitches.
- Test with a Voltmeter: Measuring the actual voltage of the battery pack determines if the cells are permanently damaged.
- Replace Old Batteries Safely: Lithium-ion batteries degrade over time and often need full replacement after one to two years of regular use.
- Practice Proper Storage: Never leave your hoverboard plugged in overnight or stored in extreme cold or hot temperatures.
- Ensure Cable Integrity: Check internal wiring for loose clips or pinched wires that stop power from flowing correctly.
📑 Table of Contents
Identifying the Symptoms: Is It the Battery or the Charger?
Before you start unscrewing your hoverboard, you need to do some detective work. You must find out if the problem is the battery itself or the charger. Both can cause the same end result, but they require very different solutions.
The LED Indicator Light Tricks
Your charger has a small LED light on it. This light is your best friend when troubleshooting. Plug the charger into the wall first. The light should turn green. Now, plug the other end into your hoverboard. If the light stays green, it usually means the battery is already full, or the board is not drawing any power at all. If the light turns red, it means the battery is currently taking in juice. If you encounter issues here, checking a reliable charger troubleshooting guide on iFixit can help you decipher what the blinking or static lights mean.
The “Works Only on the Charger” Test
Try turning your hoverboard on while it is still plugged into the wall. If it turns on, makes its usual startup noise, and the lights flash, but it dies the second you unplug it, you have a classic symptom. This tells you that the charger is doing its job. It is sending power to the board, but the battery cannot hold that power. This is a clear sign that the battery pack is either depleted, disconnected, or damaged.
Step-by-Step Guide: How to Fix a Hoverboard That Won’t Hold a Charge?
Now that you have done some basic testing, it is time to get hands-on. Follow these simple steps in order to isolate and fix the issue.
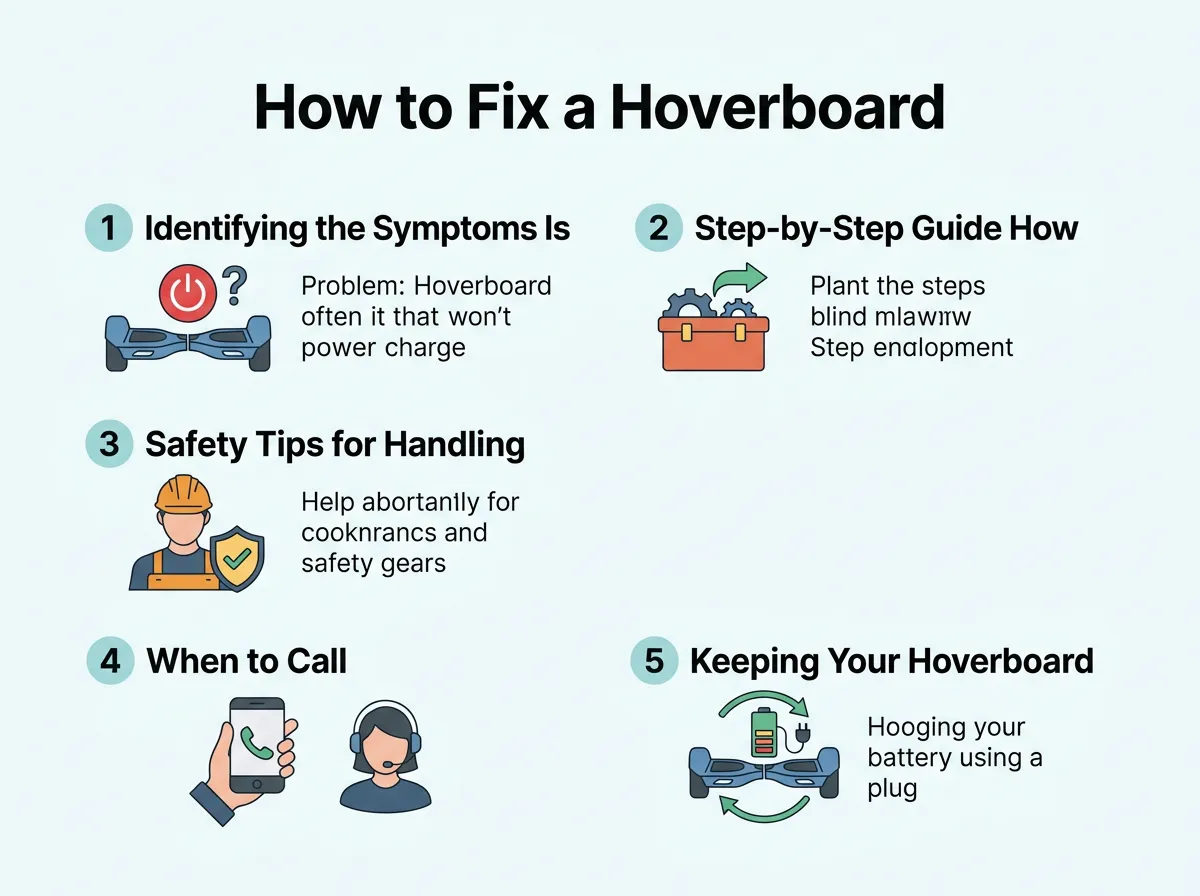
How to Fix a Hoverboard That Won’t Hold a Charge? — key points at a glance
Step 1: Check Your Charging Equipment
Always start with the easiest and cheapest part to replace: the charger. Check the charging port on the hoverboard. Does it look loose? Are the three small pins inside bent or broken? If the port is loose, it might have spun around inside the shell, pulling its wires loose. If the charger plug does not fit snugly, power cannot flow. If you suspect the charger is bad, try using a friend’s working charger of the same voltage to see if it makes a difference.
Step 2: Perform a System Calibration
Sometimes, the issue is not hardware, but software. The internal sensors can get confused. This can lead to charging errors or faulty battery readings. To reset your hoverboard, make sure it is turned off. Place it on a completely flat, level surface. Hold the power button down for about ten to fifteen seconds. The lights will start flashing, and you might hear a beep. Keep holding it until the lights stop flashing. Turn the board off, then turn it back on. This simple reset fixes many common hoverboard problems and solutions, saving you a lot of time and money.
Step 3: Inspect Internal Wiring and Connections
If a reset does not help, you need to look inside. Make sure the hoverboard is completely unplugged. Grab a screwdriver and remove the screws from the bottom plastic shell. Be gentle as you pull the cover off because some wires might still be attached to it. Look for the main battery pack, which is usually wrapped in blue, green, or black plastic. Check the wires leading from the battery to the motherboard. Are they tightly clipped together? If a plastic plug has come loose, push it back in until it clicks. A loose wire is a very common cause for a hoverboard that will not power up or charge.
Step 4: Test and Replace the Battery Pack
If all the wires are plugged in tightly but the board still dies instantly, the battery has likely reached the end of its life. Lithium-ion batteries can only handle a certain number of charge cycles before they stop working. If your hoverboard battery won’t retain its charge, you will need to buy a replacement. Look at the label on your old battery to find the correct voltage and plug type. Most hoverboards use a 36V or 25.2V battery pack. Replacing it is easy: simply unscrew the battery bracket, unplug the old battery, plug in the new one, and screw the bracket back down.
Safety Tips for Handling Hoverboard Batteries
Working with lithium-ion batteries requires caution. These packs store a lot of energy, and treating them poorly can be dangerous. Keep these quick safety tips in mind during your fix.
Use the Right Charger
Never use a random charger that you found in a drawer. Even if the plug fits, the voltage might be too high or too low. A cheap, mismatched charger can easily overheat your battery, destroy the cells, or even cause a fire. Always use the charger that came with your board or an official certified replacement.
Avoid Extreme Heat and Cold
Batteries hate extreme temperatures. Do not store your hoverboard in a hot garage during the summer, or in a freezing shed during the winter. Extreme cold stops the chemical reaction inside the battery, which makes it lose its capacity quickly. Keep your board indoors where the temperature is stable.
Don’t Overcharge
It is tempting to leave your board plugged in overnight, but this is bad for battery health. Once the charger light turns green, unplug it. Overcharging stresses the cells and shortens their overall lifespan. If you leave it on the charger for days at a time, you will soon find yourself needing to buy a new battery.
When to Call in the Professionals
While many battery issues are easy to fix at home, some require professional help. If you open your hoverboard and smell a strong chemical odor, see any black scorch marks on the circuit boards, or notice the battery pack looks swollen or bloated, stop immediately. A swollen battery is highly unstable. Do not try to charge it, and do not throw it in your regular trash. Take it to a local electronics recycling center and let them handle it safely.
Keeping Your Hoverboard in Top Shape
Fixing your hoverboard is highly satisfying. By following this guide on how to fix a hoverboard that won’t hold a charge?, you can save money and gain the confidence to do your own basic repairs. Most problems come down to simple battery health or a loose wire. Keep your board clean, store it inside, and charge it properly to ensure many fun rides ahead. Stay safe, have fun, and enjoy your smooth ride!
Frequently Asked Questions
Why does my hoverboard charger light stay green?
A constant green light usually means the charger does not detect the battery. This happens if the battery is completely dead, a wire inside is disconnected, or the charging port pins are bent. Try resetting the board or checking the internal connections to solve this.
How long do hoverboard batteries usually last?
Most lithium-ion hoverboard batteries last between one and two years with regular use. Over time, the chemical components degrade, meaning they will hold less of a charge. Proper storage and avoiding overcharging will help extend their overall life.
Can I leave my hoverboard charging overnight?
No, you should never leave your hoverboard plugged in overnight or unattended. Overcharging can damage the battery cells and reduce their lifespan significantly. Always unplug the charger as soon as the indicator light turns green.
How do I know if my hoverboard motherboard is bad?
If your battery and charger are both working fine, but the board still will not turn on or behaves erratically, the motherboard may be damaged. Look for scorch marks or loose chips on the circuit boards inside the casing. Replacing a motherboard is relatively cheap and simple with online kits.
Is it safe to replace a hoverboard battery myself?
Yes, replacing a hoverboard battery is a straightforward task that most beginners can do. You just need to remove the bottom shell, unscrew the battery bracket, and plug in the new certified battery. Always make sure the hoverboard is powered off and unplugged before opening it.
Can a loose wire cause charging issues?
Absolutely, internal vibrations from riding over bumps can easily loosen the plastic clips inside. If the power cable clip between the port and the motherboard comes loose, the battery will not receive any charge. Simply pressing the connection tightly back together often fixes the problem.
