


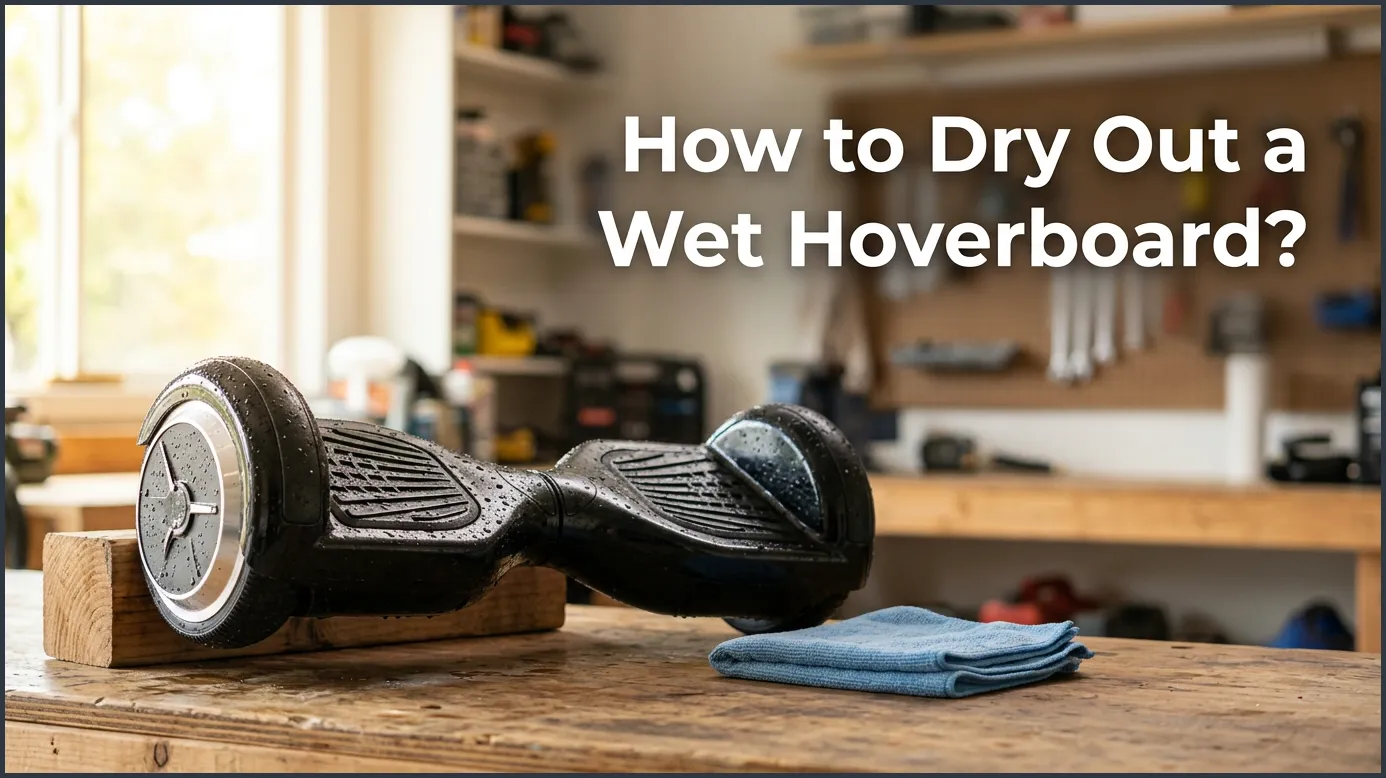
If your hoverboard gets wet, immediately turn it off and do not charge it under any circumstances. You must carefully unscrew the bottom cover, unplug the battery, and dry the internal components with a soft towel and a hair dryer on a cool setting. Leave the parts disassembled to air dry for 24 to 48 hours before putting it back together.
Have you ever been riding outside when a sudden rain shower starts? Or maybe you hit a deep puddle that you did not see. Your heart drops as you hear a splash. You wonder if your favorite self-balancing board is ruined forever. It is a very scary feeling for any rider.
Water and electronics do not get along. When water gets inside, it can cause a lot of trouble. But do not panic just yet. You can still save your ride if you act fast. In this guide, we will teach you how to save your board and protect your investment.
We will cover everything from safety tips to opening up the plastic frame. With a little time and the right steps, you can get your board rolling again. Let us dive in and see how we can fix this common problem.
Key Takeaways
- Act fast: Turn off the hoverboard immediately to prevent permanent short circuits.
- Never charge it: Plugging a wet hoverboard into an outlet can cause severe damage or even a fire.
- Open the shell: Unscrewing the bottom cover is essential to dry the motherboard and sensors.
- Unplug the battery: Disconnecting the main power source protects the delicate electronic chips.
- Use cool air: Avoid hot hair dryers, as high heat can warp the plastic and ruin the wiring.
- Be patient: Allow the board to air dry disassembled for at least 24 to 48 hours.
📑 Table of Contents
The Golden Rule: Shut It Down Immediately
The very first thing you must do is turn the hoverboard off. Do not try to ride it back home. Do not test it to see if it still works. Press the power button right away. If the power button does not work, do not worry. We will handle that soon.
Why is this so important? When water touches a live electric circuit, it creates a short circuit. This can burn out the computer chips instantly. If you want to know what happens when water enters the circuits, it can lead to total system failure or even fire. Turning the power off cuts the electrical flow and protects the parts.
Do Not Plug It In
This is a critical warning. Never plug your wet hoverboard into the wall charger. Water conducts electricity. If you plug a wet board into an outlet, you can cause a short circuit. This could ruin the battery forever. It can also create a serious fire hazard in your home. Keep the charger far away for now.
Gathering Your Tools
You do not need fancy gear to fix this. You can find most of these items in your house. Here is what you should get ready:
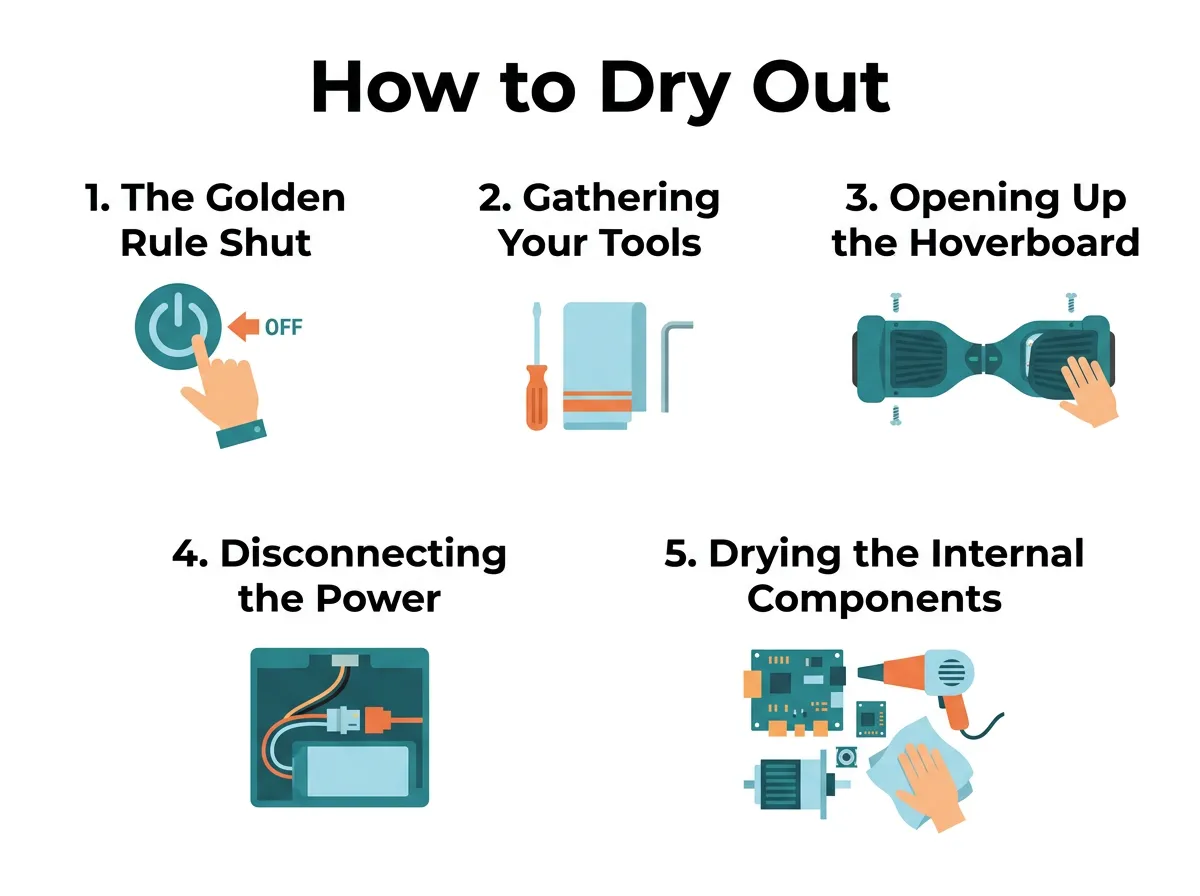
How to Dry Out a Wet Hoverboard? — key points at a glance
- A Phillips head screwdriver (to open the outer shell)
- A couple of soft, dry microfiber towels
- A cotton swab or Q-tip (for tight corners)
- A hair dryer with a cool air setting
- A small bowl to hold the screws
Having these tools ready will make the process much smoother. You do not want to hunt for a screwdriver while water is soaking into your board.
Opening Up the Hoverboard
Now we need to see what is going on inside. Most water damage happens because the outer plastic shell is not completely airtight. To find out whether hoverboards are waterproof, you should know that most only have basic splash protection. They cannot handle being submerged in water.
Removing the Screws
Place your hoverboard upside down on a flat, soft surface. A towel on a table works great. This prevents the top plastic shell from getting scratched. You will see many small screws on the bottom of the board.
Use your Phillips screwdriver to remove all of them. Keep them safe in your small bowl. There are usually around 15 to 20 screws. Be gentle so you do not strip the screw heads.
Taking Off the Cover
Carefully lift the bottom plastic cover off. Do not pull it too hard. There are wires attached to the charging port and the power button. Gently unplug these wires from the main green circuit boards. Now you can set the plastic cover aside.
Disconnecting the Power
Once the cover is off, your main goal is safety. Find the battery. It is usually a large blue or black pack on one side of the board.
Unplugging the Battery
Look for the thick yellow or red and black wires coming out of the battery. They connect to the motherboard. Unplug this connector immediately. This stops all power from running through the board.
Once the battery is disconnected, the risk of a short circuit drops to zero. Take the battery out of the frame if possible. Wipe the battery pack down with a dry cloth. Put it in a dry, safe place.
Drying the Internal Components
This is the most important part of learning how to dry out a wet hoverboard. You must be very gentle with the delicate electronic parts.
Using a Microfiber Towel
Take your dry towel and gently dab the wet spots. Do not rub hard. You do not want to knock any small parts off the circuit boards. Soak up as much standing water as you can. Use your cotton swabs to reach into tight spaces around the gyro sensors and wires.
The Cool Air Method
Now, grab your hair dryer. It is very important that you set it to “cool” or “no heat.” Warm air can warp the plastic parts. Hot air can also damage the sensitive silicon chips on the motherboard.
Hold the hair dryer about twelve inches away from the board. Blow cool air over the motherboard, sensors, and wiring. Do this for about 10 to 15 minutes. This helps evaporate any tiny water droplets hidden under the chips.
If you want to read a detailed guide on repairing wet hoverboards, you will see that rushing this step is the biggest mistake people make. Take your time and make sure you do not miss any spots.
The Drying Stage (Patience is Key)
Even if the board looks dry, do not put it back together yet. Moisture can still hide under the microchips. You must let it air dry.
Find a Dry Spot
Leave the hoverboard completely open. Put it in a warm, dry room with good airflow. A room with a ceiling fan or a dehumidifier is perfect.
How Long to Wait?
You should wait at least 24 hours. Waiting for 48 hours is even better. It is hard to wait when you want to ride. But turning it on too early can ruin all your hard work. Let nature do its job.
Do not use the rice trick. Putting a hoverboard in a bag of rice is a bad idea. The tiny rice dust can get inside the motors and gyroscopes. This will cause mechanical problems later. Sticky rice dust is very hard to clean out.
Reassembling and Testing
After two days, it is time to see if your board is saved.
Putting It Together
First, put the battery back in its spot. Plug the battery cable back into the motherboard.
Next, plug the wires for the power button and charging port back into the shell.
Place the bottom cover back onto the frame. Make sure no wires are pinched between the plastic and the metal frame.
Put the screws back in and tighten them gently.
The Test Run
Take the hoverboard to a clear, open area. Press the power button. If it turns on and lights up, that is a great sign! Step on it carefully. Test the forward and backward movements. If everything feels normal, you did it! You successfully saved your hoverboard from water damage.
If it does not turn on, or if it beeps constantly, some parts may need to be replaced. You may need a new motherboard or battery.
Tips to Prevent Future Water Damage
Now you know how hard it is to dry a wet board. It is much easier to keep it dry in the first place. Here are some quick tips:
- Check the weather: Always look at the sky before you go out. If it looks like rain, leave the board at home.
- Avoid wet grass: Wet grass can look harmless. But the spinning wheels can fling water deep into the motor casing.
- Avoid deep puddles: If you see a puddle, ride around it or carry your board over it.
- Store it inside: Never leave your hoverboard outside on a porch or in a damp garage. High humidity can cause slow rust over time.
Conclusion
A wet hoverboard can be a scary situation. But if you follow these steps, you have a very good chance of saving it. Just remember to act fast, turn it off, unplug the battery, and let it dry completely. Patience is your best friend here. Happy riding, and keep those wheels dry!
Frequently Asked Questions
Can I use a hair dryer to dry my hoverboard?
Yes, you can use a hair dryer, but only on the cool air setting. Hot air can melt the plastic parts and damage the sensitive chips on the motherboard. Always hold the dryer at least twelve inches away from the board.
Can I put my wet hoverboard in a bag of rice?
No, you should never use rice to dry a hoverboard. The small rice grains and starch dust can easily slip inside the motors and gyroscopes. This will cause clogs and mechanical issues later on.
How long should I wait before turning my hoverboard back on?
You should wait at least 24 to 48 hours for the hoverboard to dry completely. Turning it on too early can cause a short circuit and permanently damage the electronics inside.
What happens if my hoverboard got wet and won’t turn off?
If your hoverboard won’t turn off, you must unscrew the bottom cover immediately to access the inside. Once inside, carefully unplug the main battery cable to cut the power source safely.
Are hoverboards waterproof?
Most hoverboards are not waterproof and only have basic splash protection. They can handle tiny drops of water, but they should never be ridden in heavy rain or through deep puddles.
Can a wet battery be saved?
If you unplug the battery quickly and wipe it dry, it can often be saved. However, if the battery was submerged or shows signs of swelling, you must replace it for safety reasons.
