


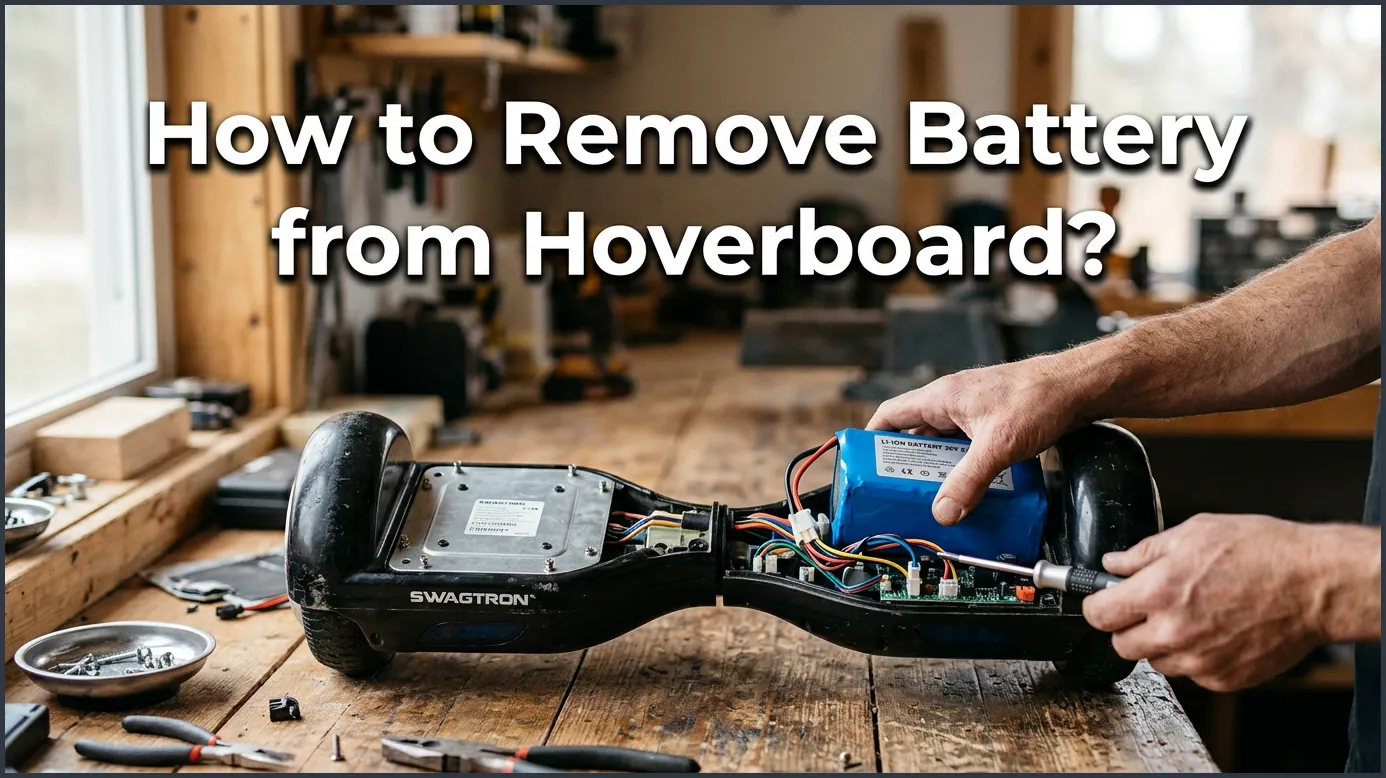
To remove a battery from a hoverboard, first turn off the device and unplug it from the charger. Flip the board over, unscrew the bottom plastic cover on the non-port side, and gently unplug the yellow or black plastic battery connector. Finally, unscrew the battery bracket and lift the battery pack out of the frame.
Imagine this scenario. You get home after a long day. You grab your hoverboard for a quick ride around the block. You press the power button, but nothing happens. You try charging it, but the battery dies in just five minutes. It is a common problem that many riders face after a year or two of active use.
When this happens, you do not need to buy a brand new self-balancing scooter. Most of the time, you just need to swap out the old power source. If you have ever wondered how to remove battery from hoverboard, you are in the right place. Doing this job yourself saves you a lot of money and teaches you how your favorite ride works.
In this beginner-friendly guide, we will walk you through the entire process. We will cover the safety rules, the tools you need, and a clear step-by-step walkthrough. You will see that you do not need to be a professional mechanic to get this done. Let us dive in and get your hoverboard back in action!
Key Takeaways
- Power Off First: Always make sure your hoverboard is turned completely off and unplugged from the wall.
- Find the Right Side: The battery is usually located on the side opposite the charging port.
- Use the Right Tools: A simple Phillips head screwdriver with a magnetic tip is your best friend for this task.
- Be Gentle with Wires: Never yank the wires directly; always pull from the plastic connector head.
- Dispose Safely: Recycle your old lithium-ion battery at a certified local drop-off center.
📑 Table of Contents
Why Learn How to Remove Battery From Hoverboard?
Hoverboards are amazing machines. They use smart sensors and electric motors to glide smoothly. But at the heart of every board is a lithium-ion battery pack. Over time, these batteries naturally degrade and lose their ability to hold a charge. Learning how to remove battery from hoverboard is a vital skill for every owner.
Saving Money on Repairs
Taking your hoverboard to a local repair shop can be very expensive. Mechanics often charge high rates for simple labor. By learning this skill, you only have to pay for the new battery pack itself. The actual labor is free because you are doing it yourself!
Safe Shipping and Airline Travel
Did you know that you cannot take most hoverboards on commercial airplanes? This is because of strict laws regarding lithium-ion batteries. If you plan to ship your board or travel with it, you often must take the battery out first. Knowing how to remove battery from hoverboard safely makes travel planning much easier.
Gathering the Right Tools and Preparation
Before you learn how to remove battery from hoverboard, you must gather your gear. You do not need any fancy or expensive equipment. Most of these items are probably already sitting in your home toolbox.
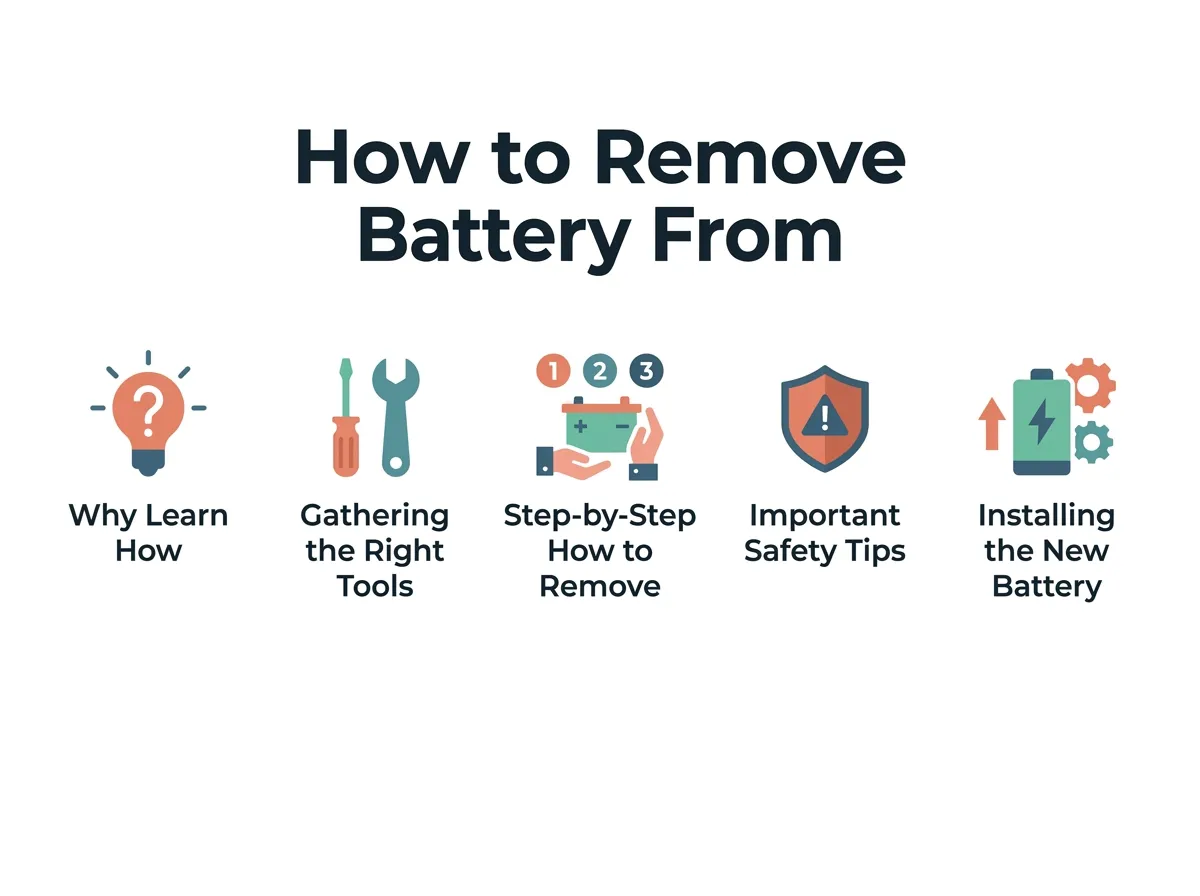
How to Remove Battery From Hoverboard? — key points at a glance
Your Simple Tool List
To complete this project, you will only need a few basic items:
- A standard Phillips head screwdriver.
- A small cup or magnetic tray to hold your loose screws.
- A soft towel or a rubber mat to protect your hoverboard.
A magnetic screwdriver is highly recommended. The screws on the bottom of a hoverboard are tiny. They love to roll away and hide under furniture. A magnetic tip keeps them stuck to your tool so you never lose them.
Setting Up a Safe Workspace
Find a flat, clear surface to work on. A sturdy table, kitchen counter, or workbench works best. Lay down your soft towel first. This stops your hoverboard from getting scratched while you work on it. Make sure your hands are completely dry before you touch any internal wires.
Step-by-Step: How to Remove Battery From Hoverboard
Now, let us get to the core of the task. Follow these instructions closely to avoid any mistakes. If you ever feel lost, you can consult a professional hoverboard battery replacement guide to help you visualize the process.
Step 1: Power Down and Unplug
When figuring out how to remove battery from hoverboard, your first priority must always be safety. Make sure your hoverboard is fully turned off. Do not leave it in sleep mode. Unplug the charger from the wall and from the hoverboard. Never open the plastic case while the board is plugged in.
Step 2: Flip the Board and Locate the Screws
Place your hoverboard upside down on your soft towel. You will see many small screws on the bottom shell. Most models have about 8 to 10 screws on each side. Keep in mind that the battery is usually located on the side opposite the charging port. However, some boards have different setups, so feel free to open both sides if you are unsure.
Step 3: Remove the Bottom Cover
Use your Phillips head screwdriver to loosen all the screws on the battery side. Drop them into your small cup as you go. This makes the job of how to remove battery from hoverboard much cleaner and faster. Once all the screws are out, gently lift the plastic cover straight up. Be careful! There are often small wires connected to the shell for the LED lights. Gently unplug these light wires if they get in your way.
Step 4: Unplug the Battery Clip
Look inside the open chamber. You will see a large, heavy rectangular pack. This is your battery. It is usually wrapped in bright blue, green, or black shrink-wrap. The pack is connected to the board by a thick wire harness with a plastic clip. This clip is typically yellow, black, or red. Press the small plastic release tab on the clip and pull it apart. Never pull on the colored wires themselves. Always grip the hard plastic connector to avoid tearing the wires.
Step 5: Unscrew the Battery Bracket
Most manufacturers use a metal or plastic bracket to keep the battery from moving around. Use your screwdriver to remove the screws holding this bracket in place. Once the bracket is free, you have successfully mastered how to remove battery from hoverboard! You can now lift the heavy battery pack straight out of the frame.
Important Safety Tips for Lithium-Ion Batteries
Lithium-ion batteries hold a lot of energy in a very compact space. They are safe when handled properly, but they can be dangerous if they get damaged. You must treat them with care during this process.
Watch Out for Damage and Swelling
Many people search for how to remove battery from hoverboard because their board is acting up. Once you get the old battery out, inspect it closely. Is the plastic wrapping bloated or puffy? Does it smell sweet or metallic? If you see any signs of swelling, the battery is damaged. Put it in a cool, dry place away from flammable materials immediately.
Avoid Short Circuits
Never let the metal tips of the battery wires touch other metal objects. Do not puncture the battery wrap with your tools or screws. Keep the battery away from water, extreme heat, and direct sunlight. If you want to read more about safety discussions and troubleshooting, check out some community repair forums online.
Recycle Properly
Never throw an old hoverboard battery into your regular household trash can. This is illegal in many cities and can cause garbage truck fires. Instead, take it to a local electronics store or a municipal waste recycling center. They will dispose of it safely for free.
Installing the New Battery and Reassembly
Knowing how to remove battery from hoverboard is only half the battle; you also need to know how to put it back together. Thankfully, installing a new battery is just the same process in reverse.
Aligning the New Pack
Place your new battery pack into the empty plastic cradle. Make sure it sits flat and does not pinch any other wires underneath it. Put the metal safety bracket back over the battery and tighten the screws. This ensures your battery does not bounce around when you ride over bumps or cracks in the pavement.
Connecting the Power Wires
Take the plastic power clip on the new battery and plug it into the hoverboard wire harness. The clips are keyed, which means they can only plug together one way. Push them together firmly until you hear or feel a loud click. This tells you the connection is solid and secure.
A Quick Pro-Tip Before Closing
Here is a handy tip that will save you time. Before you screw the bottom cover back on, turn the hoverboard right side up. Press the power button once. If the lights flash and the board beeps, your connection is perfect! Turn it back off, flip it over, and proceed to close the shell. This saves you from having to unscrew the entire cover again if a wire was loose.
Securing the Cover
Make sure the LED light wires are plugged back in. Put the bottom plastic cover back onto the frame. Ensure no loose wires are sticking out of the sides. Put all the small screws back into their holes. Tighten them with your hand first, then snug them up with your screwdriver. Do not overtighten them, as you can easily crack the plastic cover.
Conclusion
Now you know exactly how to remove battery from hoverboard. It is a fantastic DIY project that only takes about fifteen to twenty minutes of your time. By using simple tools and following basic safety rules, you can extend the life of your favorite ride without spending a fortune on professional repairs.
By understanding how to remove battery from hoverboard, you can handle repairs on your own with total ease. Grab your tools, take your time, and enjoy the satisfaction of fixing your own hoverboard. Happy riding!
Frequently Asked Questions
How do I know if my hoverboard battery needs to be replaced?
Your hoverboard battery likely needs replacement if it dies within a few minutes of riding, displays a blinking red warning light, or fails to turn on even after hours on the charger. Swelling or physical bloating of the case is also a clear sign of a bad battery.
Can I use any brand of battery to replace my hoverboard battery?
No, you should always match the voltage, capacity, and physical size of your original battery pack. Most standard hoverboards use a 36V lithium-ion battery, but it is best to check your original battery label to ensure a perfect fit.
Is it safe to change a hoverboard battery myself?
Yes, it is very safe as long as the hoverboard is completely turned off and unplugged from the wall charger. Be careful not to puncture the battery casing with your screwdriver and never pull directly on the delicate wire strands.
What side of the hoverboard is the battery on?
On almost all hoverboard models, the battery is located on the side opposite the charging port and power button. This keeps the battery physically separated from the main motherboard to prevent heat build-up.
Can I travel on an airplane with my hoverboard battery?
Most airlines ban hoverboards with built-in lithium-ion batteries due to safety concerns. However, if you remove the battery from the hoverboard, you may be allowed to transport the shell, but the battery itself must match airline limits and usually cannot go in checked luggage.
How should I dispose of my old hoverboard battery?
You should never throw lithium-ion batteries into your regular household trash trash can. Take the old battery to a local home improvement store, electronics retailer, or local waste management site that offers free battery recycling programs.
