


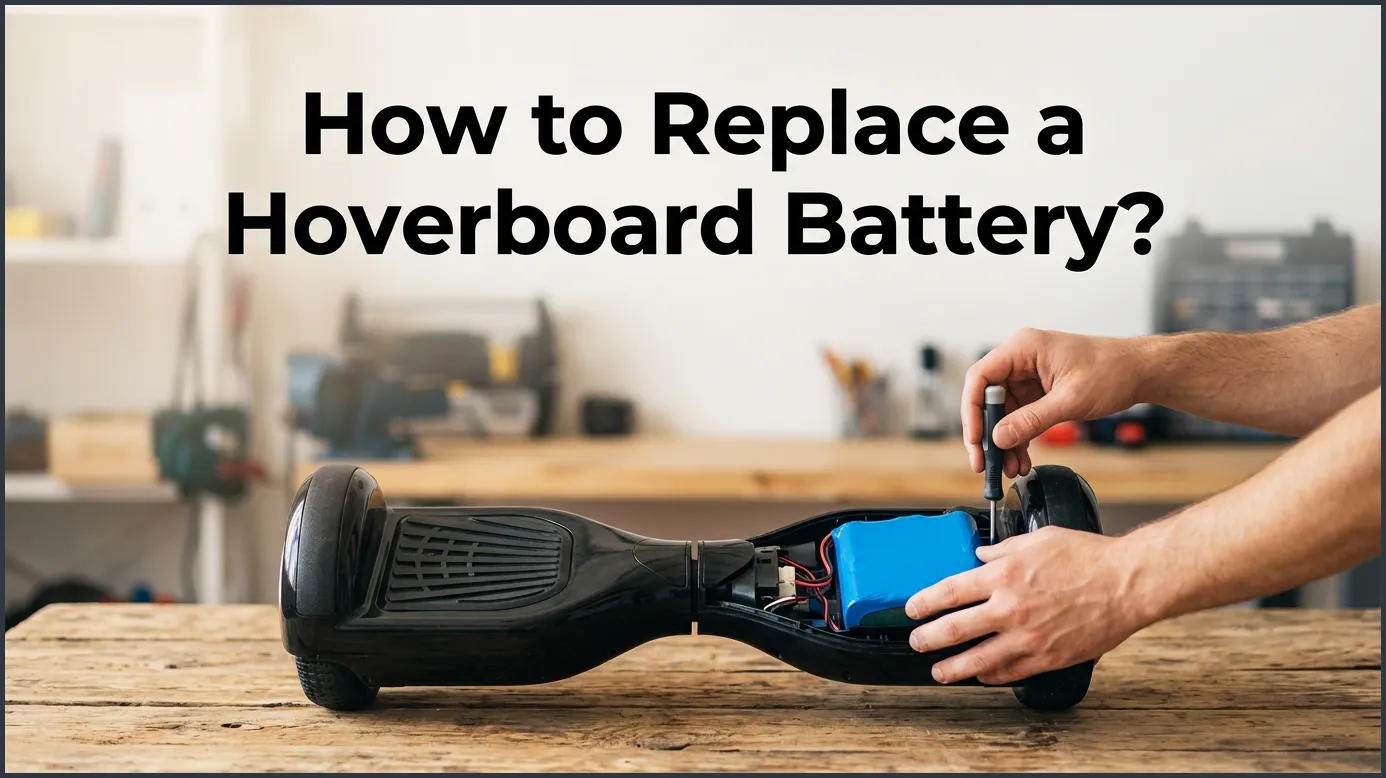
Replacing a hoverboard battery is a simple, budget-friendly DIY project that takes less than 20 minutes to complete. All you need is a basic Phillips-head screwdriver, a certified replacement battery, and a clean workspace. By following a few easy safety steps, you can safely swap the old battery pack and bring your favorite ride back to life.
Picture this scenario. The sun is shining, the weather is perfect, and you are ready for a fun ride around the neighborhood. You step onto your hoverboard, but it does not move. Maybe it lets out a sad, weak beep. Or perhaps the red warning light flashes instantly, and the board shuts down after just a few feet.
When a hoverboard loses its charge quickly or refuses to turn on, the culprit is almost always a worn-out battery. It is a very common issue that happens to almost every rider over time. Fortunately, you do not need to throw away your board or pay a professional a lot of money to fix it.
With just a few basic tools and a little bit of patience, you can do this fix yourself. In this guide, we will teach you exactly how to replace a hoverboard battery safely and quickly. Let us get your board back on the road!
Key Takeaways
- Safety First: Always turn off the hoverboard and unplug it from the charger before opening the frame.
- Right Parts: Buy a certified replacement battery that matches the voltage and connector type of your specific hoverboard model.
- Organize Screws: Keep track of the small screws by placing them in a bowl so they do not roll away.
- Check Alignments: The battery is typically located on the side opposite the charging port and main power button.
- Secure Connectors: Ensure the yellow power plug clicks tightly and securely into place to prevent loose connections.
📑 Table of Contents
Why Do Hoverboard Batteries Die?
Like the battery in your smartphone, hoverboard batteries do not last forever. Most hoverboards use lithium-ion batteries. These power packs are lightweight and store a lot of energy. However, they slowly degrade over time and lose their ability to hold a charge.
A typical hoverboard battery lasts for about one to two years of regular use. This equals roughly 500 charge cycles. If you leave your board in a cold garage during the winter, the extreme temperatures can ruin the battery cells even faster. Overcharging the board by leaving it plugged into the wall for days can also shorten its lifespan. When these things happen, learning how to replace a hoverboard battery is the best way to save your ride.
Tools and Parts You Will Need
You do not need an expensive toolkit to complete this project. In fact, you probably already have most of these items lying around your house. Before you begin, gather the following supplies:
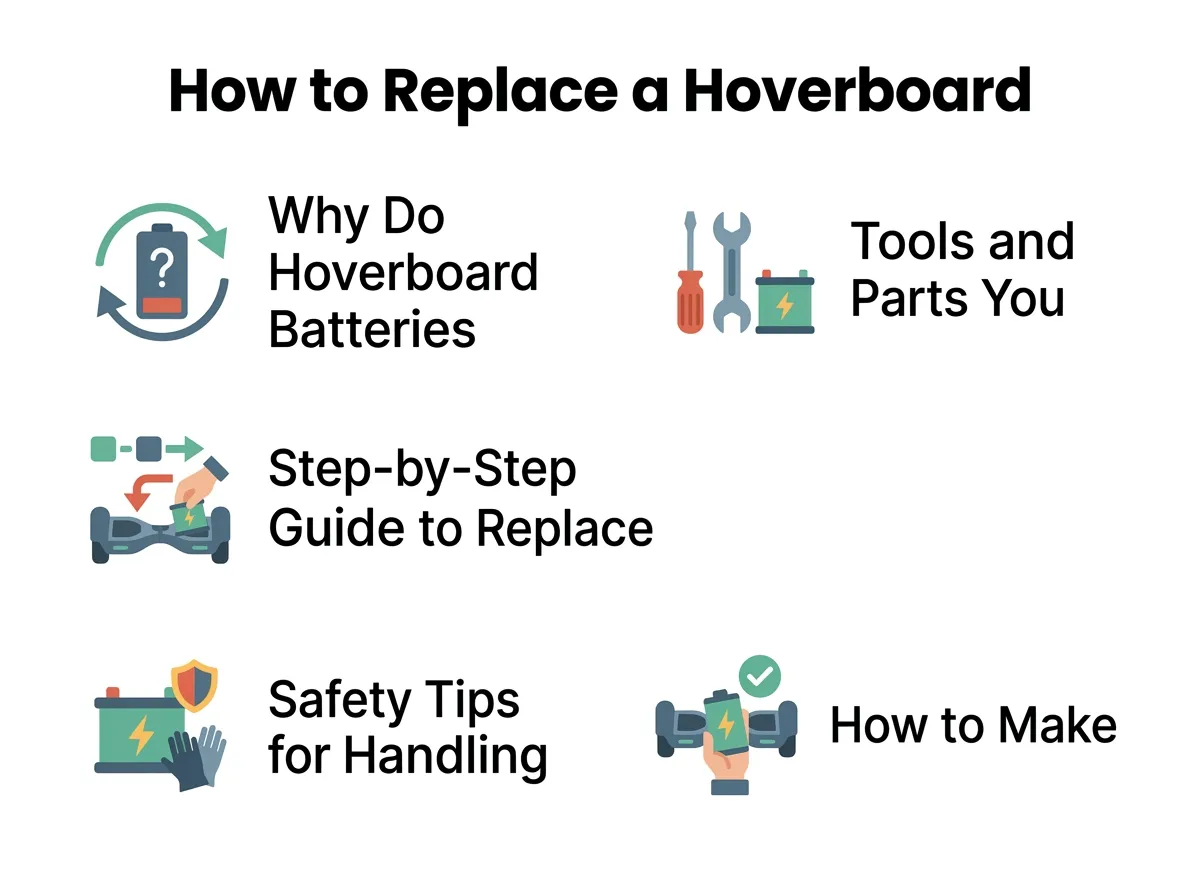
How to Replace a Hoverboard Battery? — key points at a glance
- A medium-sized Phillips-head screwdriver
- A small bowl, cup, or magnetic tray to hold the loose screws
- A clean, soft towel or blanket to protect your hoverboard from scratches
- A brand-new, UL-certified replacement battery
When shopping for a new power pack, safety should be your top priority. Always look for a battery that has a UL2271 safety certification. This ensures the battery has been thoroughly tested for safety. To find the right fit for your board, check out the reliable options on this hoverboard battery replacement page to ensure you get a high-quality, compatible model.
Step-by-Step Guide to Replace a Hoverboard Battery
Now that you have your tools ready, it is time to start the repair. Follow these simple steps carefully to ensure a smooth and safe replacement process.
Step 1: Prep Your Workspace and Safety Check
Safety is the most important part of any electronics repair. First, make sure your hoverboard is turned completely off. Next, unplug the charger from the wall and from the charging port of the board. Place your soft towel down on a flat table or the floor. Lay the hoverboard upside down on the towel. This prevents the shiny plastic shell of your board from getting scratched up while you work.
Step 2: Remove the Bottom Cover Screws
Look at the bottom of your hoverboard. You will see a series of small screws holding the plastic outer shell in place. Most boards have between 15 and 20 screws. Use your Phillips-head screwdriver to remove them one by one.
Be sure to place these small screws directly into your bowl so they do not roll off the table. Keep in mind that some screws might be slightly longer than others. Note which screws go into which holes. If you want to see a visual diagram of where these screws are located, you can find a helpful layout on hoverboardrepair.com.
Step 3: Locate the Old Battery
Once all the screws are out, gently lift the bottom cover off the hoverboard. You will see a lot of colorful wires and green circuit boards. Do not panic! You only need to focus on one main component.
The battery is a large, heavy pack. It is usually wrapped in bright blue, green, or black plastic shrink-wrap. On most hoverboard models, the battery sits on the side opposite the power button and charging port. This keeps the delicate motherboard safe from the battery’s heat.
Step 4: Disconnect and Remove the Battery
The battery is connected to the hoverboard by a thick wire with a yellow plastic plug. This plug is called an XT60 connector. It has a small clip that holds it tight. Gently press the clip and pull the two yellow halves apart. Do not yank on the wires themselves. Instead, grip the plastic plug ends firmly and pull.
If the plug feels stuck, wiggle it gently from side to side. Many riders share helpful tips on how to free tight plugs in this electric unicycle forum thread. Once unplugged, unscrew the metal or plastic bracket holding the battery pack to the frame. Slide the old battery out and set it aside.
Step 5: Install the New Battery
Take your brand-new battery and slide it into the empty slot. Make sure it sits flat and snug against the frame. Place the safety bracket back over the battery and tighten the screws. This bracket is very important. It keeps the battery from bouncing around while you ride.
Now, plug the yellow connector of the new battery into the hoverboard wire. The plug only fits together one way, so do not force it. Push the two yellow ends together until you hear or feel a firm click.
Step 6: Close and Test the Hoverboard
Before you screw the cover back on, it is a good idea to test your work. Carefully flip the hoverboard over and press the power button. If the green light turns on and the board stands tall, your repair was a success! Turn the board back off and flip it upside down again.
Line up the bottom cover with the screw holes. Make sure no colorful wires are getting pinched between the plastic cover and the metal frame. Put the screws back into their holes. Tighten them gently. Do not over-tighten them, or you might crack the plastic shell.
Safety Tips for Handling Hoverboard Batteries
Lithium-ion batteries store a lot of energy. While they are safe when handled properly, you must treat them with respect. Never puncture, drop, or crush the old battery. If you notice the old battery looks bloated, swollen, or smells strange, handle it with extra care.
Do not throw your old battery in the regular household trash. It is bad for the environment and can cause fires in trash trucks. Instead, take it to a local electronics store or a recycling center that accepts rechargeable batteries.
How to Make Your New Battery Last Longer
Now that you know how to replace a hoverboard battery, you want to make sure your new one lasts as long as possible. Here are a few simple tips to keep your battery healthy:
- Avoid extreme temperatures: Store your hoverboard inside your home. Do not leave it in a hot car trunk or a freezing shed.
- Don’t overcharge: Unplug the charger once the indicator light turns green. Do not leave it plugged in overnight.
- Do not run it to zero: Try to charge your hoverboard before the battery is completely dead. This puts less stress on the battery cells.
- Keep it clean: Moisture is the enemy of electronics. Never ride your hoverboard through deep puddles or mud.
Conclusion
Replacing a hoverboard battery might seem scary at first, but it is actually a very simple task. By taking your time, keeping your screws organized, and following these steps, you can save money and get your hoverboard running like new. Now that your board is fixed, put on your helmet, step outside, and enjoy the ride!
Frequently Asked Questions
How long does it take to replace a hoverboard battery?
The entire process usually takes between 15 and 20 minutes. It is a quick repair that only requires removing the bottom cover, swapping the plug, and putting the cover back on.
Is it safe to replace a hoverboard battery by myself?
Yes, it is very safe as long as the hoverboard is turned off and unplugged from the wall charger. Just be careful not to pinch any wires when putting the plastic cover back on.
How do I know if my hoverboard battery is dead?
If your hoverboard turns off immediately after you step on it, or if a red warning light starts flashing right away, your battery is likely dead. A battery that charges very quickly but dies within minutes also needs to be replaced.
Can I use any replacement battery for my hoverboard?
No, you must use a battery that matches the voltage and connector type of your specific hoverboard. Most standard hoverboards use a 36V lithium-ion battery with a yellow XT60 connector plug.
How should I dispose of my old hoverboard battery?
Never throw your old lithium-ion battery in the regular trash can. Take it to a local hardware store, recycling center, or hazardous waste site that accepts old electronics and rechargeable batteries.
Should I charge my new hoverboard battery before my first ride?
Yes, it is highly recommended to charge your new battery fully before taking your first ride. This helps calibrate the battery cells and ensures you get the maximum run time from your new power source.
