


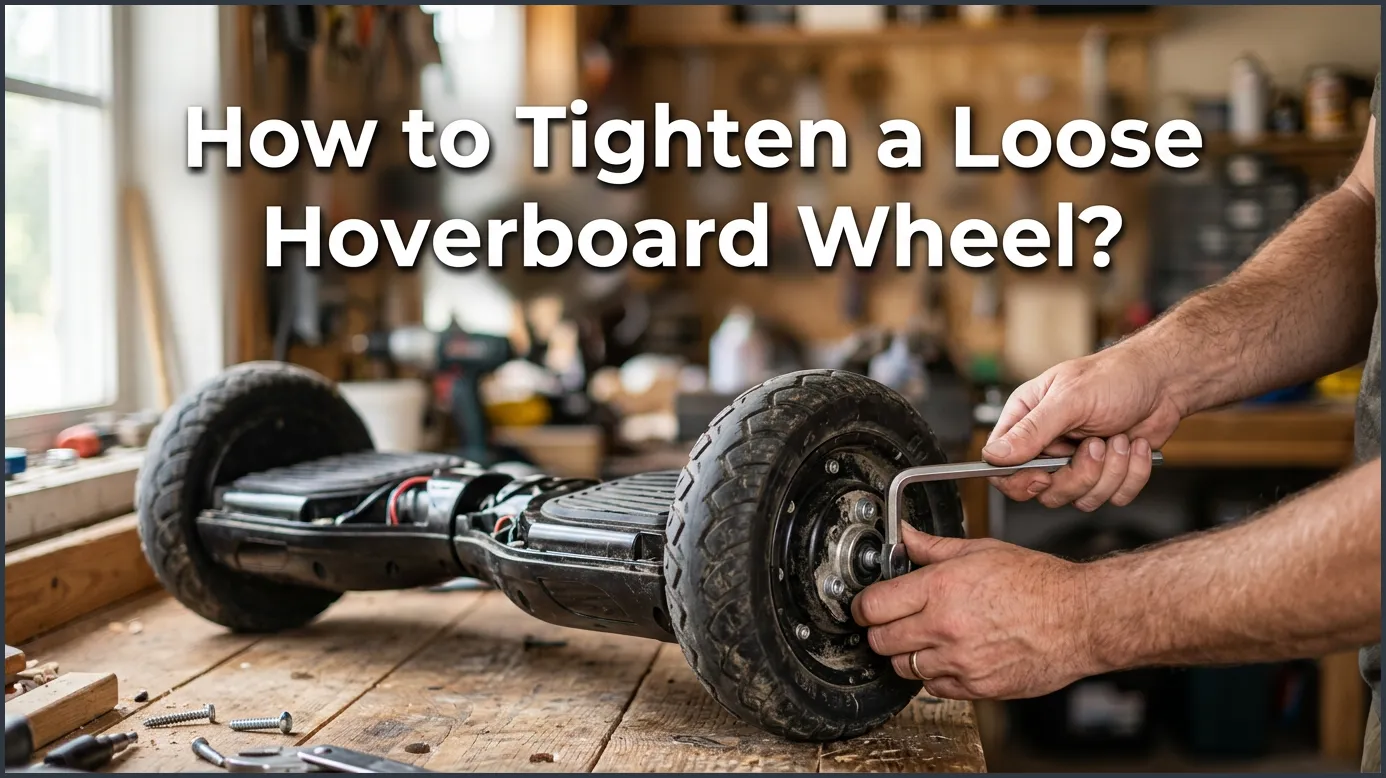
To tighten a loose hoverboard wheel, turn off the device and carefully unscrew the plastic bottom shell. Locate the metal mounting plate near the wheel axle, apply a thread-locking fluid if available, and tighten the mounting bolts firmly in a diagonal pattern. Finally, reconnect any detached wires, reassemble the casing, and perform a slow test ride to ensure stability.
Imagine you are gliding down the street on your hoverboard on a sunny afternoon. The ride feels smooth, the breeze is warm, and you are having a blast. Suddenly, you feel a strange vibration under your feet. The board starts to shake, and you hear a soft, metallic rattling sound. You look down and notice that one of your wheels is wobbling back and forth. Your smooth ride instantly becomes shaky and feels unsafe.
A wobbly wheel is a very common issue for many hoverboard riders. Because these boards travel over cracks, bumps, and uneven ground, they experience constant vibrations. Over time, these small shakes can loosen the internal screws that hold your wheels in place. If you do not address this problem, it can lead to bigger issues, such as a damaged motor or an unexpected fall.
The good news is that you do not need to take your board to an expensive repair shop. Tightening a loose wheel is a great DIY project that you can do right at home. This beginner-friendly guide will teach you exactly how to tighten a loose hoverboard wheel? in a few easy steps. We will cover the tools you need, how to open the case safely, and how to get your ride back to perfect condition.
Key Takeaways
- Safety first: Always power off your hoverboard and disconnect it from the charger before starting any repairs.
- Use the right tools: You only need basic household tools like a Phillips screwdriver and an Allen key set.
- Keep track of screws: Place all tiny screws in a small bowl or cup so you do not lose them during the process.
- Tighten in a pattern: Turn the bolts in a diagonal crisscross pattern to ensure even pressure on the wheel mount.
- Prevent future loose wheels: Use a drop of blue thread-locking compound on the bolt threads to keep them snug over time.
- Test before riding: Perform a physical shake test and a slow-speed test ride to guarantee everything is safe.
📑 Table of Contents
Why Do Hoverboard Wheels Get Loose?
To fix the problem, it helps to understand why it happens in the first place. Hoverboards are built with electric motors right inside the wheels. These wheel motors are attached to a strong metal frame inside the plastic body. They are held in place by several heavy-duty bolts.
The Impact of Daily Riding
Every time you ride over a crack in the pavement, roll off a curb, or spin around, your hoverboard absorbs the shock. These vibrations travel through the plastic shell and into the metal frame. Over time, these tiny shakes act like a slow wrench, turning the inner screws until they back out. If you do a lot of trick riding or ride on rough ground, your bolts are much more likely to loosen up quickly.
Low-Quality Factory Tightening
Sometimes, hoverboards come from the factory with screws that were not tightened all the way. Over a few weeks of light use, these screws can easily wiggle loose. If you notice a wobble on a brand-new board, this is likely the cause. Knowing how to fix this is one of the most useful skills for resolving common hoverboard problems and how to fix them without panic.
Tools You Need Before You Start
You do not need a garage full of heavy machinery to fix this issue. Most of the tools are standard items you probably already have in your home tool kit. Gathering them before you start will make the job much faster and easier.
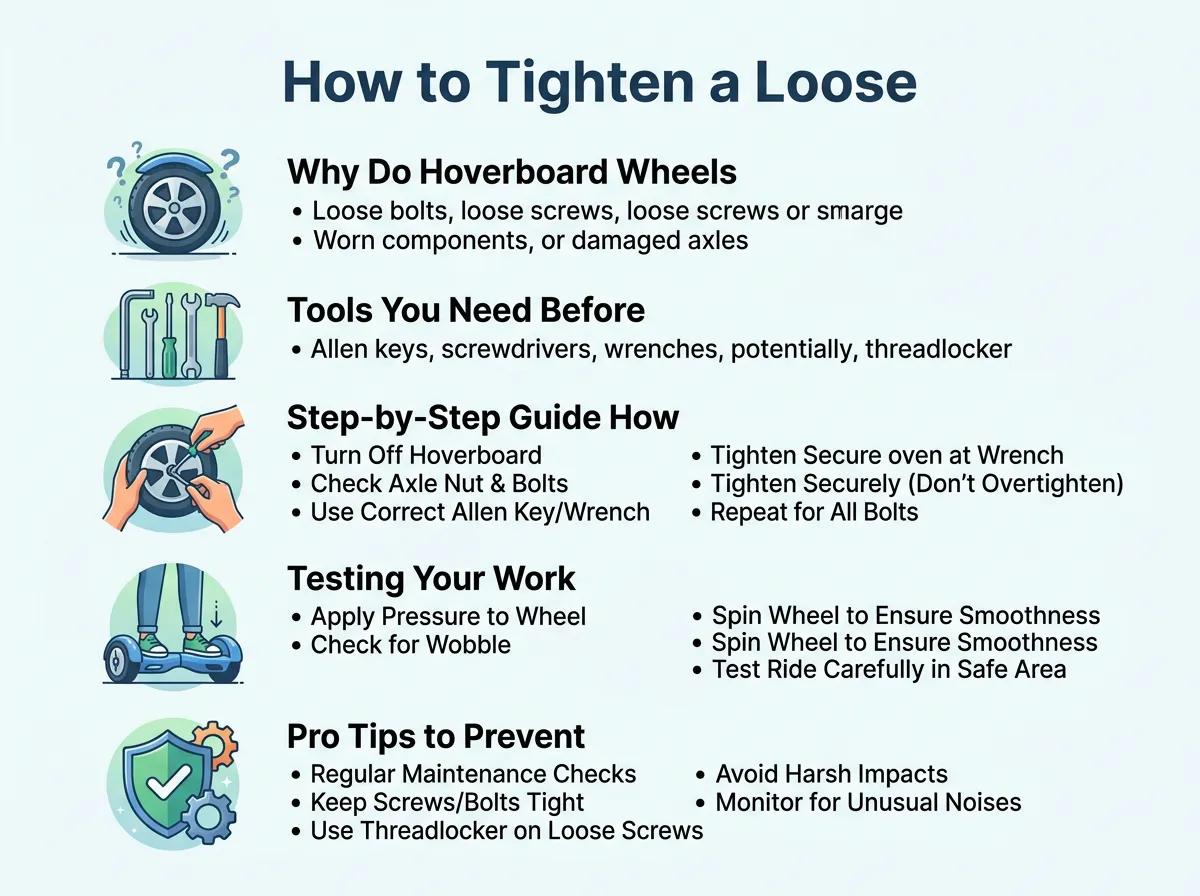
How to Tighten a Loose Hoverboard Wheel? — key points at a glance
Essential Tool Checklist
- A Phillips Head Screwdriver: This is used to remove the many screws holding the plastic outer shell together.
- An Allen Key Set (Hex Wrenches): Most hoverboard wheel bolts require a 4mm or 5mm Allen key to tighten.
- A Small Container or Cup: This is highly recommended to keep track of the tiny casing screws. They are very easy to lose on carpet or dark floors.
- A Clean Towel or Soft Mat: Placing your hoverboard upside down on a soft surface protects the shiny plastic shell from scratches while you work.
Optional but Helpful Items
If you want to make sure you do not have to do this repair again anytime soon, grab a small tube of blue thread locker. Thread locker is a liquid compound applied to screw threads. It acts like a gentle glue that keeps screws in place under vibration, but still allows you to remove them later with standard tools if needed.
Step-by-Step Guide: How to Tighten a Loose Hoverboard Wheel?
Now that you have your tools ready and a clean workspace, let us get to work. Follow these steps carefully to ensure a safe and successful repair.
Step 1: Safety First
Before you touch a single screw, make sure your hoverboard is turned completely off. Unplug it from the wall charger if it is plugged in. Working on a live hoverboard can cause a short circuit, damage the computer chips, or even shock you. Once the power is off, place your board upside down on your soft towel.
Step 2: Remove the Outer Shell
Take your Phillips head screwdriver and begin removing the screws from the bottom of the plastic shell. There are usually about 10 to 15 screws holding the shell in place. Place these screws inside your small container immediately. Once all the screws are out, gently lift the bottom cover. Be very careful here! There are thin wires connected to the charging port and power button on the shell. Do not pull them hard. Carefully unplug these wires from the green circuit board so you can set the plastic shell aside.
Step 3: Locate the Wheel Mounting Plate
With the cover off, you can now see the inner workings of your hoverboard. Look at the side with the loose wheel. You will see a thick metal axle extending from the wheel into the frame. This axle is secured by a metal mounting plate with four large bolts. If your wheel is wobbling, you will likely see that these bolts are visibly loose or backed out of their holes. In some cases, a loose axle can cause the wheel to rub against the frame. If you notice this, you might also want to look at a guide on how to fix hoverboard wheel rubbing for extra help.
Step 4: Tighten the Bolts
Take your Allen key and fit it onto the loose bolts. If you have thread locker, remove one bolt completely, apply a tiny drop to the threads, and put it back in. Repeat this for all four bolts. When tightening, always use a diagonal, crisscross pattern. Tighten the top-left bolt first, then the bottom-right, then the top-right, and finally the bottom-left. This ensures even pressure across the mounting plate. Make sure they are very snug, but do not use extreme force, as you do not want to strip the metal threads.
Step 5: Reconnect Wires and Close the Shell
Gently plug the wires for the power button and charging port back into the main circuit board. They only fit in one direction, so do not force them. Place the plastic cover back onto the frame. Make sure no loose wires are pinched between the plastic shell and the metal frame. Secure the shell with the small screws you removed in Step 2. Turn them until they are snug, but be careful not to overtighten them, as plastic cracks easily.
Testing Your Work
Once everything is put back together, it is time to test your hoverboard to make sure the repair was successful.
The Physical Shake Test
Before you turn the power on, grab the wheel with your hand and try to wiggle it side to side. It should feel rock-solid now. There should be no play, clicking, or rattling sounds when you shake it. If it still wobbles, you may need to check if the internal frame itself is cracked.
The Slow Ride Test
Turn on the hoverboard and step onto it on a flat, smooth surface. Ride slowly at first. Listen carefully for any odd sounds. If the ride feels smooth and the wobbling is completely gone, you have successfully solved the problem! If you encounter issues where the wheels do not spin at all after your repair, check out this troubleshooting page on hoverboard wheels won’t spin.
Pro Tips to Prevent Loose Wheels in the Future
Now that you know how to tighten a loose hoverboard wheel?, you probably want to avoid doing it again anytime soon. Here are a few simple tips to keep your ride sturdy and safe for the long run.
Avoid Rough Terrain
Hoverboards are designed for smooth, flat surfaces. Riding over deep gravel, thick grass, or bumpy dirt paths puts extreme stress on the wheel mounts. Stick to smooth concrete, asphalt, or indoor floors whenever possible to prolong the life of your board.
Regular Maintenance Checks
Do not wait for a wheel to start shaking before you check it. Every few weeks, give your wheels a quick shake test with your hands. If you feel even a tiny bit of play, catch it early and tighten the bolts before they get worse. Staying on top of maintenance is key, and you can learn more about general upkeep in this hoverboard wheel repair guide.
Conclusion
Keeping your hoverboard in top shape does not have to be difficult. With just a few simple tools and a little bit of patience, you can easily secure a loose wheel and ensure your rides remain safe and fun. Remember to take your time, keep your screws organized, and always put safety first. Now that your board is sturdy again, it is time to get back out there and enjoy the ride!
Frequently Asked Questions
Why is my hoverboard wheel shaking?
A shaking hoverboard wheel is usually caused by loose mounting bolts inside the plastic shell. Over time, riding over bumps and cracks causes vibrations that back these screws out of their tight positions. Tightening these bolts will solve the shaking.
Do I need special tools to fix a loose hoverboard wheel?
No, you do not need any special tools. You only need a standard Phillips head screwdriver to open the outer plastic shell and a set of Allen keys (usually 4mm or 5mm) to tighten the internal wheel bolts.
Can I ride my hoverboard with a loose wheel?
No, you should not ride your hoverboard if a wheel is loose. Riding with a wobbly wheel can cause you to lose balance and fall, and it can also permanently damage the wheel motor or the internal metal frame.
What is the blue liquid people put on hoverboard screws?
The blue liquid is a thread-locking compound, often called Loctite. It acts like a temporary glue that keeps screws from vibrating loose during rides, while still allowing you to unscrew them later with hand tools if necessary.
How do I know if my hoverboard frame is cracked?
If you tighten the wheel bolts completely but the wheel still wobbles or sags, the metal frame inside might be cracked. You will need to open the board up and closely inspect the metal area around the wheel mount for hairline fractures.
How often should I check my hoverboard wheels for looseness?
It is a good habit to check your hoverboard wheels once every month. Simply grab each wheel and give it a gentle wiggle with your hand; if you feel any play, it is time to open the board and tighten the screws.
