


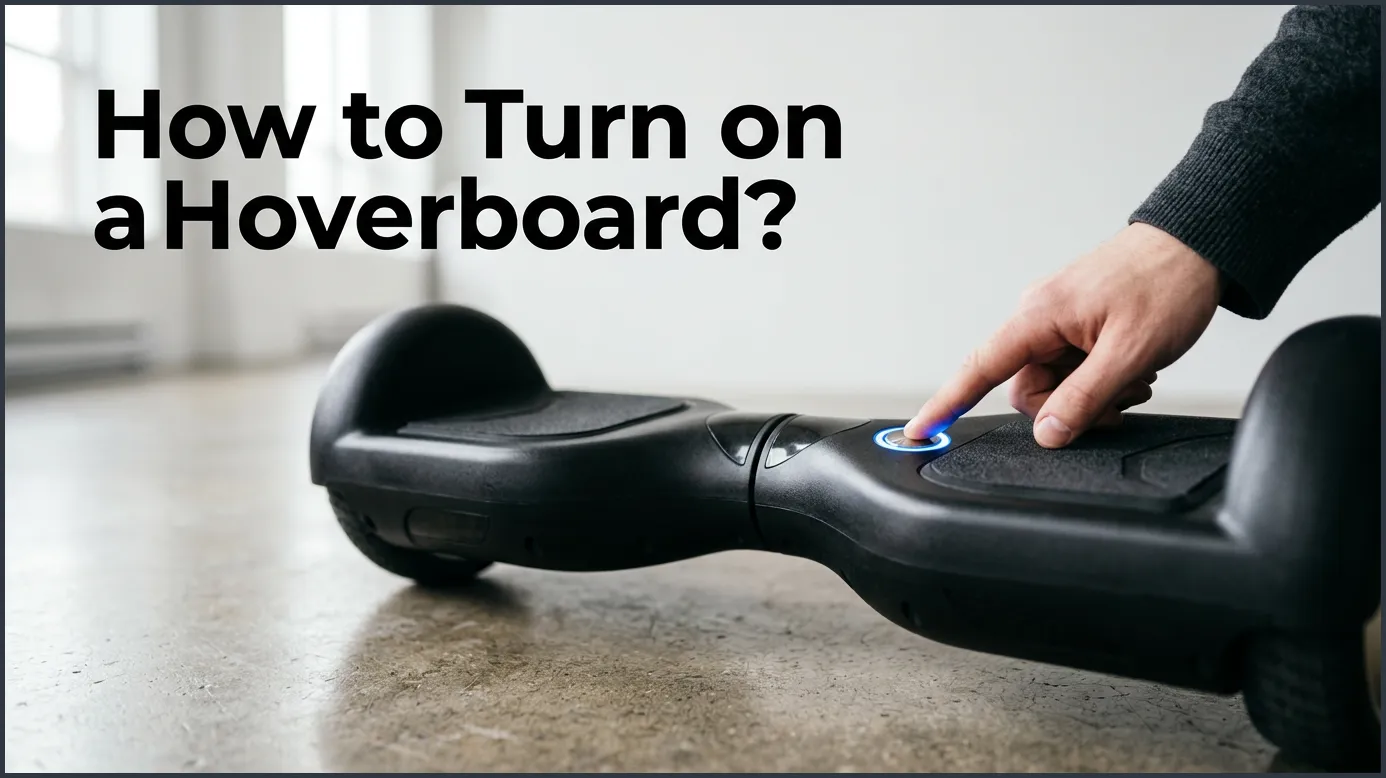
To turn on a hoverboard, locate the circular silver power button, which is usually found on the back of the shell near the charging port. Press and release this button once to power it on, and you will hear a beep and see the indicator lights glow. To turn it off, simply press the same button again until the lights go out.
Imagine unwrapping your brand-new self-balancing scooter. It looks sleek and shiny, and you cannot wait to glide down the street. You set it on the floor, ready to take your first ride. But then, you stop and look down. How do you actually get this thing to start up?
Starting a new gadget can feel a bit tricky at first. It is very common to feel unsure about where to press or what the different lights mean. You do not want to break your new toy before you even get a chance to use it. Do not worry, because learning how to start your ride is actually very simple.
In this guide, we will walk you through the entire process from start to finish. We will show you exactly How to Turn on a Hoverboard? and what to do if the board does not start up. We will also share some vital safety tips to make your very first ride smooth and fun. Let us jump right in and get you moving!
Key Takeaways
- Power Button Location: Look on the back or side of your hoverboard near the charging port to find the power button.
- Single Press: A quick press is all it takes to turn the device on or off.
- Indicator Lights: Glowing green lights mean your board is ready, while red lights indicate low battery or an error.
- Calibration Needed: If the board acts shaky, you may need to reset and calibrate it.
- Safety First: Always mount your hoverboard while it is fully powered on and placed on a flat surface.
- Battery Care: Charge your hoverboard before your first ride and do not overcharge it.
📑 Table of Contents
Finding the Power Button on Your Hoverboard
Finding the power button is your first step to fun. Most hoverboards look very clean and simple. They have smooth lines and shiny shells. Because of this design, the buttons are hidden out of sight. Designers do this so you do not accidentally kick the button while you are riding.
The Back Shell Location
You will usually find the power button on the back of the board. This is the side that faces away from you when you ride. It is also the side where you can see the charging port. The charging port is a small round hole with three tiny metal pins inside. For more details on button layout, you can read this step-by-step beginner guide which explains the anatomy of your ride.
Identifying the Button Shape and Material
Right next to this port, you will see a round metal button. This button is about the size of a small coin. It is flush with the board’s plastic body. This means it does not stick out very far. You might need to run your fingers along the back to feel for it. Once you spot the shiny metal circle, you have found your power switch. Now you are ready to learn How to Turn on a Hoverboard? safely.
How to Turn on a Hoverboard: Step-by-Step
Now that you found the button, let us learn how to turn the board on. The process is very simple, but doing it correctly is key. Follow these steps to make sure your board starts up safely. When you want to know How to Turn on a Hoverboard?, the steps are actually very straightforward.
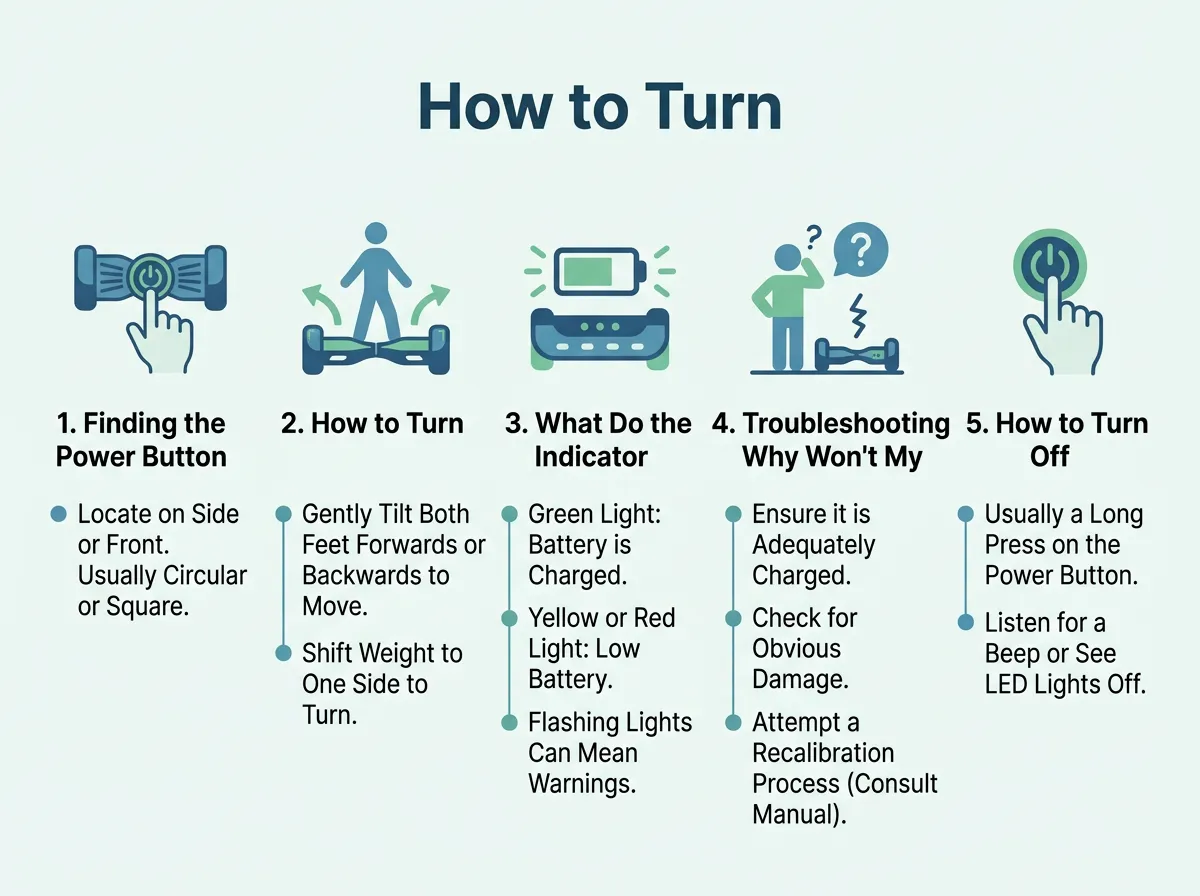
How to Turn on a Hoverboard? — key points at a glance
Step 1: Find a Flat, Even Surface
First, put your board on a flat floor. Do not turn it on while it is resting on a slope or a thick rug. If the ground is not level, the board might try to balance itself instantly. This can make the board spin or shoot forward. A flat hardwood floor or thin carpet is the perfect spot for this test.
Step 2: Press the Power Button Once
Second, make sure your feet are not on the board. Never try to turn on the board while you are standing on it. This can confuse the balance sensors. It might also cause the board to move suddenly, which can make you fall. Press the power button once. Use a quick, gentle tap. You do not need to press hard or hold it down. A simple, firm press is all it takes.
Step 3: Check the Status Lights and Sounds
Once you press the button, you will hear a beep. The lights on the board will turn on. The battery icon should glow green. This green light tells you that the system is ready. Your hoverboard is now awake and waiting for you to step on.
What Do the Indicator Lights Mean?
Your hoverboard uses lights to talk to you. These lights are like a tiny dashboard. Understanding them is very important for your safety.
Green Light Meaning
A solid green light is your best friend. It means the battery is full and the board is working fine. You can step on and ride without any worries. If the green light starts to blink, it means your battery is getting low. It is time to head back home and plug it in.
Red Light Meaning
A red light is a warning sign. If you see a red light, do not try to ride. A red light means the battery is almost dead, or there is a system error. If you step on the board with a red light, it might shut off suddenly. This can cause you to fall off. Always charge your board if you see this red warning light.
Blue Light Meaning
Some boards also have a blue light. The blue light usually means the board’s Bluetooth is active. Many modern hoverboards have built-in speakers. You can connect your phone to play music while you ride. When you see the blue light flashing, it means the board is waiting to pair with your phone. Once connected, the blue light will stay solid.
Troubleshooting: Why Won’t My Hoverboard Turn On?
Sometimes, you press the button and nothing happens. Do not panic. There are a few simple reasons why this might happen.
The Battery is Dead
The most common reason is a dead battery. Even new hoverboards can have flat batteries out of the box. They often sit in warehouses for weeks before they get to you. Try plugging your charger into the wall first. The charger block should show a green light. Then, plug the charger into your board. The charger light should turn red. This red light means the board is taking in power. Let it charge for at least two hours. If you are having trouble getting started, these detailed hoverboard startup tips can help you fix common power issues.
Loose Internal Wires
If the board still does not turn on, you might have a loose wire inside. This can happen if the box was dropped during shipping. If you think this is the case, contact the store where you bought it. Do not try to open the board yourself. Opening the shell can void your warranty.
A Stuck Button
Another common issue is a stuck button. Sometimes, dirt or small pebbles can get lodged around the power button. This can prevent it from being pressed down. You can use a small can of compressed air to blow around the button. This will often clear out any dirt and make the button work again.
How to Turn Off and Calibrate Your Board
To turn off your hoverboard, the steps are just as easy. Make sure you are standing completely off the board first. Never try to turn off the board while your feet are still on the footpads. This can cause you to lose your balance.
Turning the Board Off Safely
Press the power button once. The lights will turn off, and the board will go silent. Your hoverboard is now off and safe to store away.
How to Calibrate a Shaky Hoverboard
If your board vibrates or feels shaky when you ride, you may need to calibrate it. Calibrating resets the board’s balance sensors. This is a very common fix for many minor issues. To calibrate your board, turn it off. Place it on a completely flat floor. Make sure both footpads are perfectly level with the ground. Now, press and hold the power button for about ten seconds. Do not let go when you hear the first beep. Keep holding the button. You will see the front lights start to flash. Once they flash, let go of the button. Leave the board still for a few seconds. Finally, press the power button once to turn it off. Your hoverboard is now reset and calibrated!
Safety Tips for Your First Ride
Riding a hoverboard is super fun, but safety comes first. Here are some quick tips for a great first ride. It is always a good idea to read the user manual instructions to understand safety guidelines for your specific model.
Wear Protective Gear
First, always wear your safety gear. This includes a helmet, elbow pads, and knee pads. Falls can happen, especially when you are just learning how to balance. Wearing gear keeps you safe from scrapes and bruises.
Step On with Confidence
Next, have a friend help you. When you step on the board for the first time, hold onto your friend’s shoulder. This will help you keep your balance while you get used to the feeling. Step on with your dominant foot first. Place it flat against the outer edge of the footpad. Then, quickly bring your other foot up. Keep your knees slightly bent. Try to relax your body. Do not look down at your feet. Instead, look straight ahead. To move, just lean your weight slightly forward. To stop, lean slightly back. With a little practice, you will be gliding like a pro in no time!
Conclusion
Learning how to turn on a hoverboard is the very first step of your riding journey. It is a quick and simple process that anyone can master in seconds. Just find the shiny power button on the back, place the board on flat ground, and give it a quick press. Remember to watch the indicator lights so you always know your battery status. If your board ever feels shaky, a quick calibration will get it back in perfect balance. Stay safe, wear your helmet, and have a blast gliding around your neighborhood!
Frequently Asked Questions
Where is the power button on a hoverboard?
The power button is usually on the back of the board, right next to the charging port. It is a small, round metal button that is flush with the plastic shell.
Why is my hoverboard beeping when I turn it on?
A beeping sound often means your hoverboard is uncalibrated or has a low battery. Try placing it on a flat surface and holding the power button for ten seconds to reset it.
How long does it take for a hoverboard to turn on?
A hoverboard turns on instantly with a single press of the power button. You will hear a beep and see the indicator lights glow right away.
Can I turn on my hoverboard while charging it?
No, you should not turn on your hoverboard or try to ride it while it is plugged in. Always unplug the charger first before powering the board on.
What do I do if my hoverboard won’t turn off?
If the power button does not turn the board off, the button might be stuck or damaged. Let the battery run down completely, then try charging and turning it on again.
How do I know if my hoverboard is fully charged?
Check the small light on your charger block. If the light is red, the board is still charging, but if it turns green, your board is fully charged and ready to ride.
